
Home / How to Make Jewelry / Paperclip Charm Necklace
How to Make a Charm Necklace
Create your own charm necklace with just a few simple steps. This easy DIY jewelry project is perfect for creating a minimalist look or adding personal flair with themed pendants or custom charms. Whether you're a beginner or a seasoned creator, making a paperclip chain charm necklace is a stylish and affordable way to express yourself.
Author: Hope Difficulty: Beginner Time: 15 mins

Supplies Needed


Supplies Needed
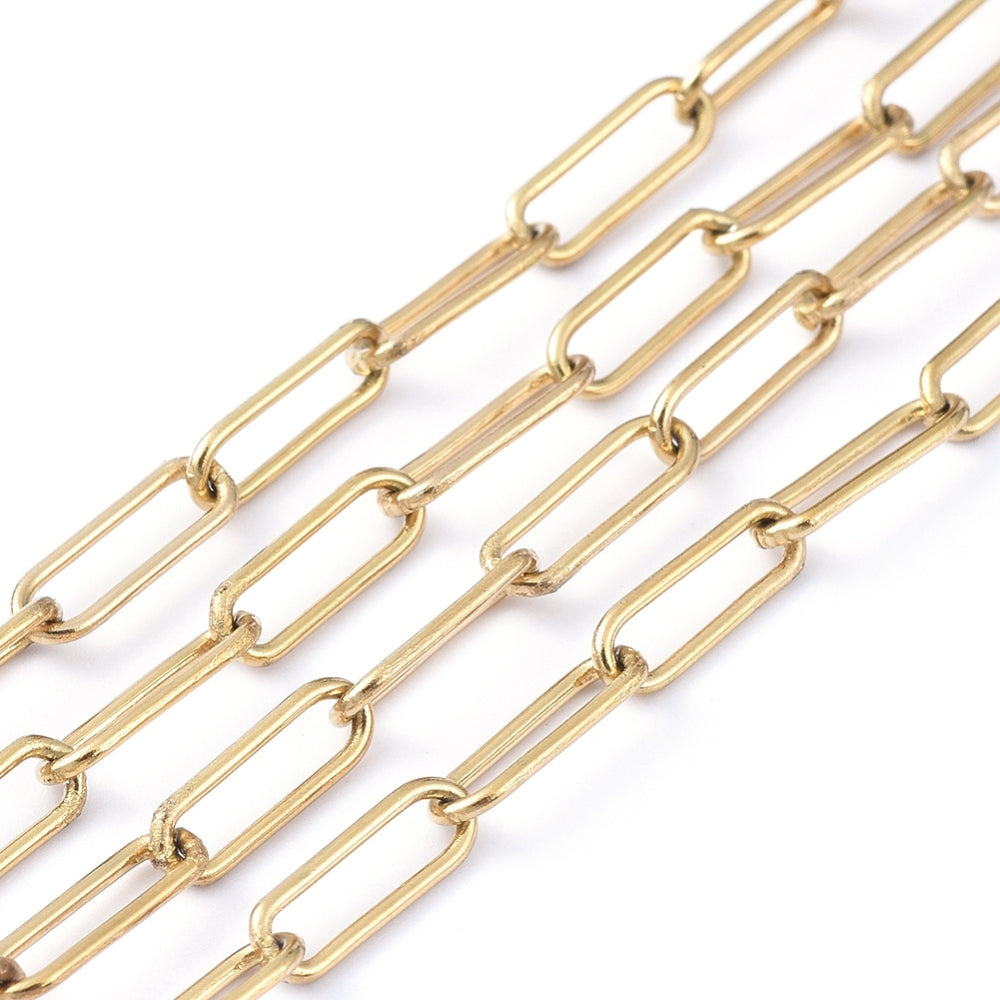
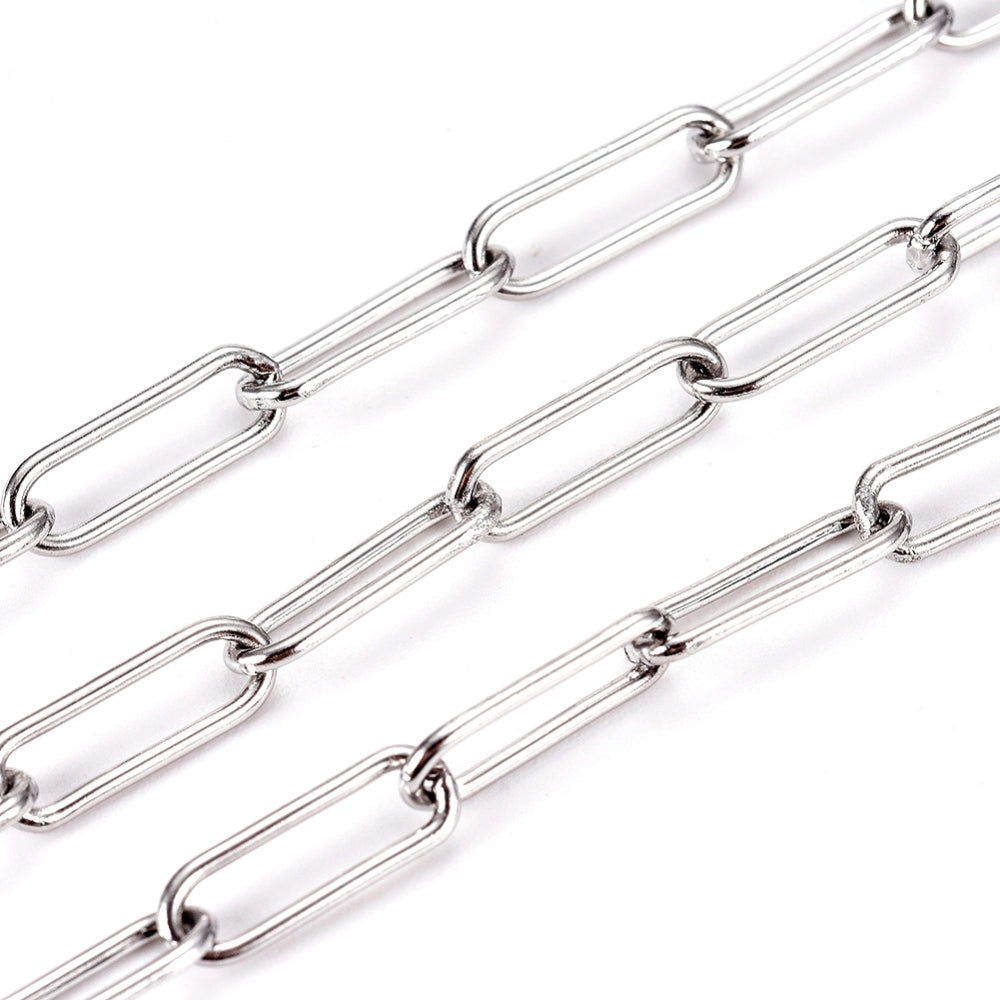
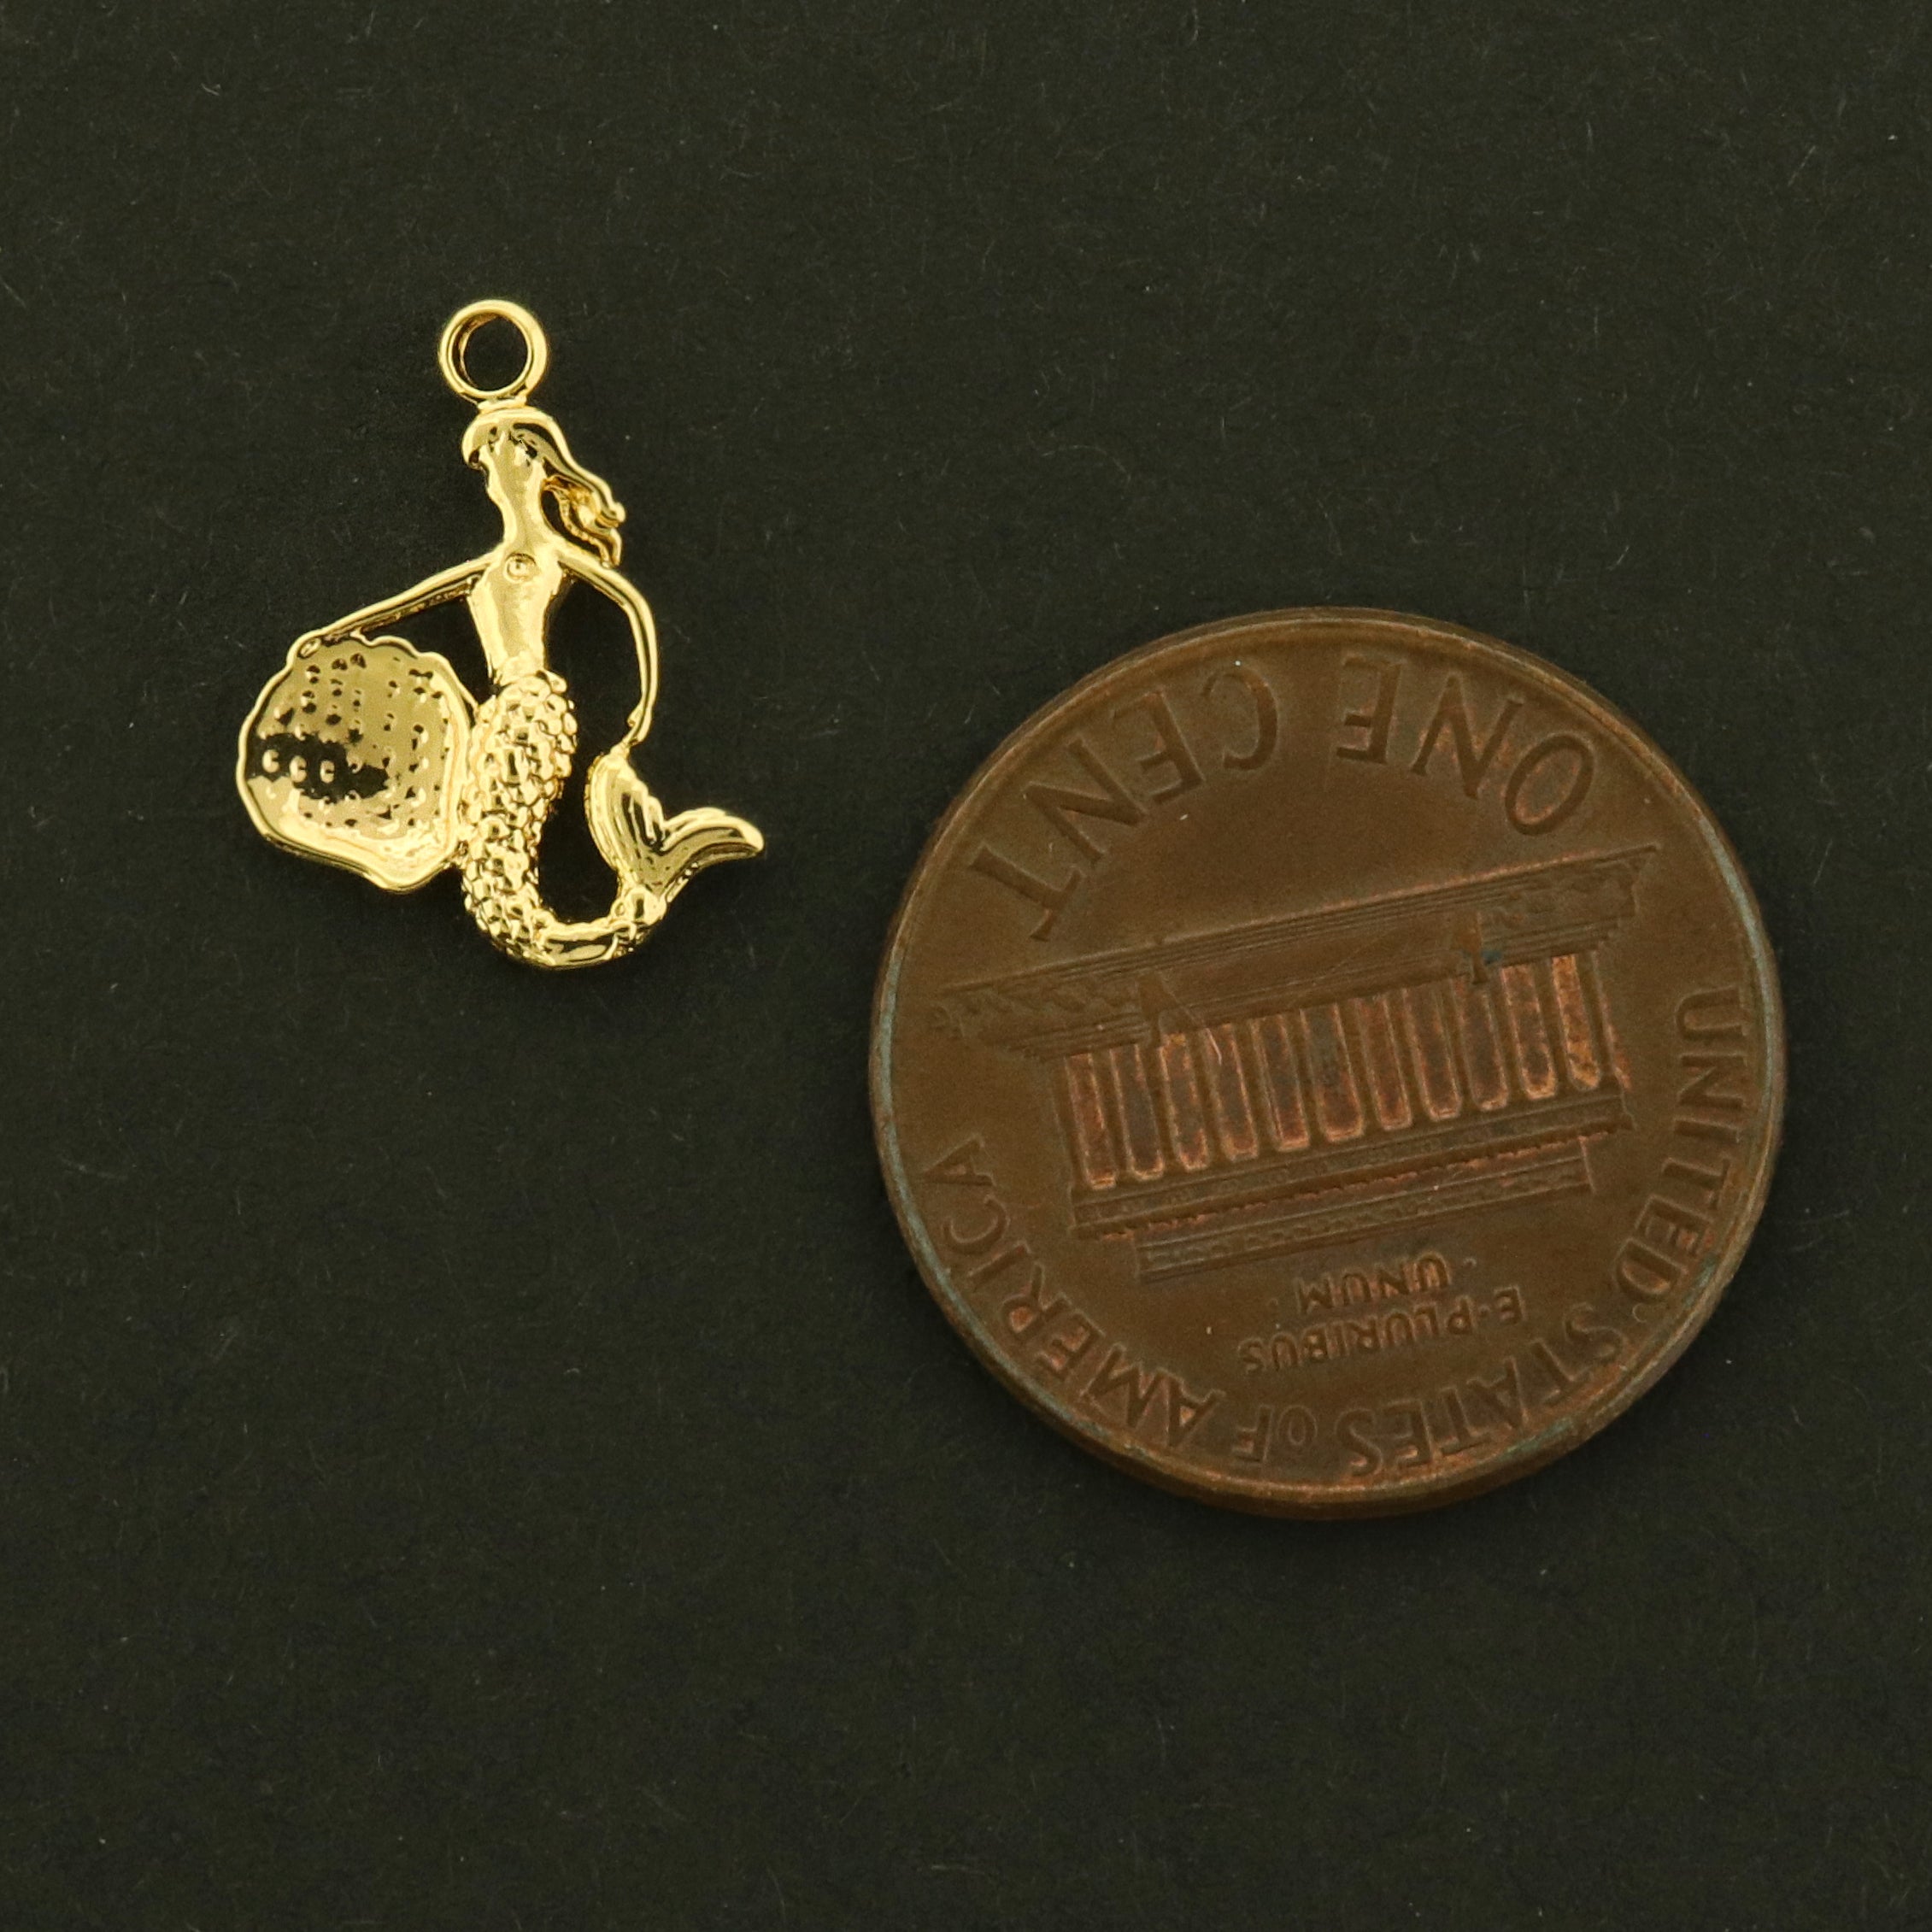
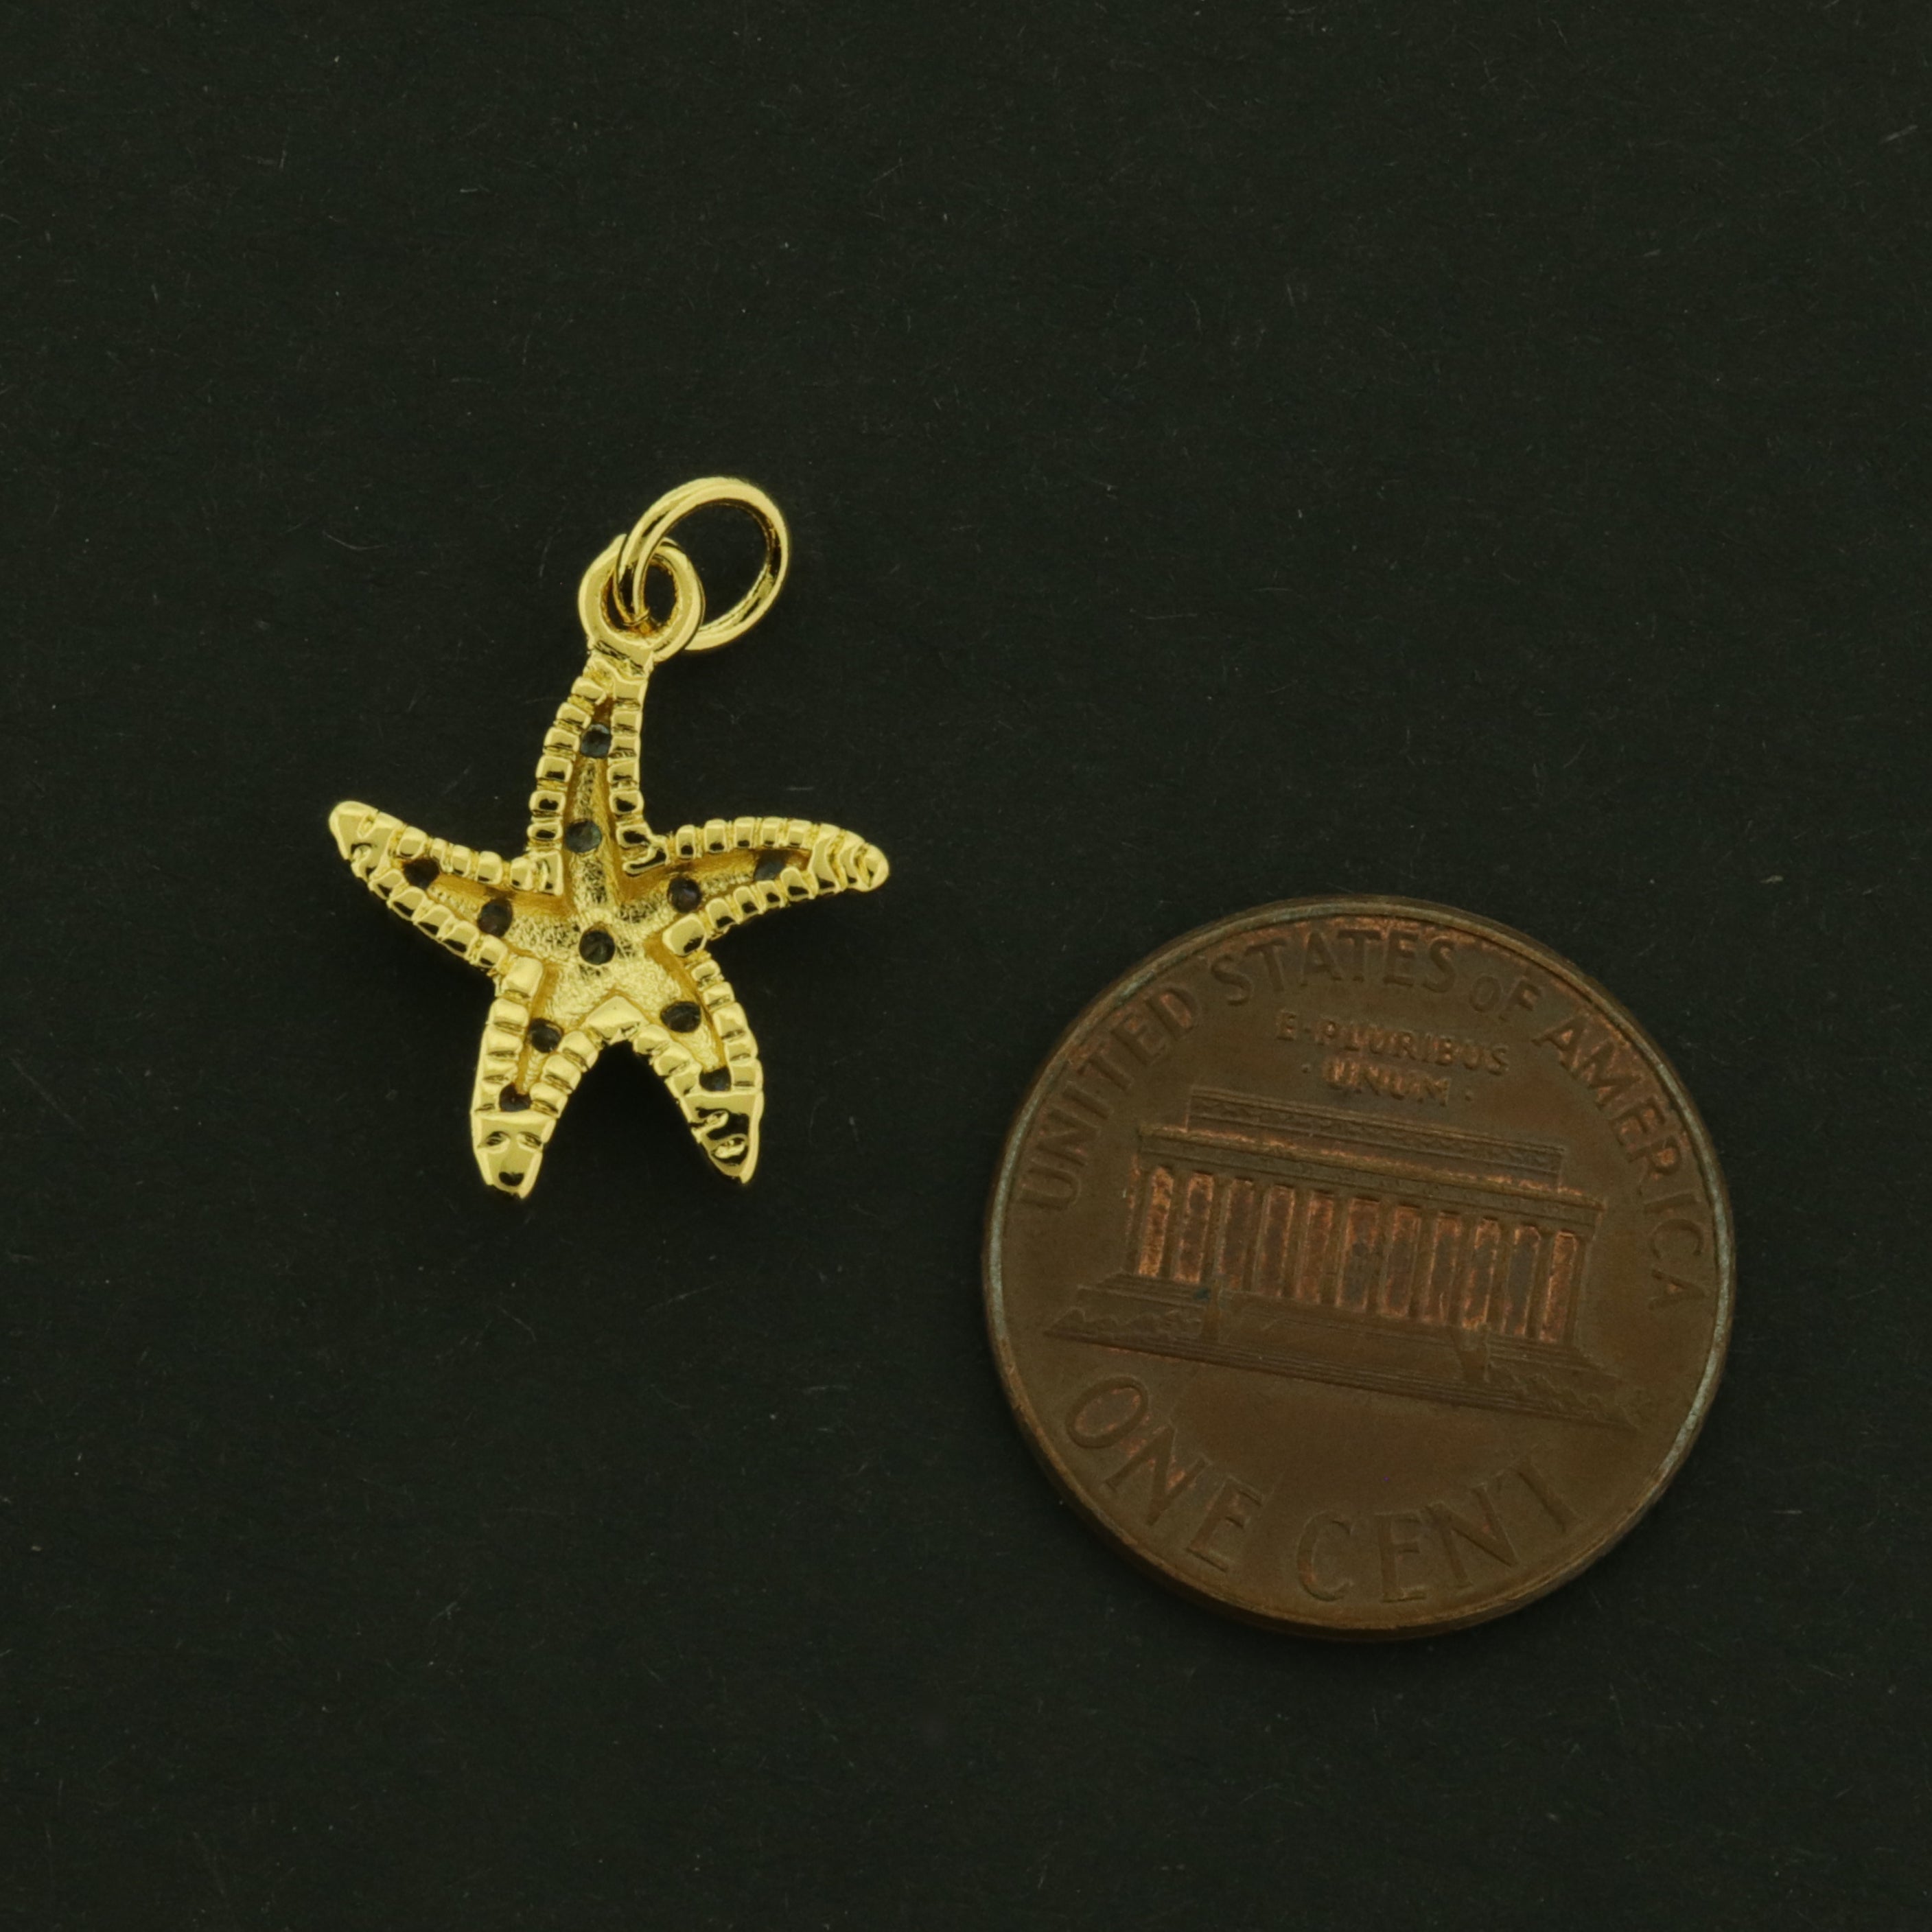
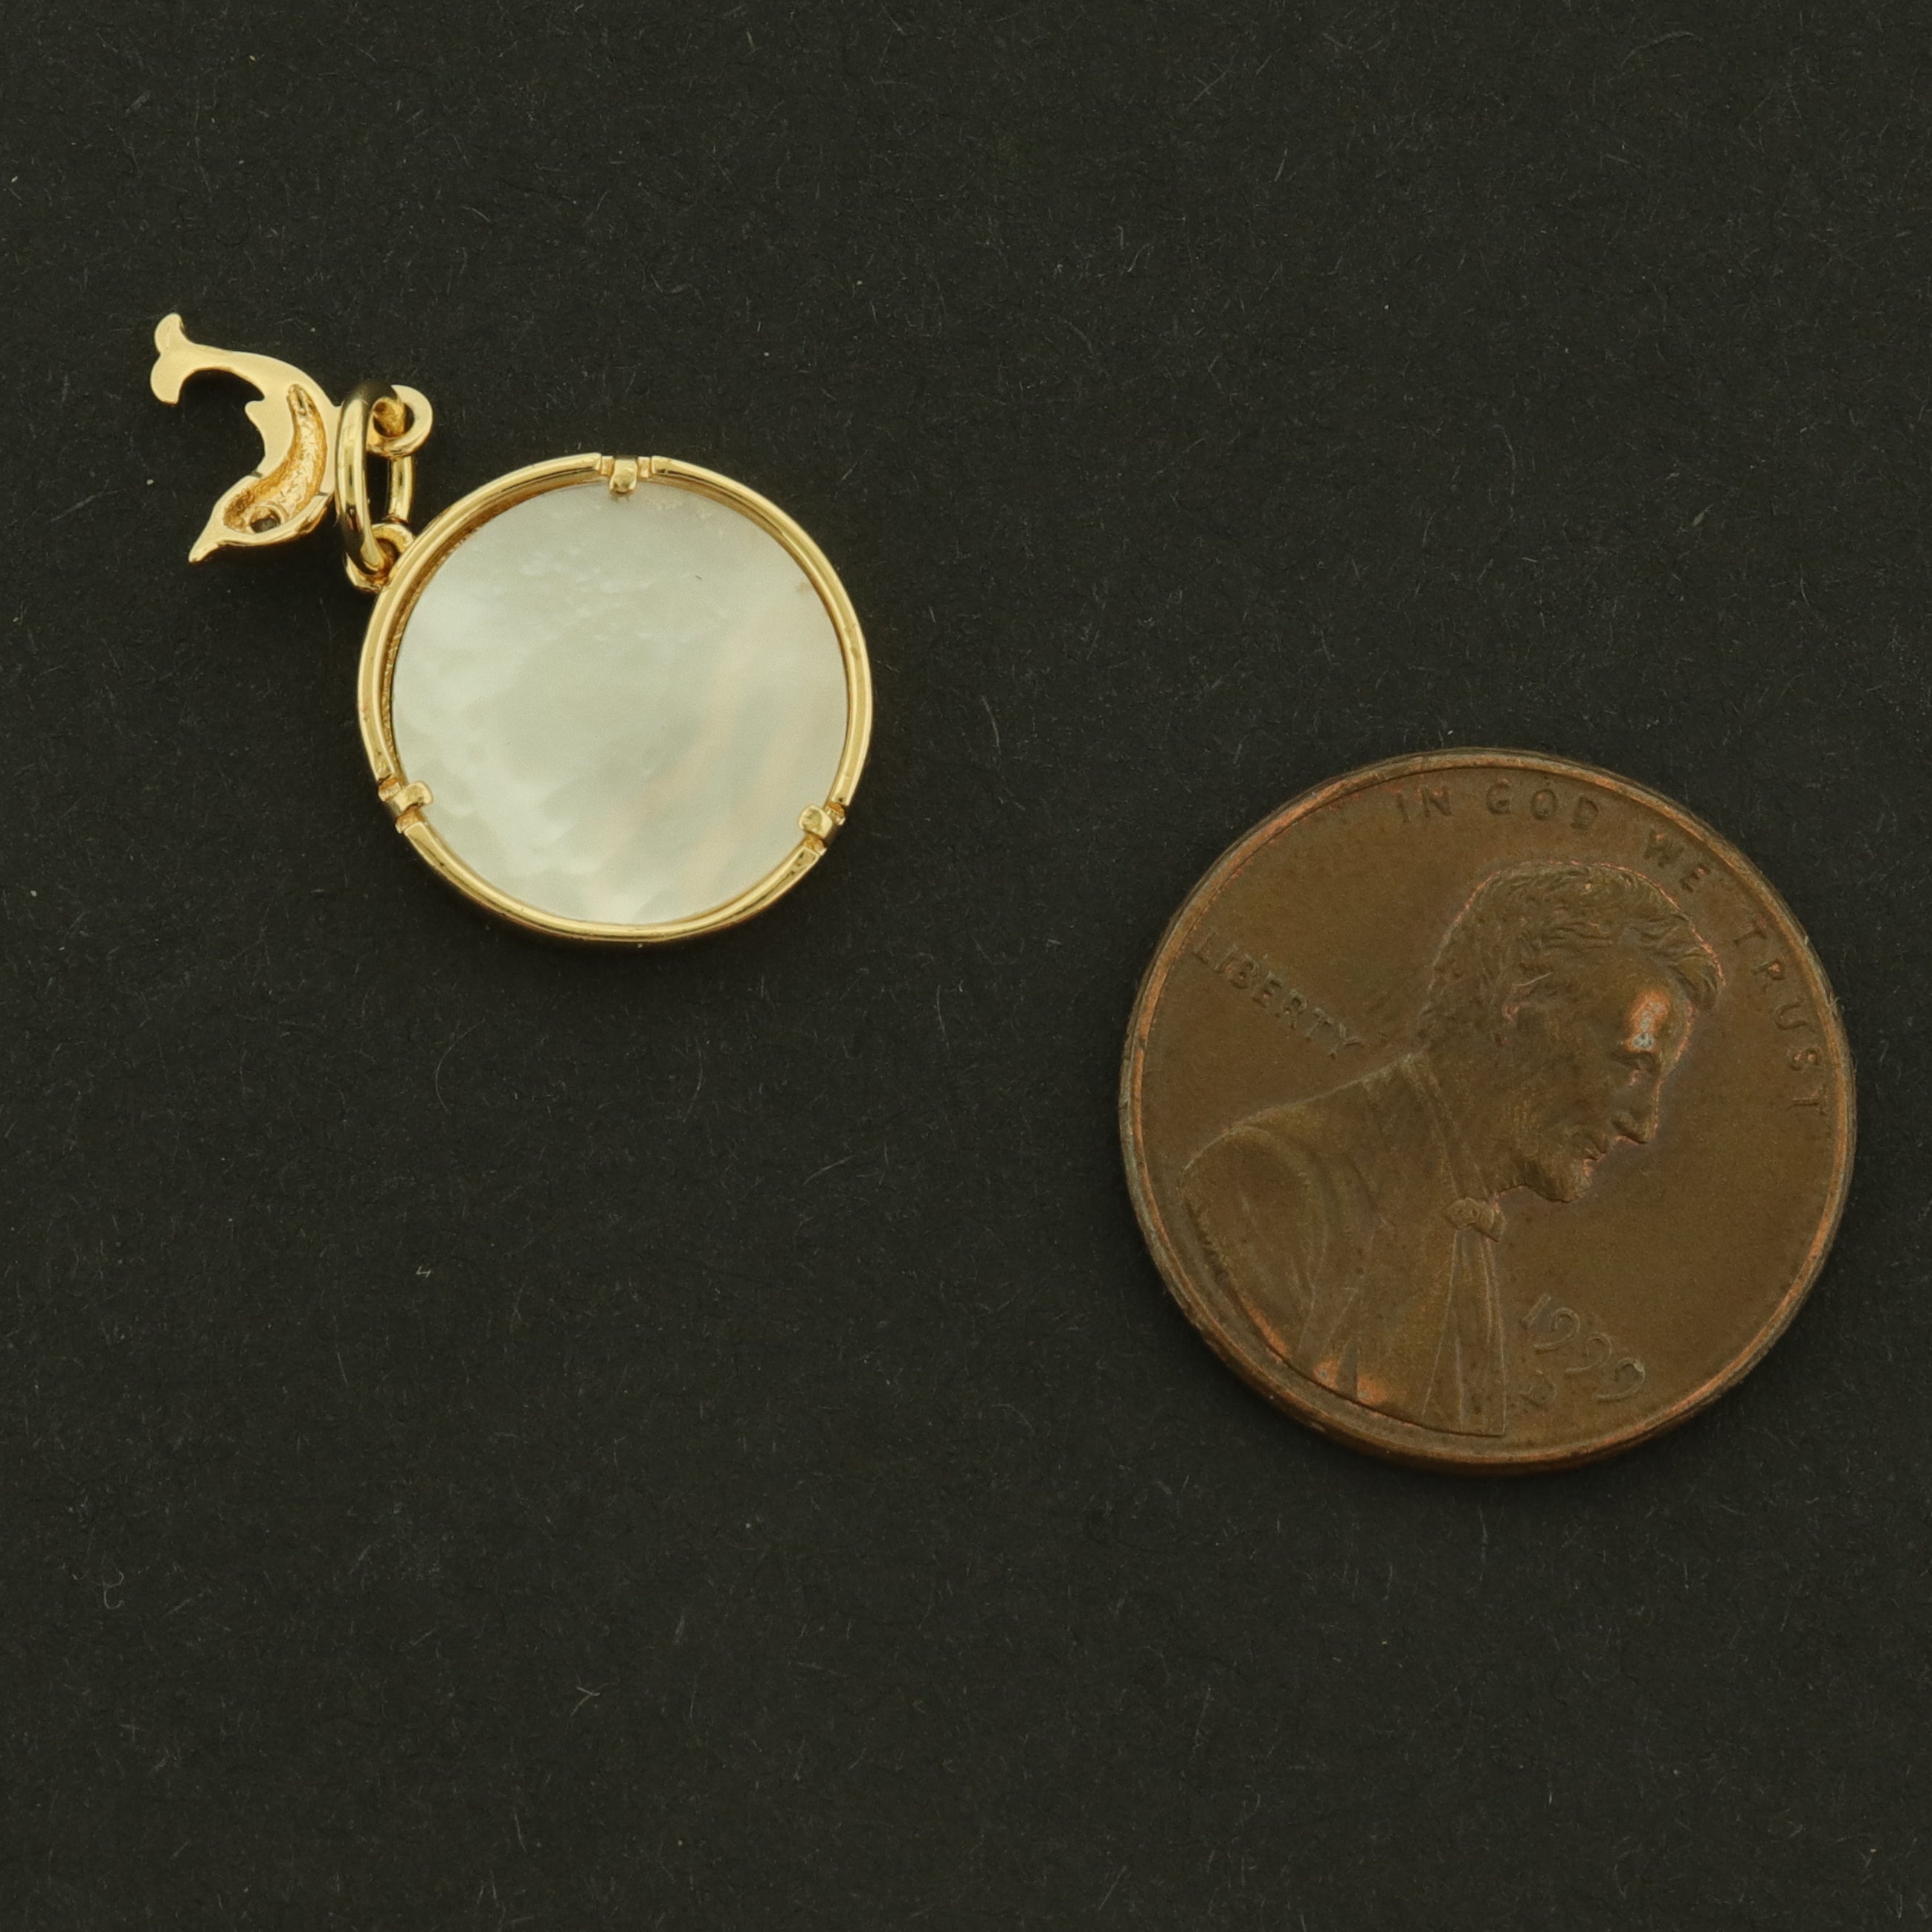
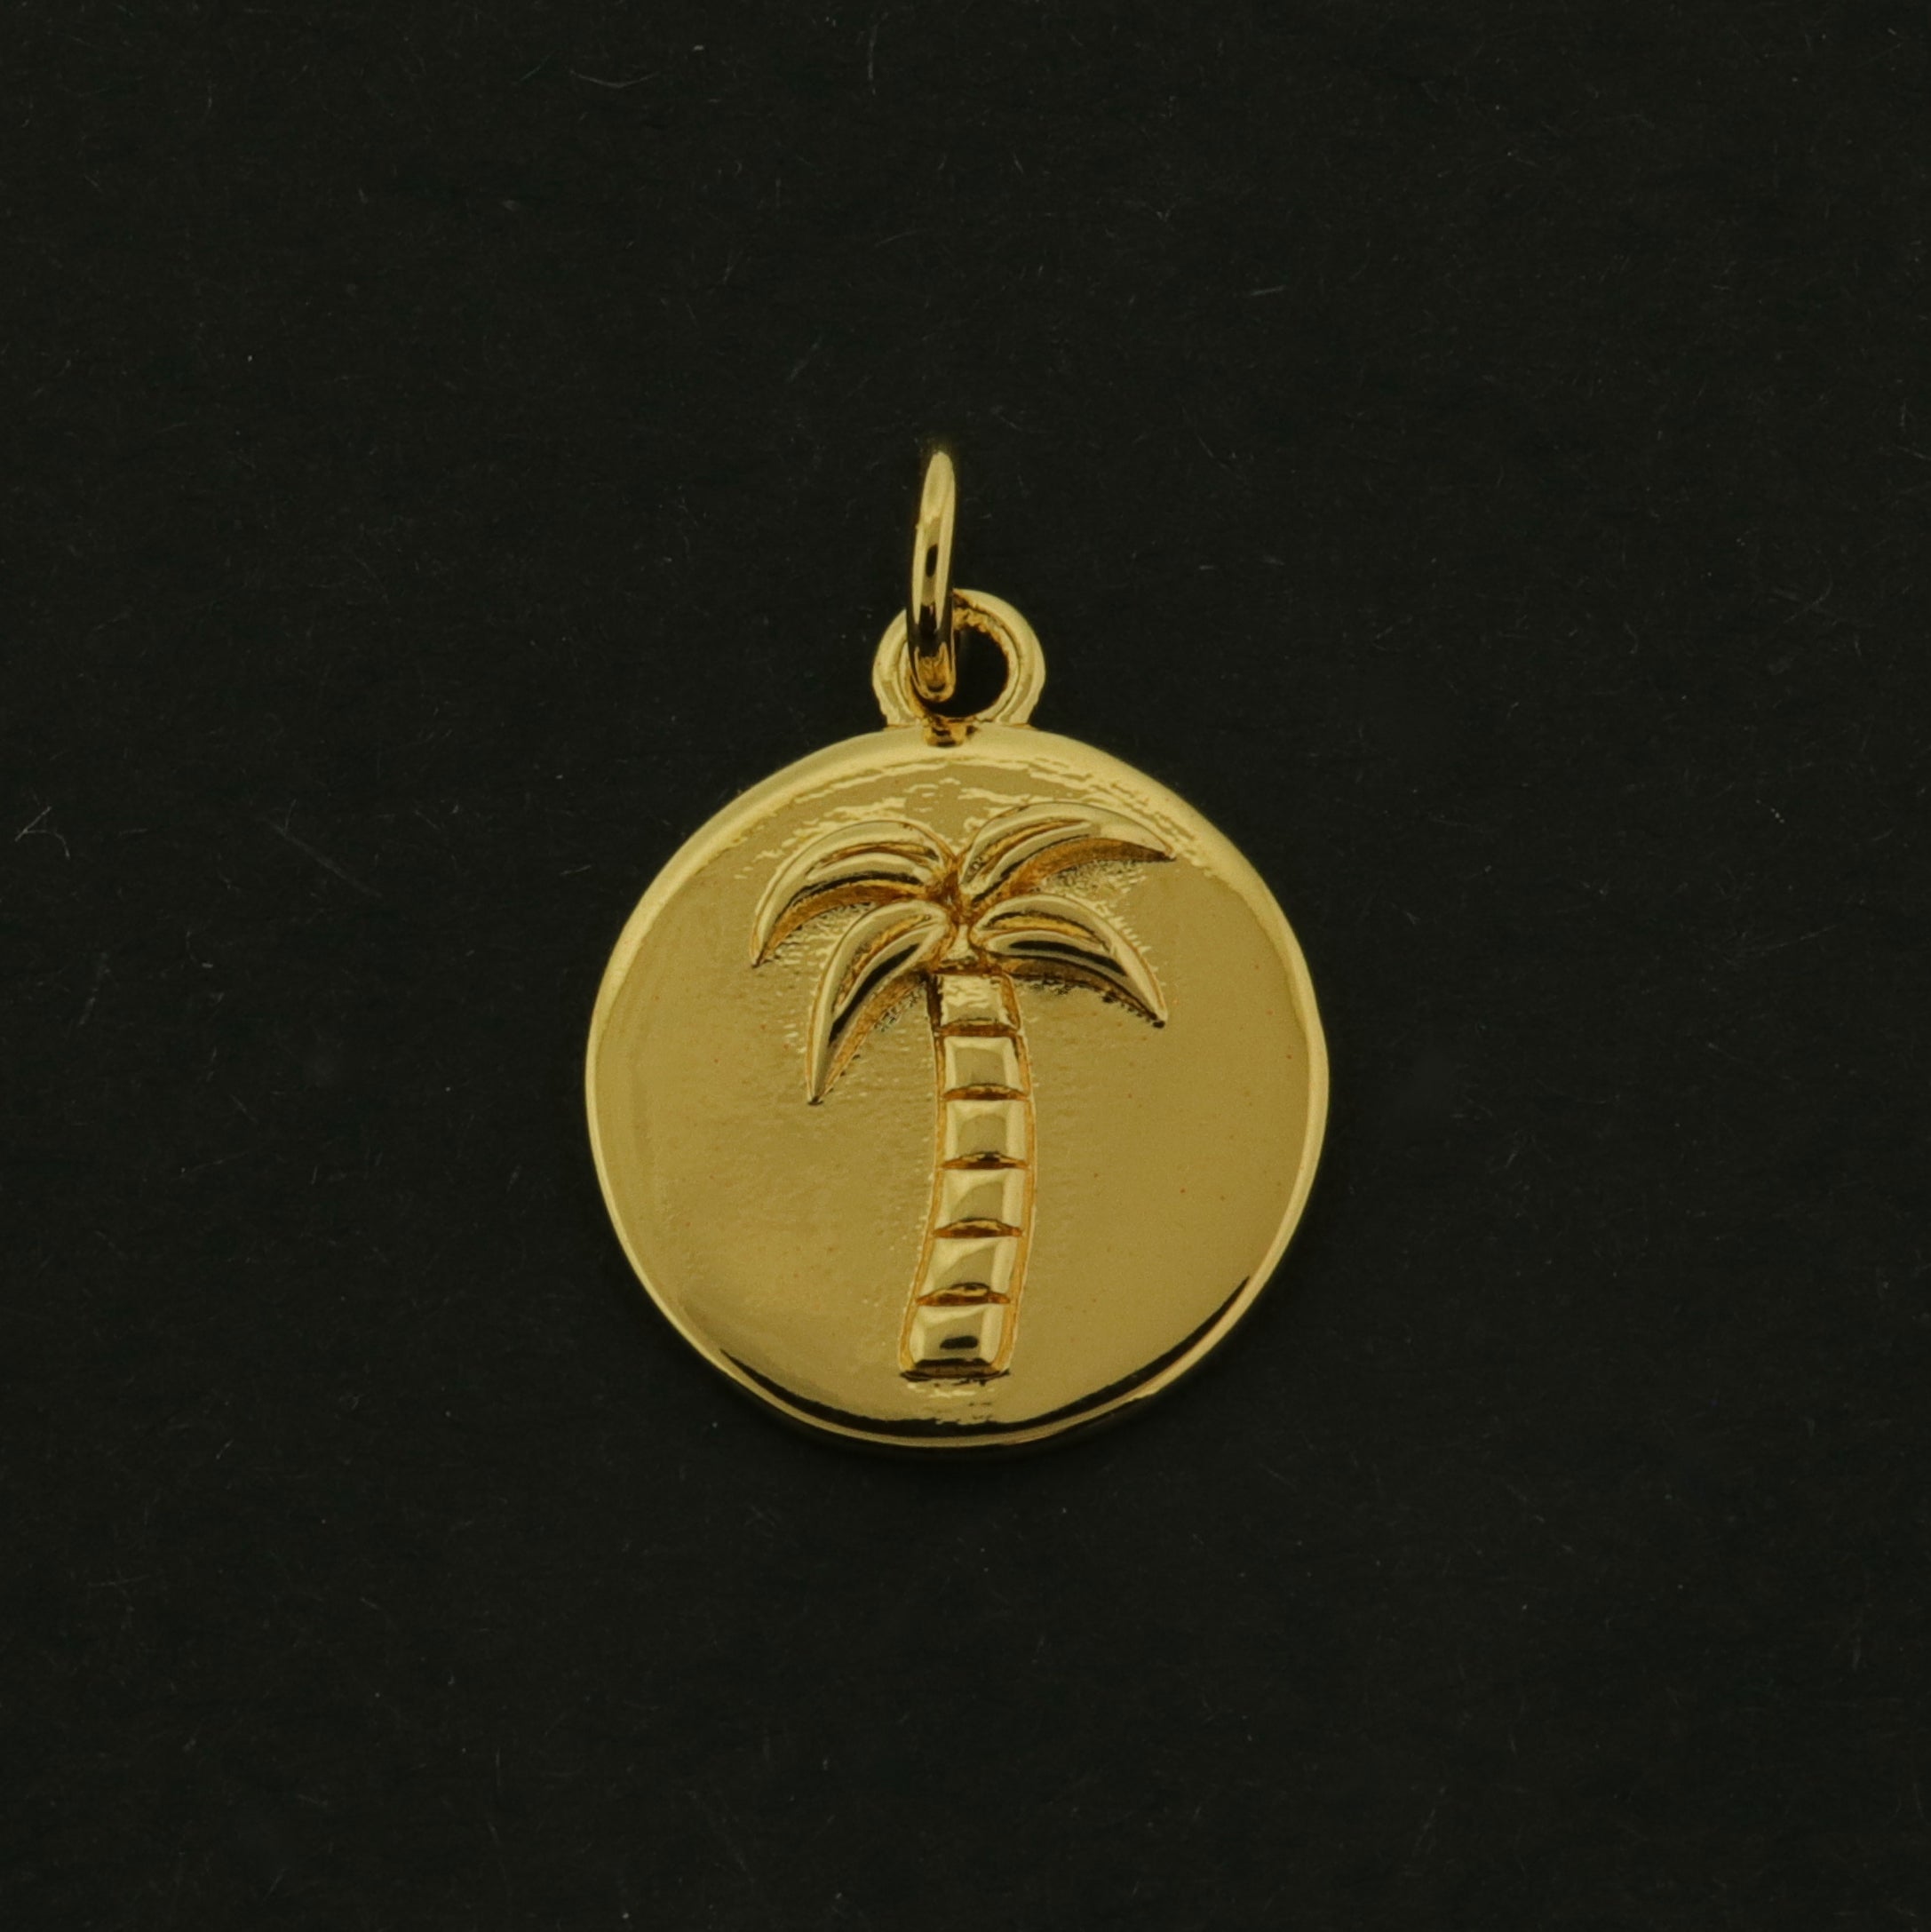
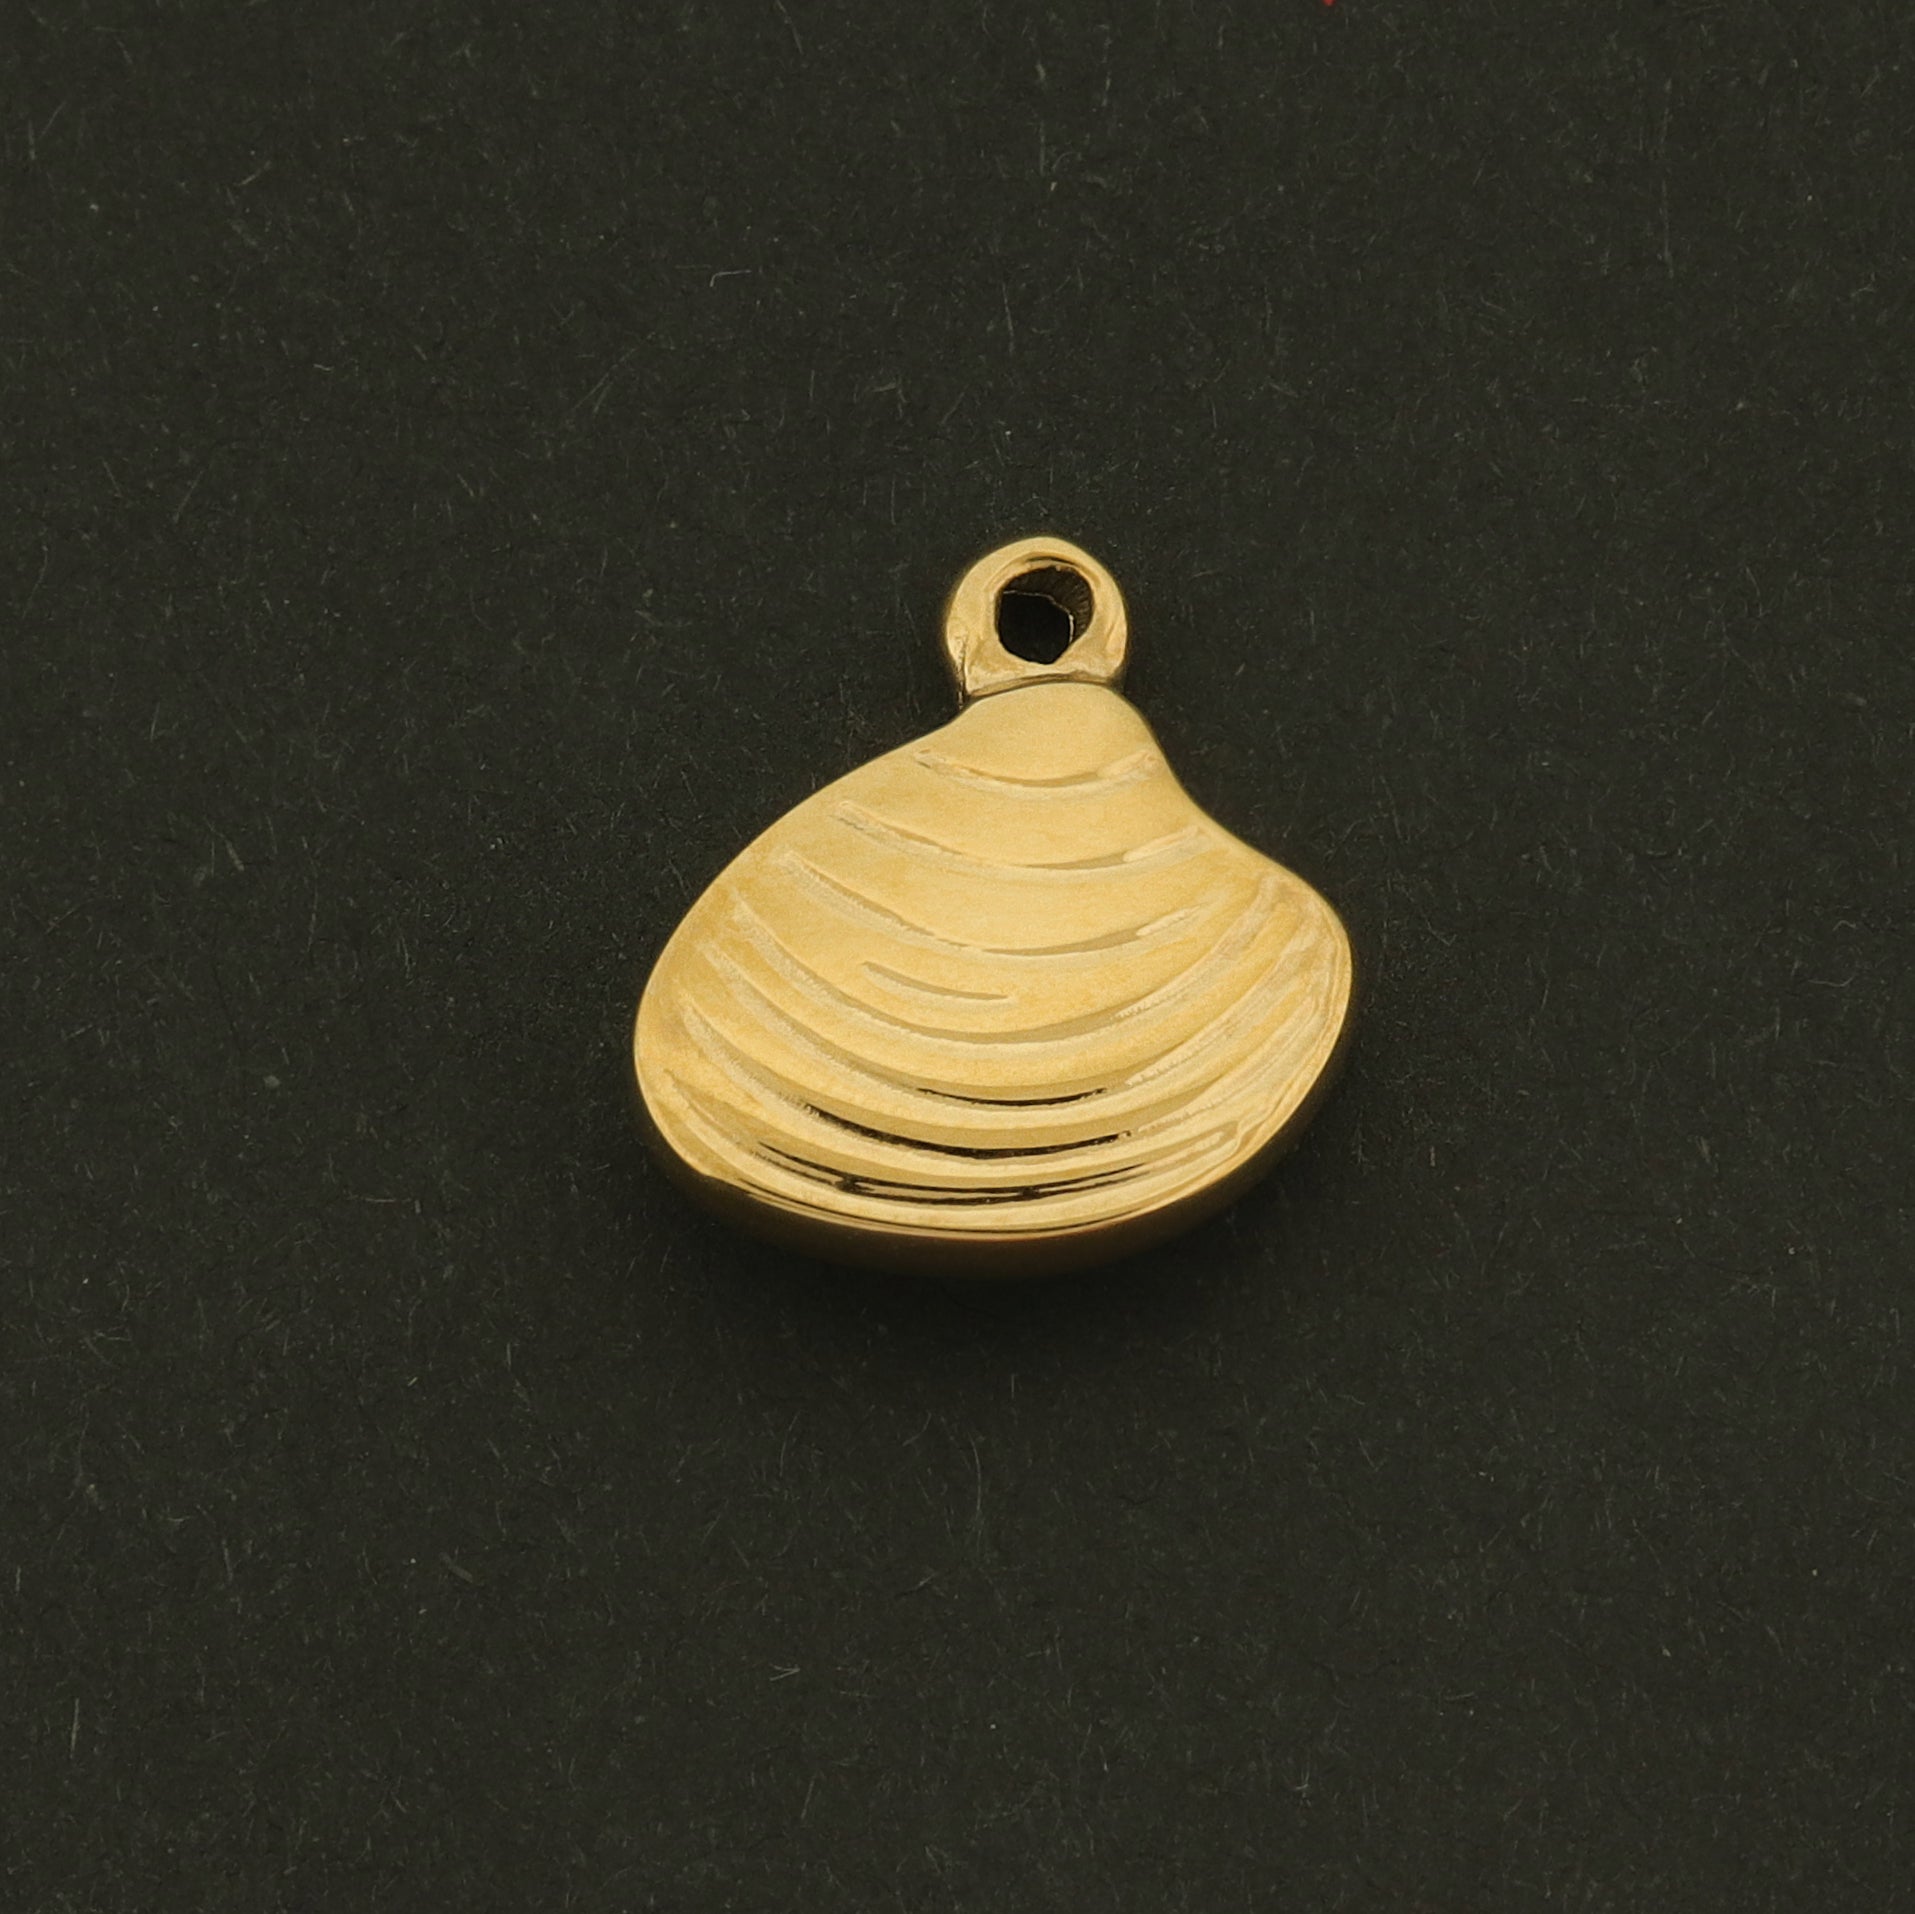
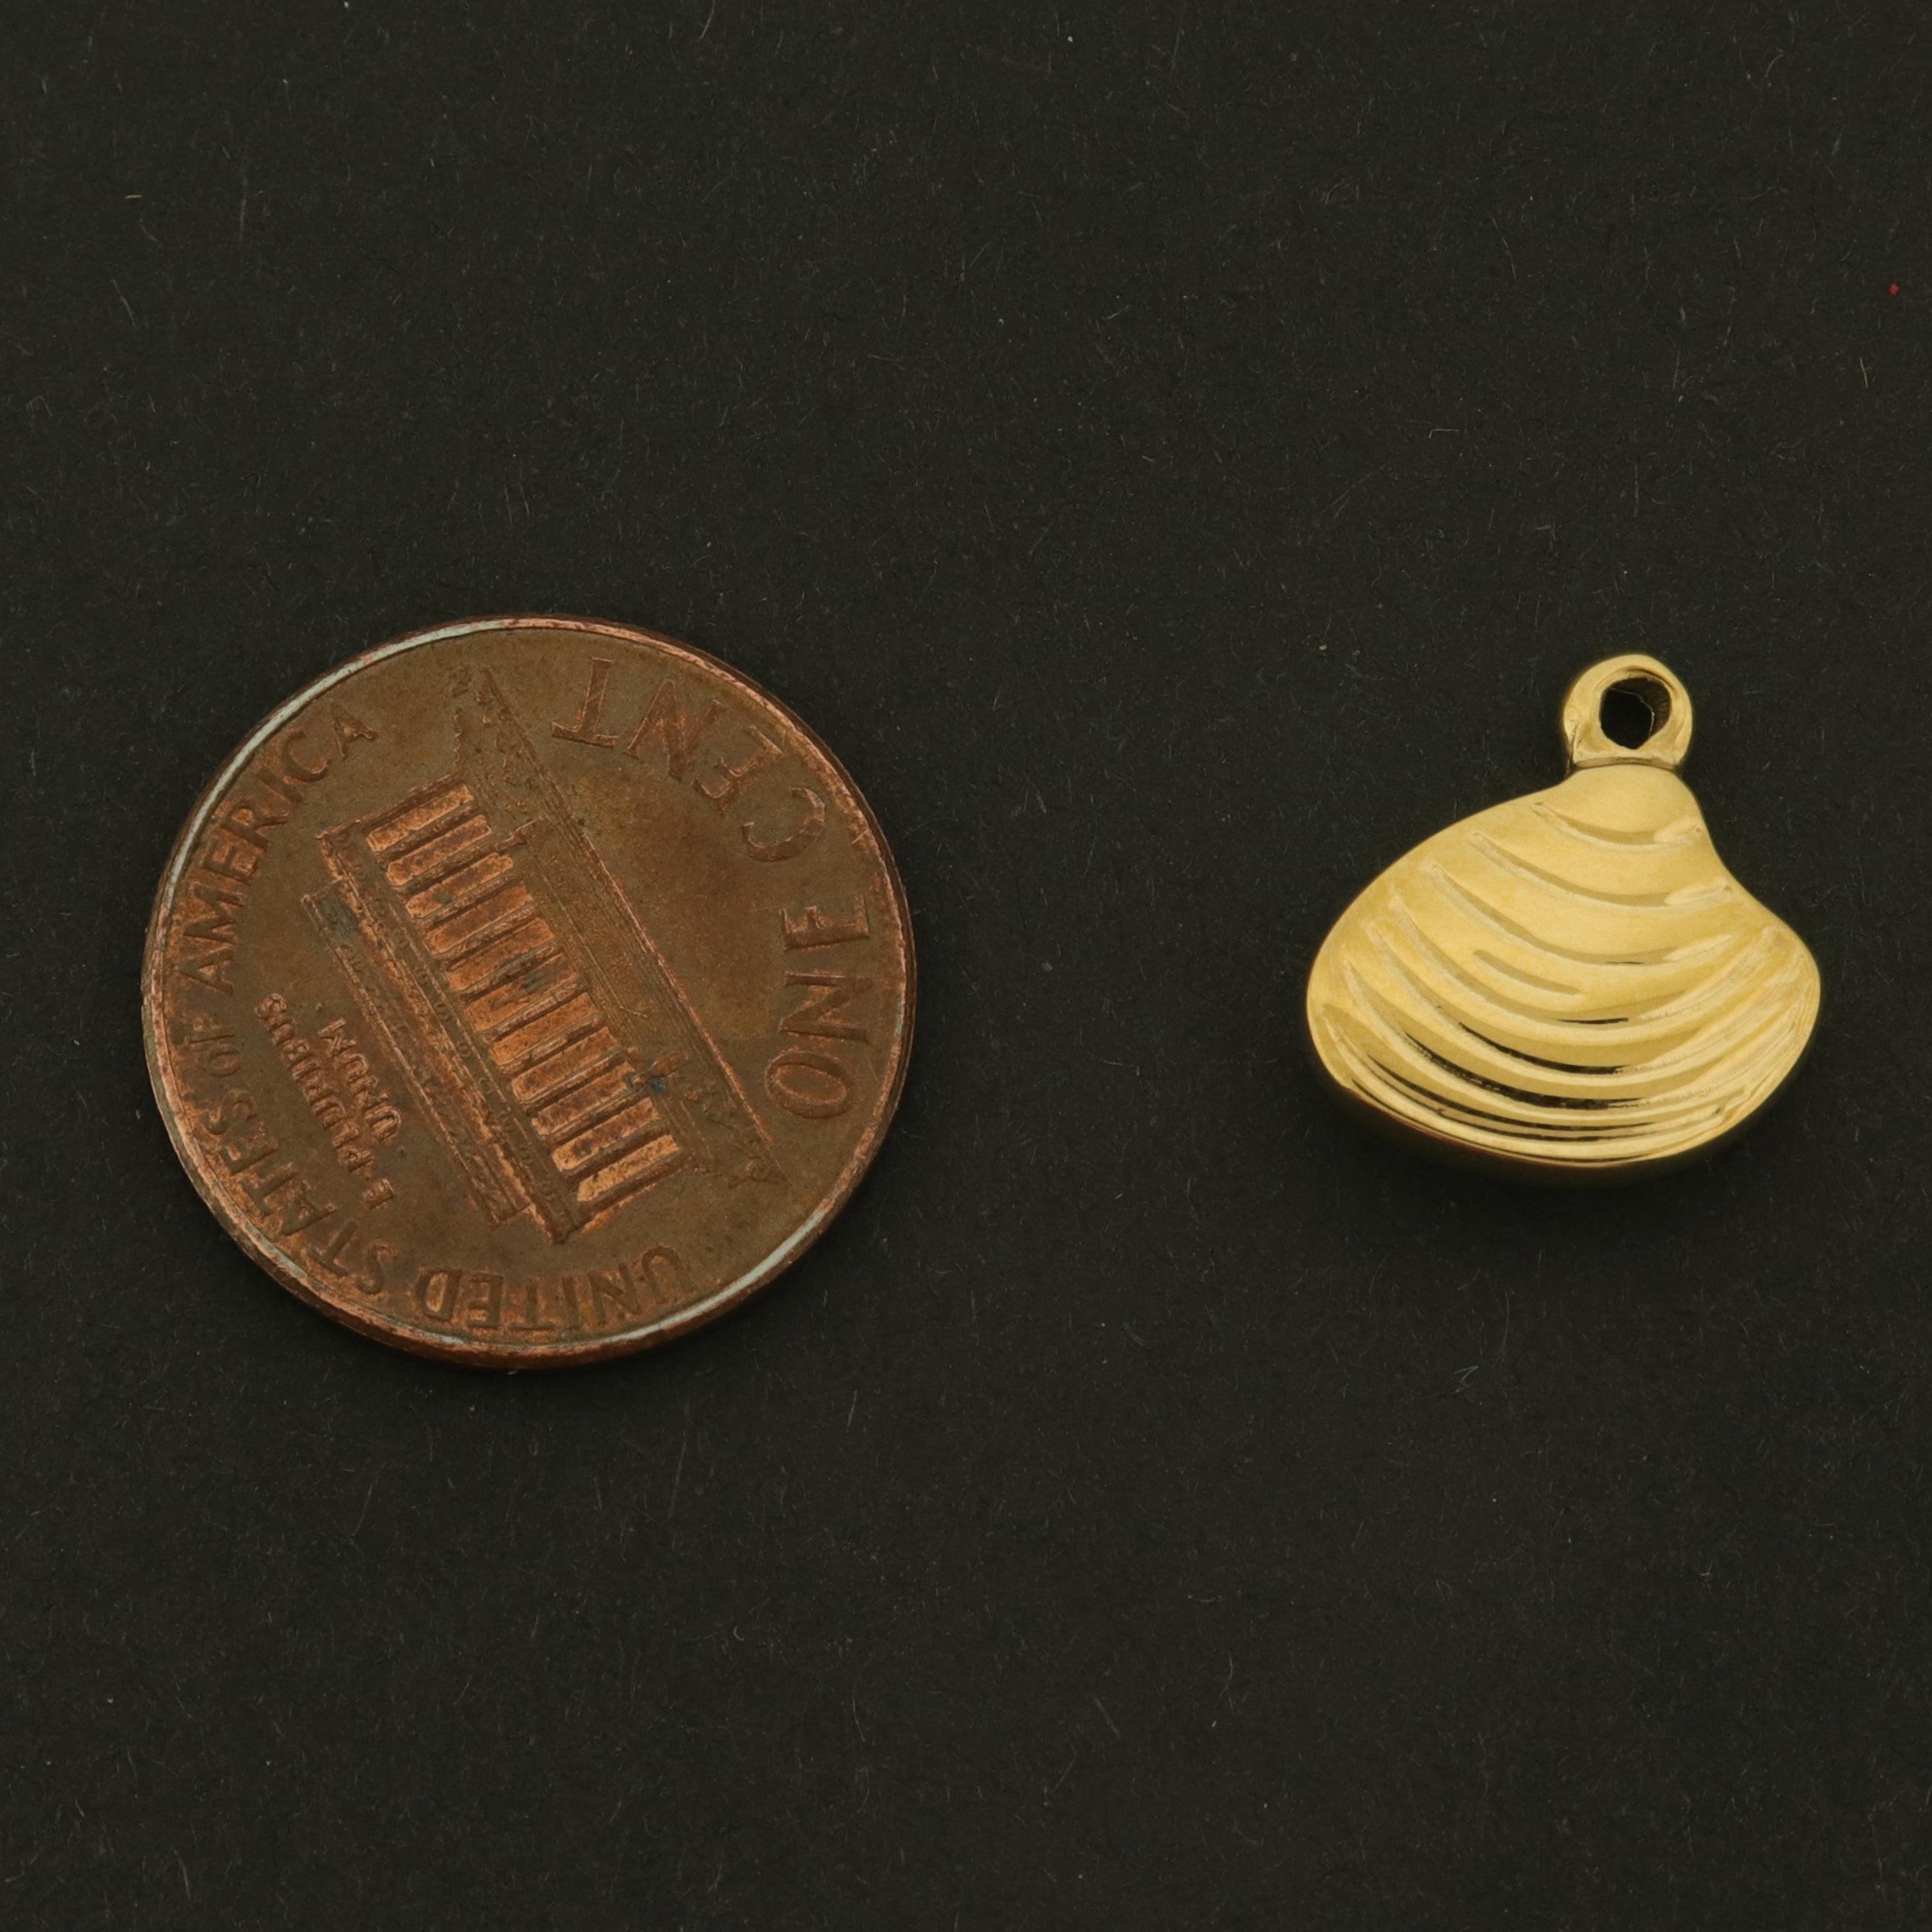
The items we've used for this DIY are available just above this in our DIY Charm Necklace collection. We've chosen a coastal theme, but you can find a huge variety of other charm themes in our Gold Filled and Gold Plated Charm section.
Likewise, if you'd like to save some time by starting with a finished necklace, you can browse our finished paperclip necklaces here.

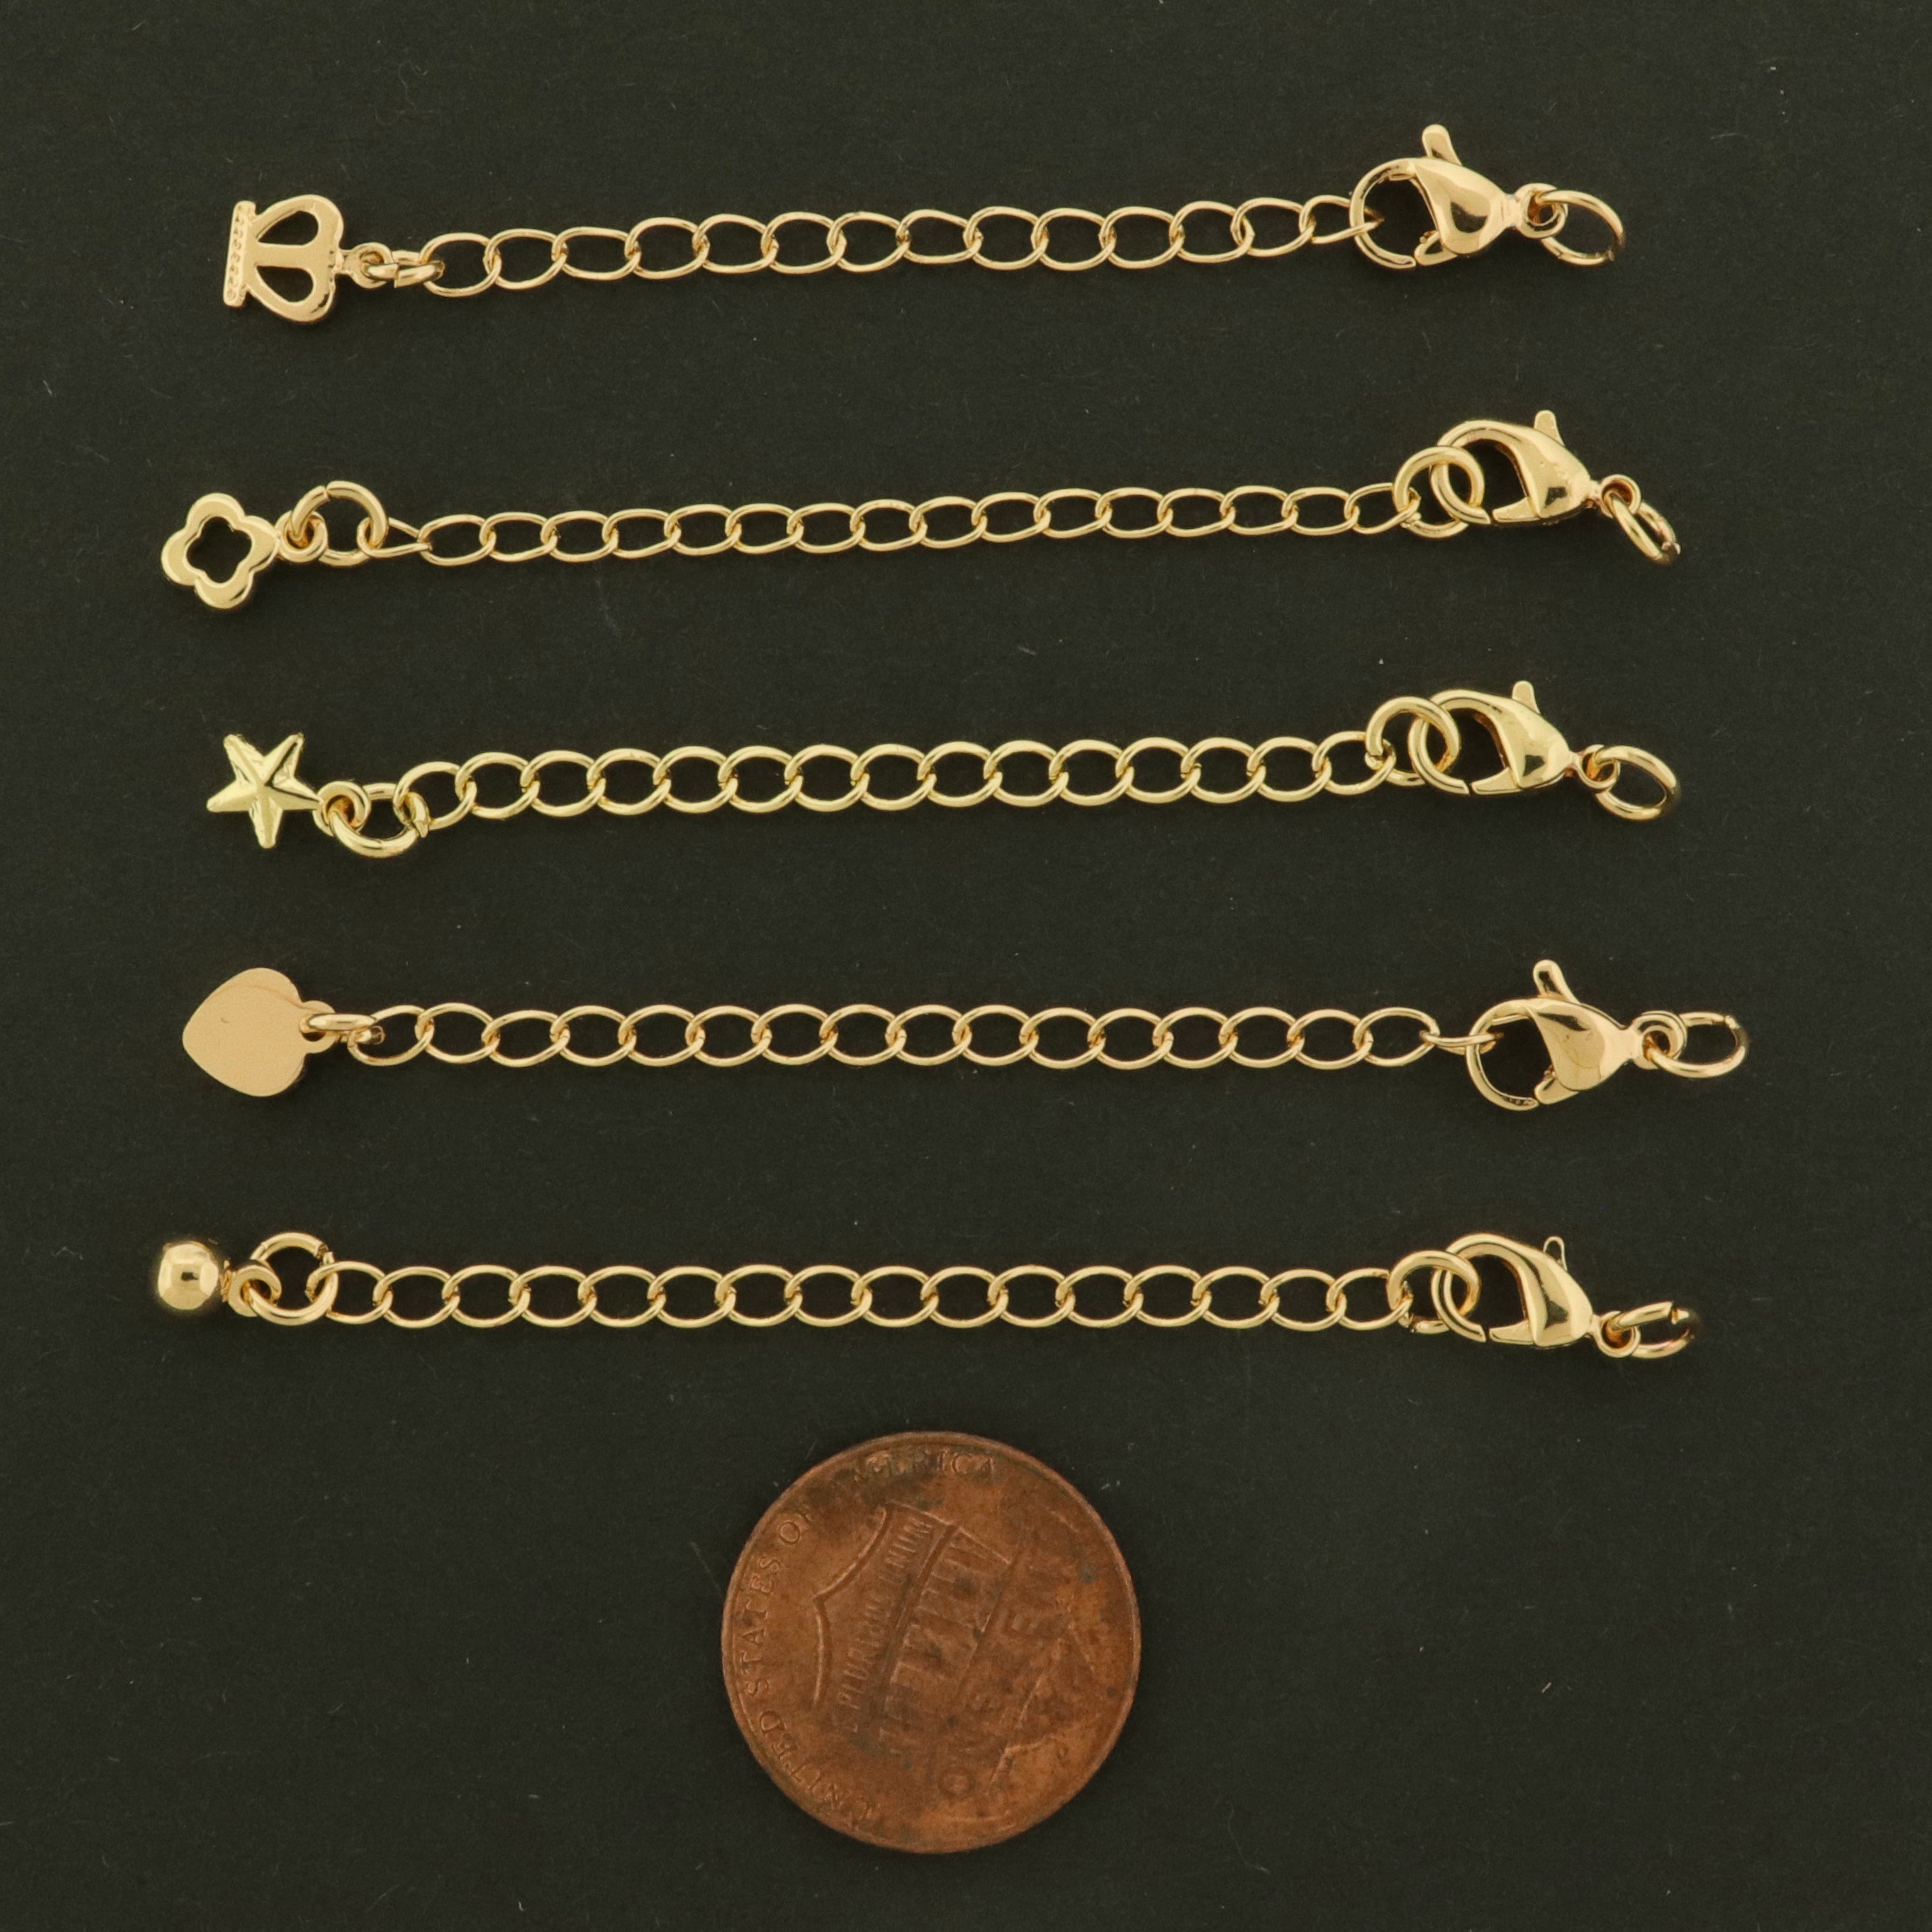
STEP 1: Cut the Chain to your desired length
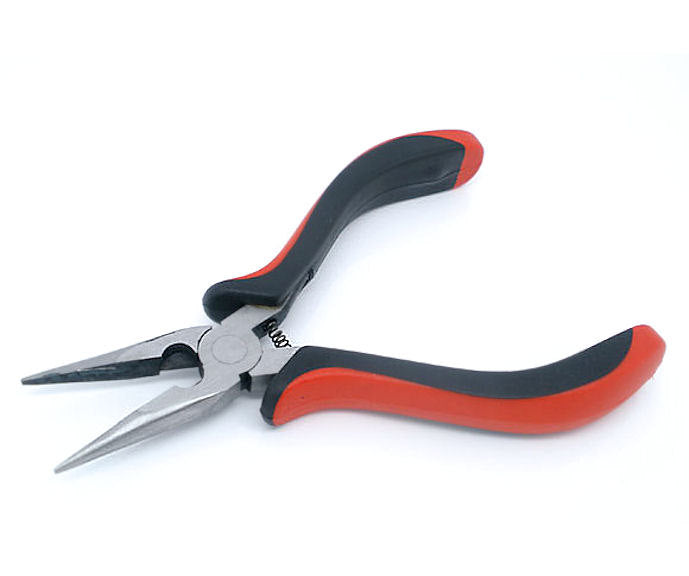
Depending on the type of chain you're using you may be able to open the links. If you're using soldered / closed chain you'll have to cut one of the links with a set of sturdy pliers. We're using a 17" length of chain to make our necklace.

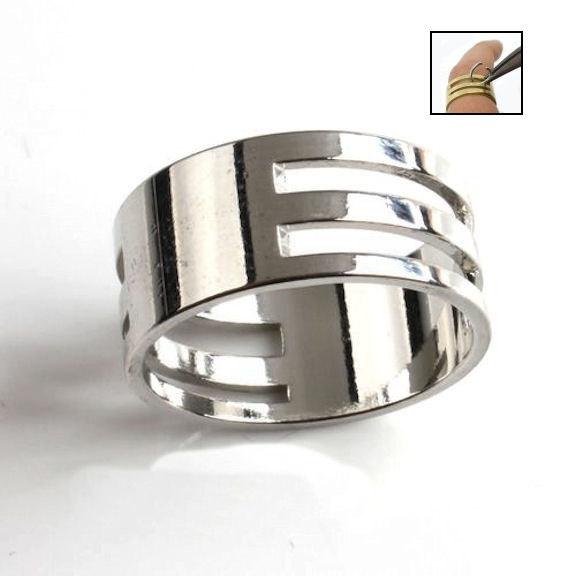
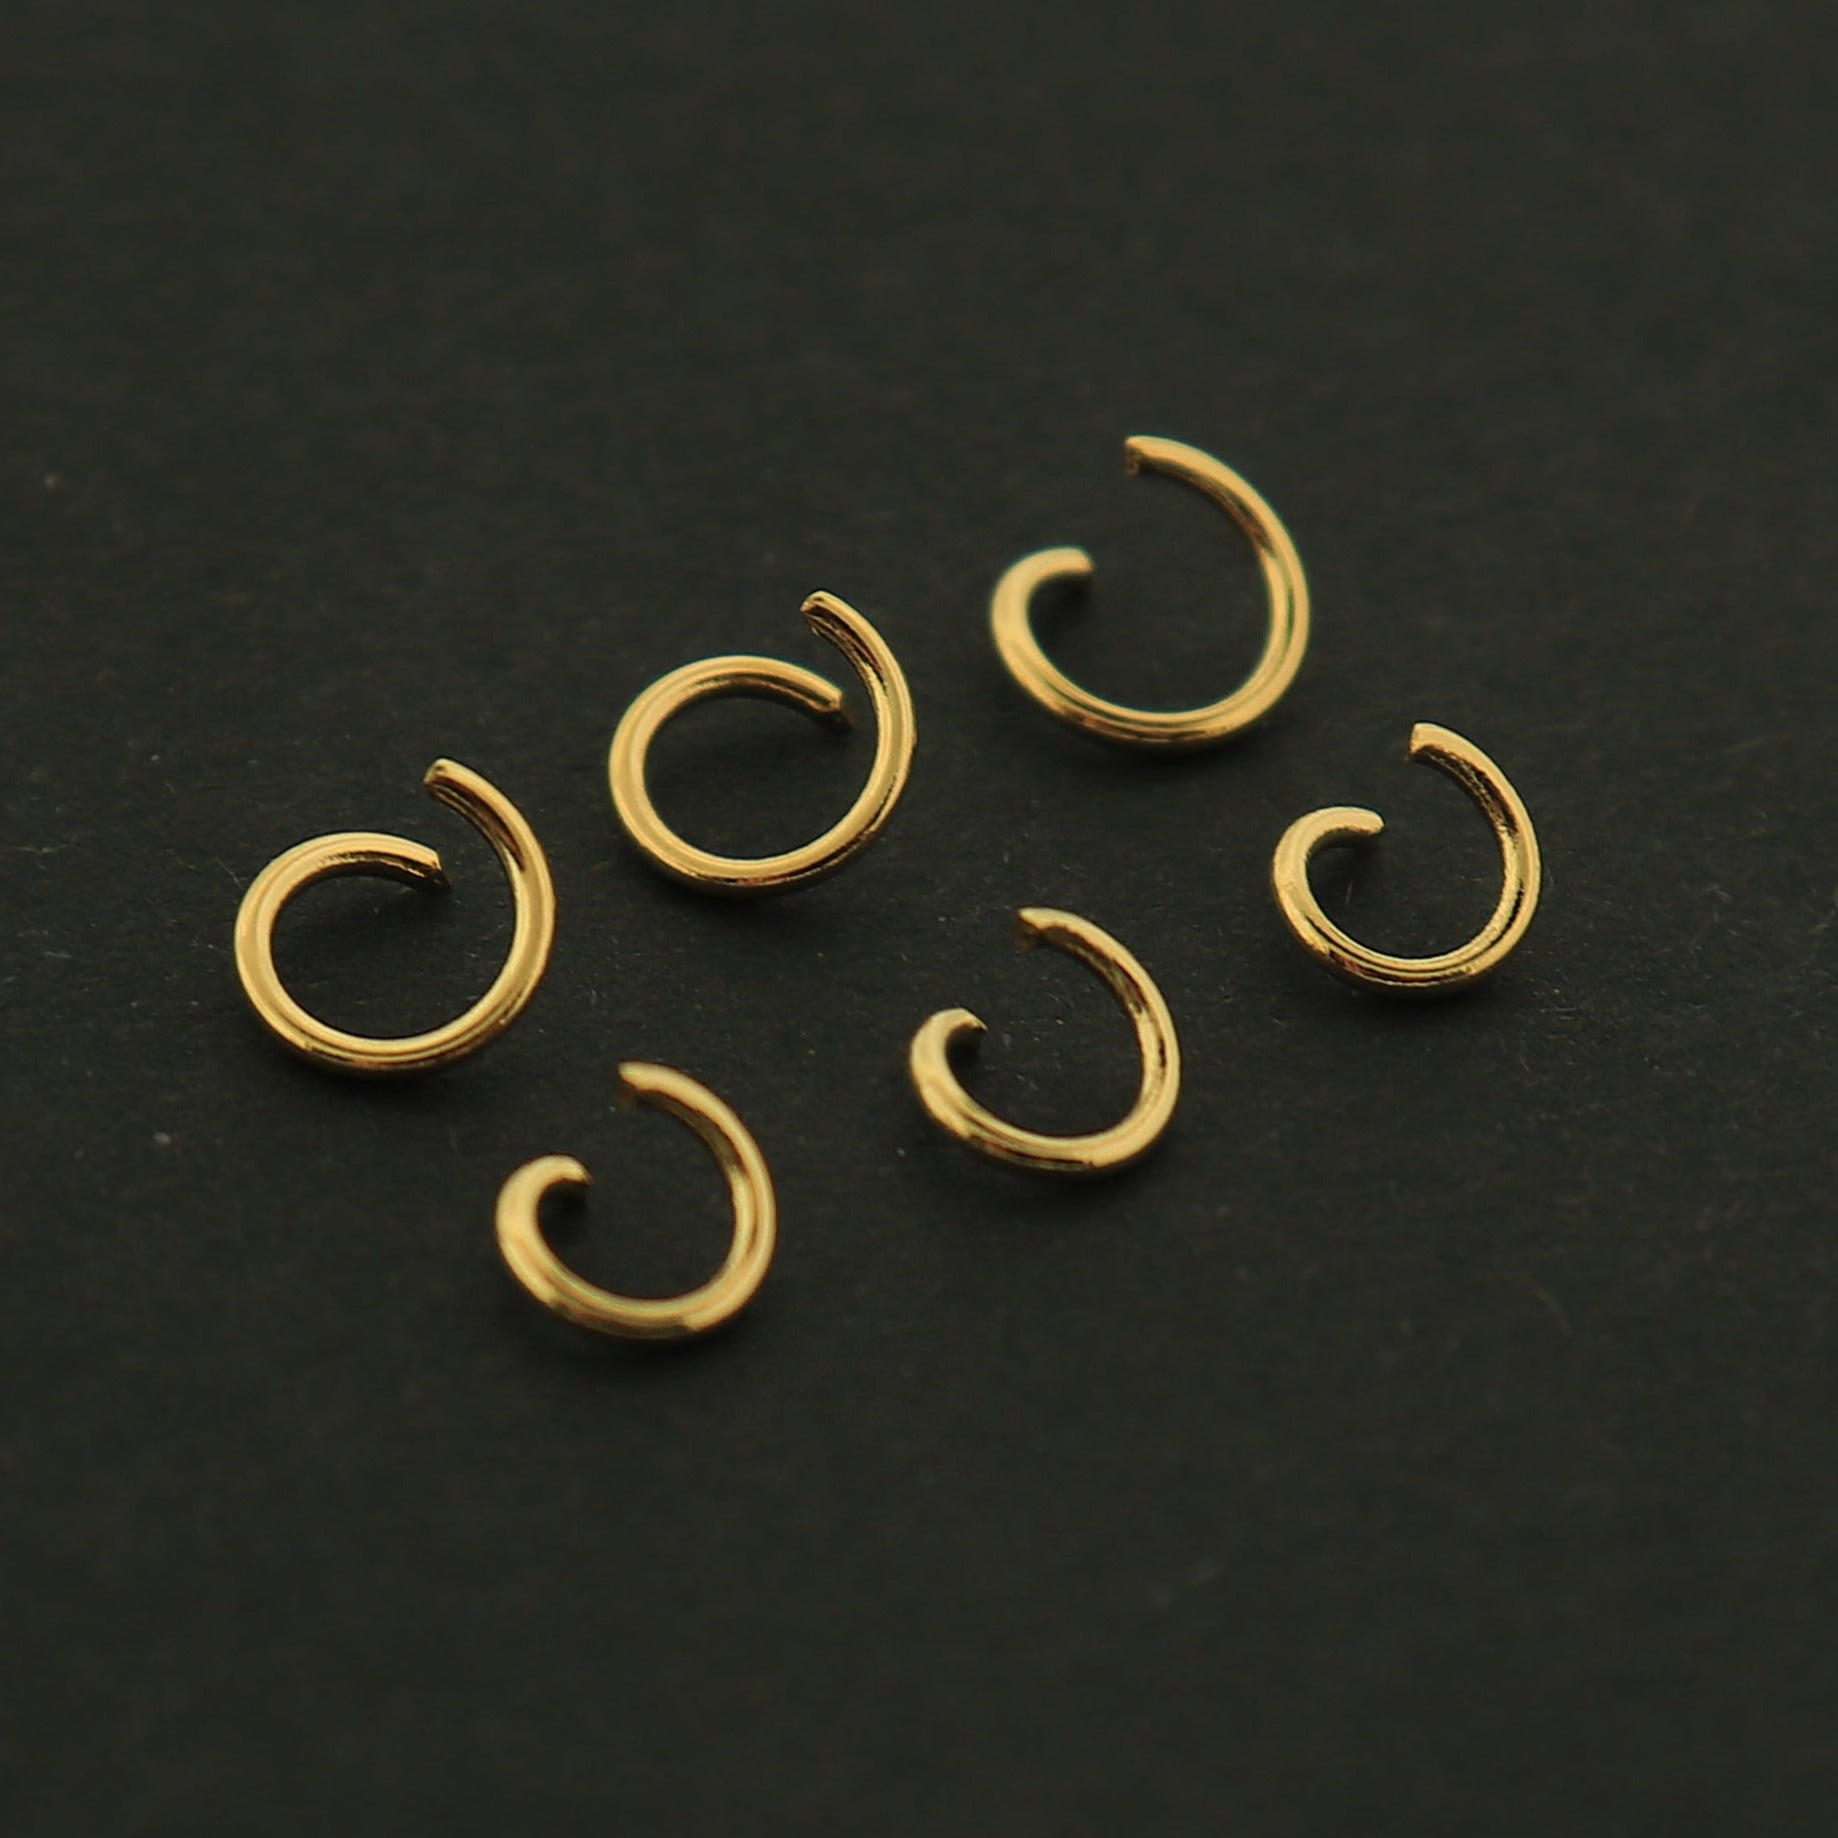
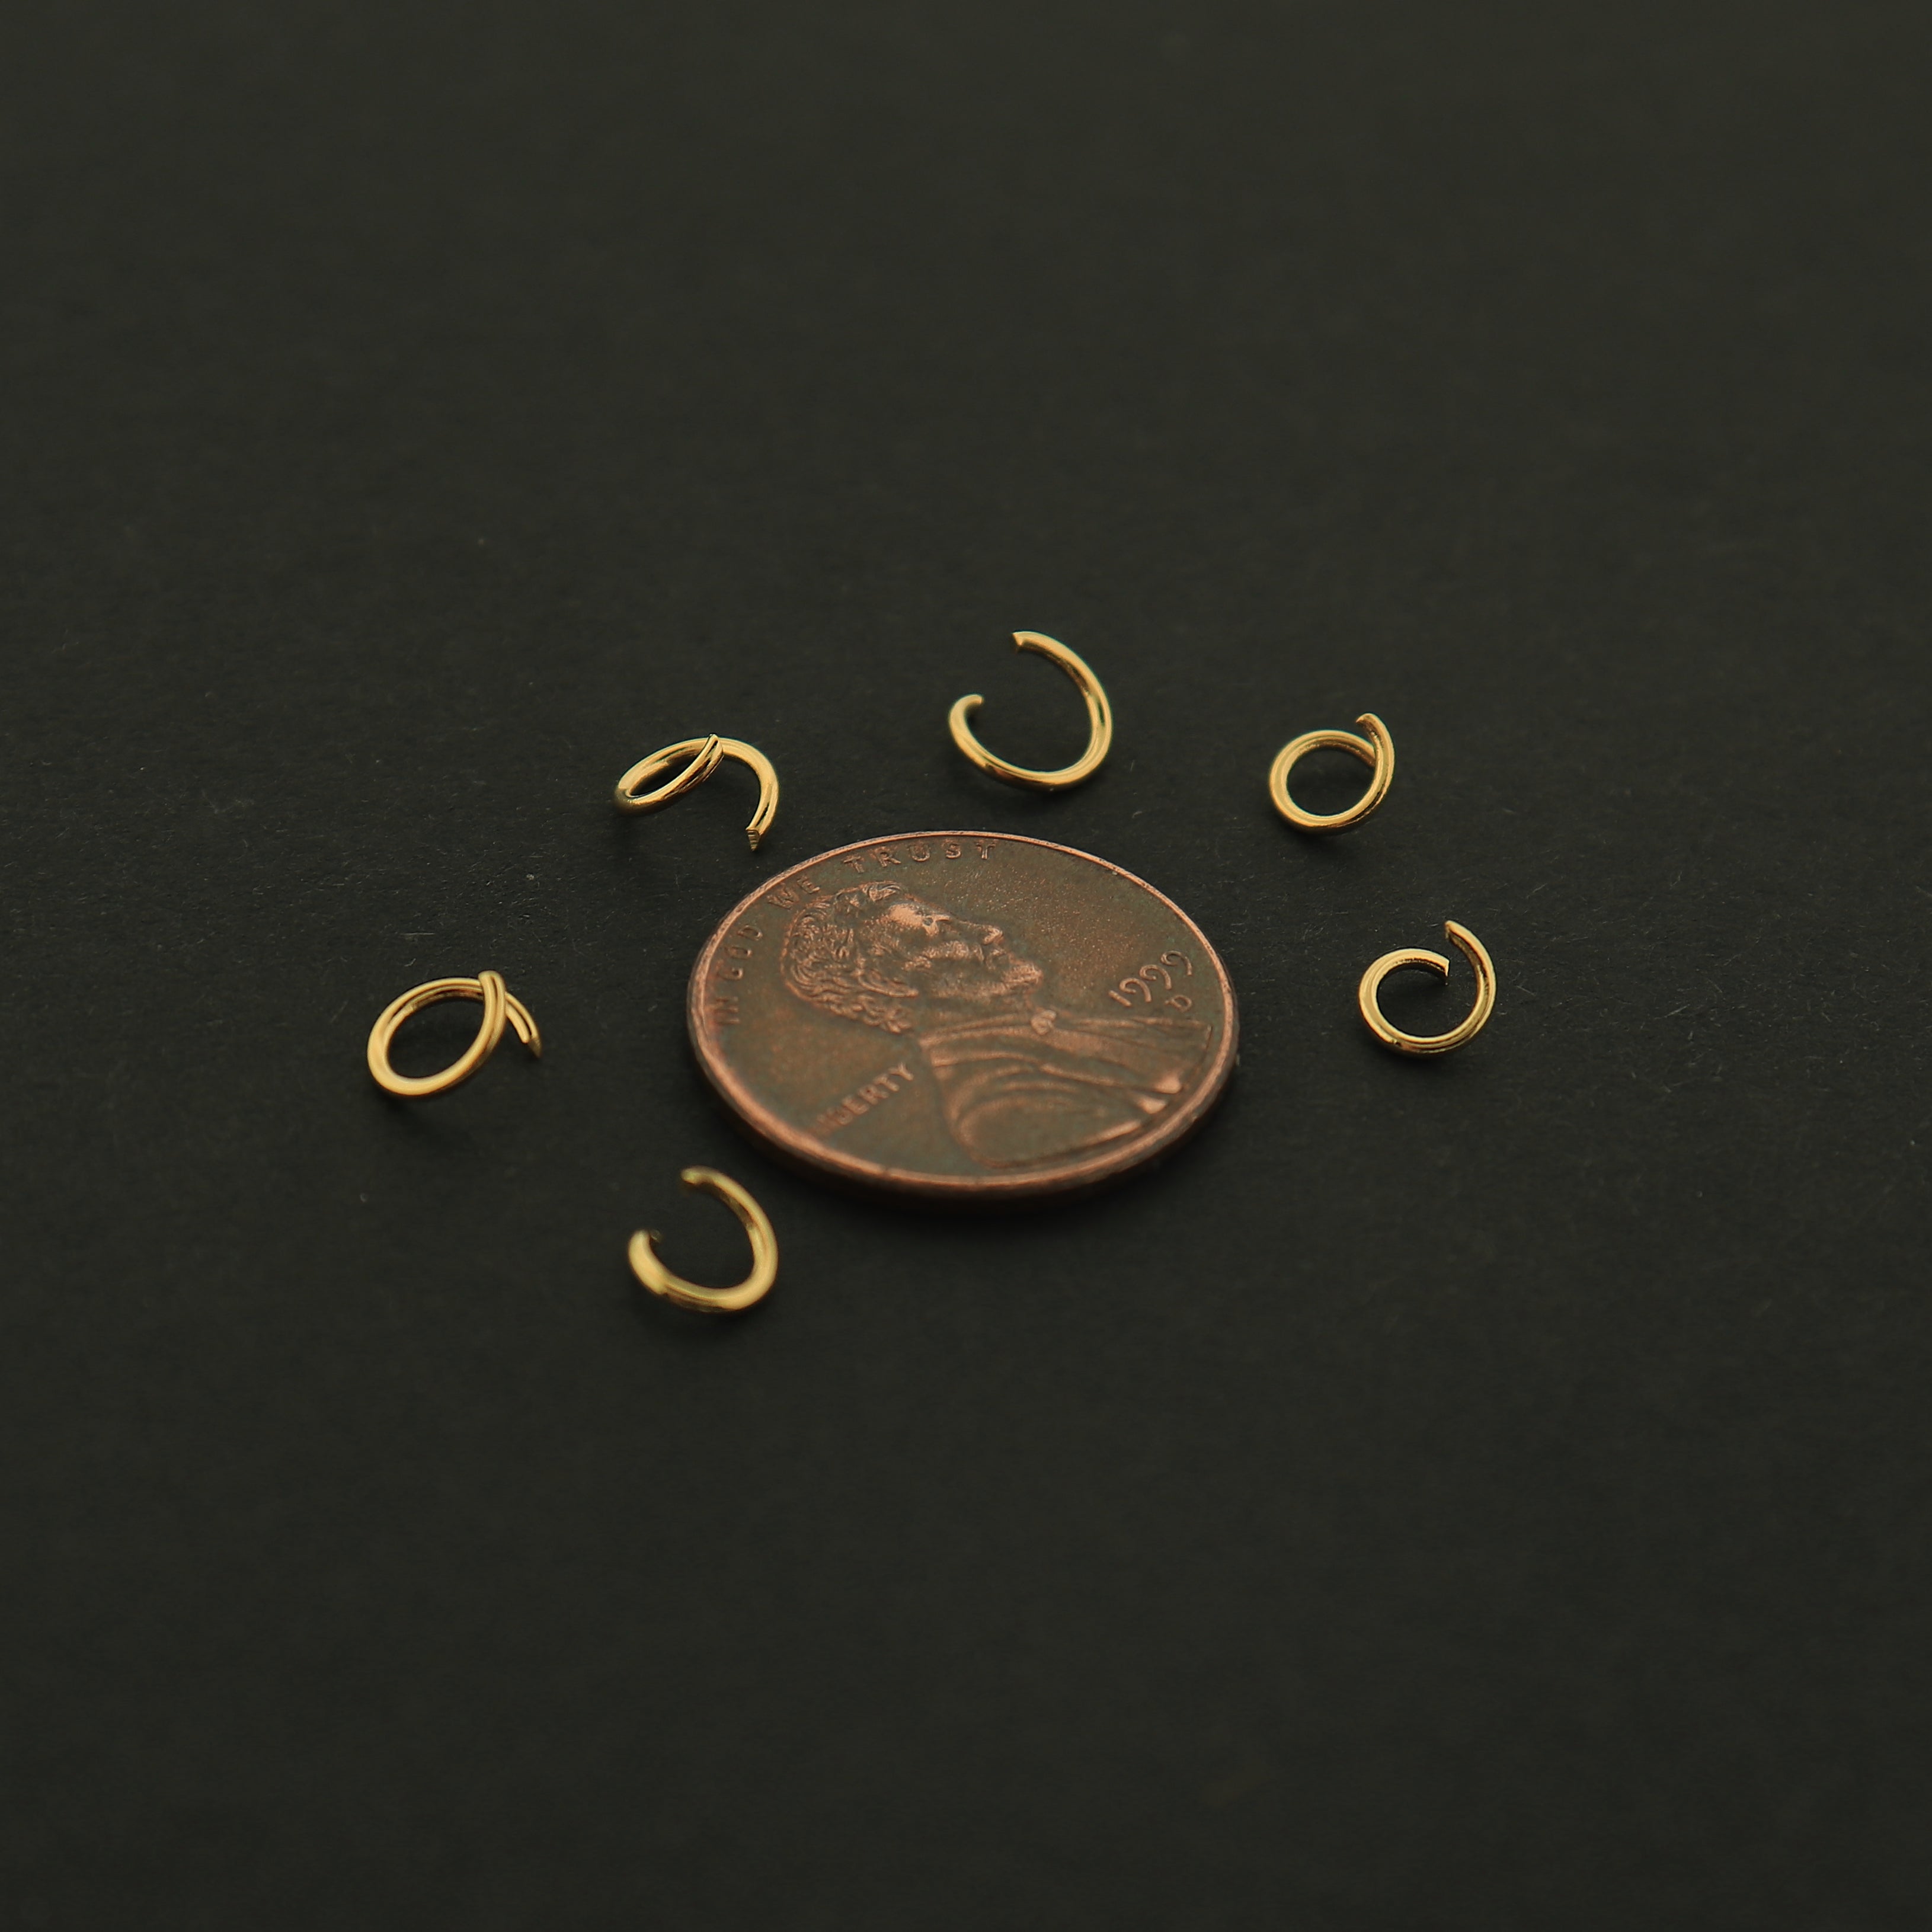
STEP 2: Open the Jump Rings
We'll start by making our necklace. The first step is attaching a lobster clasp to one end of the necklace and an extender chain to the other. Use your pliers and jump ring opener tool to open the jump rings already attached to the lobster clasp and the extender chain.

STEP 3: Attach the Lobster Clasp and Extender Chain
Thread the jump rings you just opened into the last link on either side of the necklace. Make sure to get the jump rings closed tightly. Voila - you now have a finished necklace!

STEP 4: Find the middle link
Finding the middle of the chain is crucial for the charms to sit evenly and perfectly. You can either count each link and find the middle one, or do what we did in the photo - measure out either side.

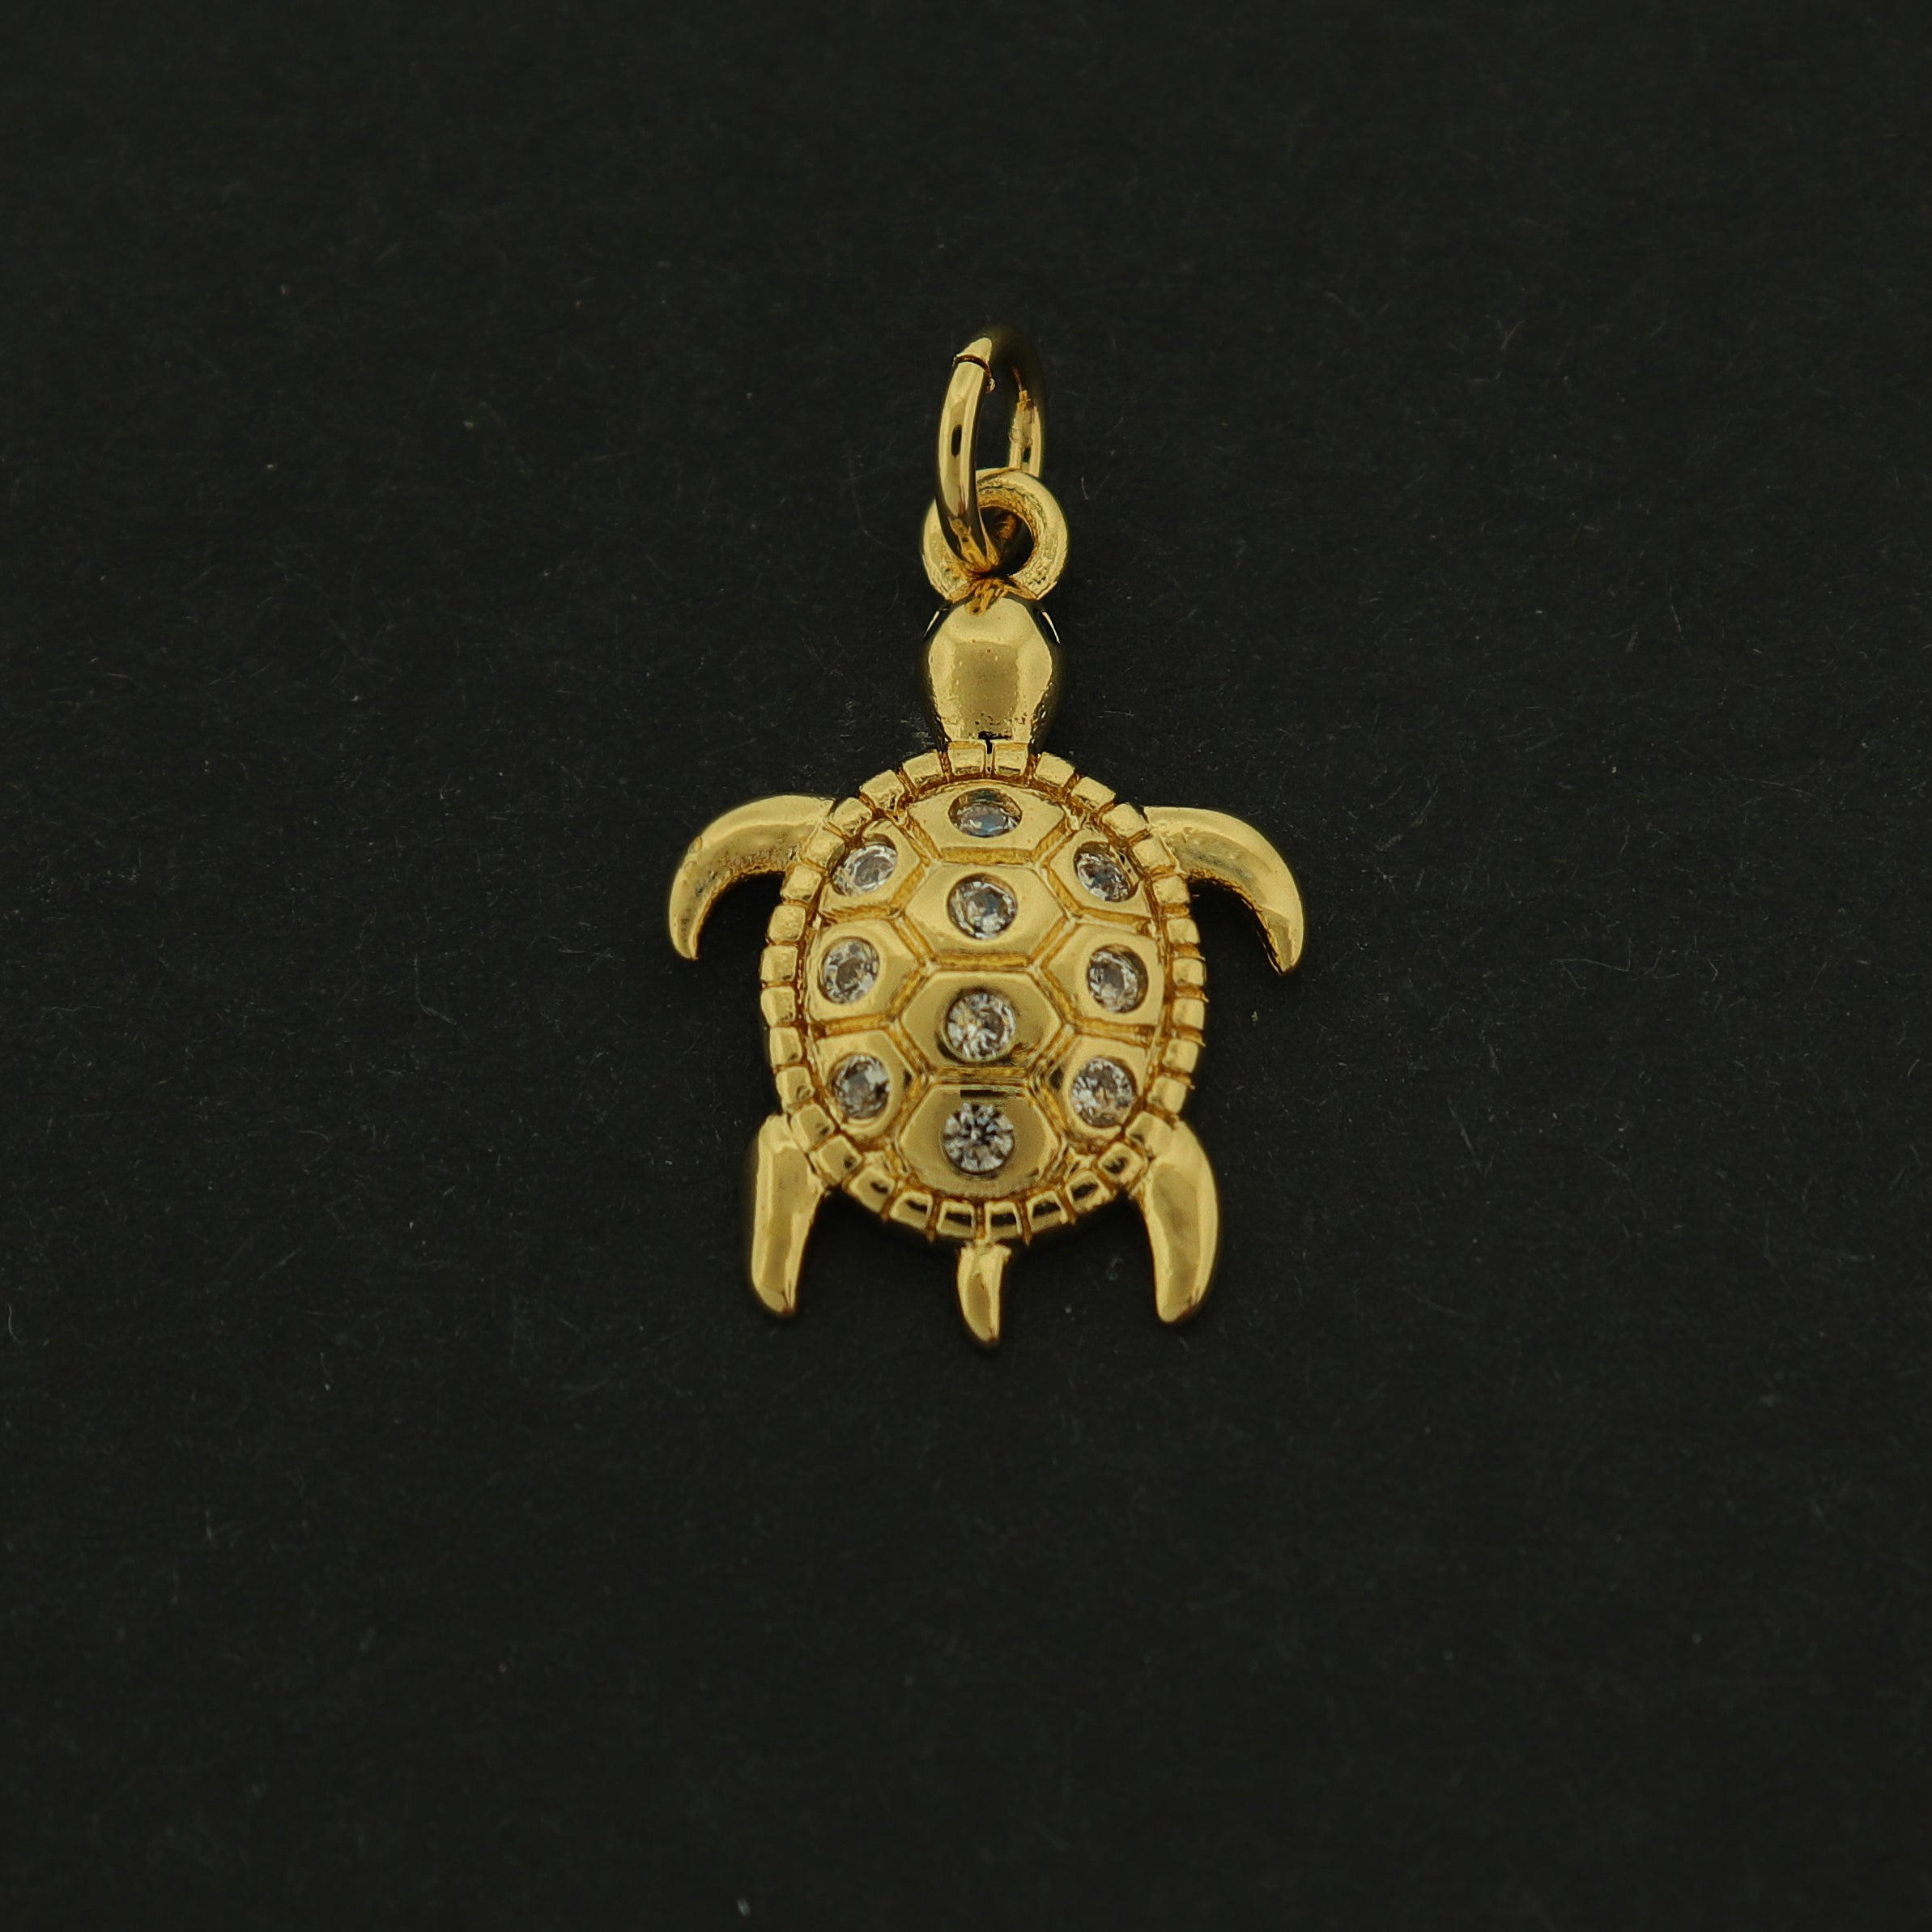
STEP 5: Attach a charm to the middle link
Use a jump ring to attach a charm to the middle link. Unlike a traditional necklace, you will be attaching the jump ring into the link itself rather than over the whole necklace. This will prevent the charm from moving around too much.
In this example we're using one of our custom engraved 18k gold charms.

STEP 6: Space out your charms
Count out two links from the center charm in either direction and line up your charms. Continue further out until you've set up all the charms you need.
To simplify this process and make it a bit more easier to space it out you can use a bead design board!

STEP 7: Attach your charms
Now that you've got it all laid out, you simply need to attach the charms to the correct link in the chain. Make sure you're threading the jump ring through the link of the chain - not overtop of the whole link.

Congrats! You're Done
You've just created a beautiful paperclip charm necklace.
Feeling inspired? Browse our Gold Filled and Gold Plated Jewelry Supplies!