
Accueil / Comment fabriquer des bijoux / Bracelet cœur en or rose
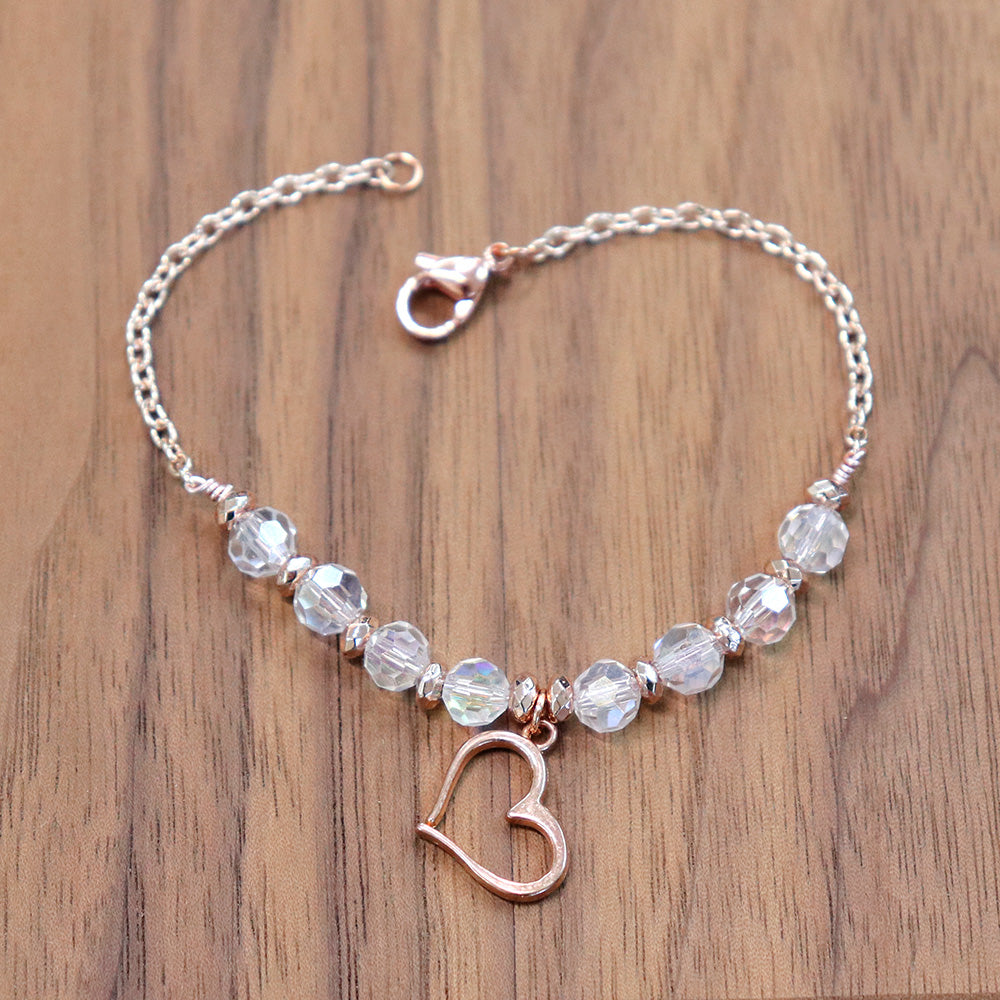
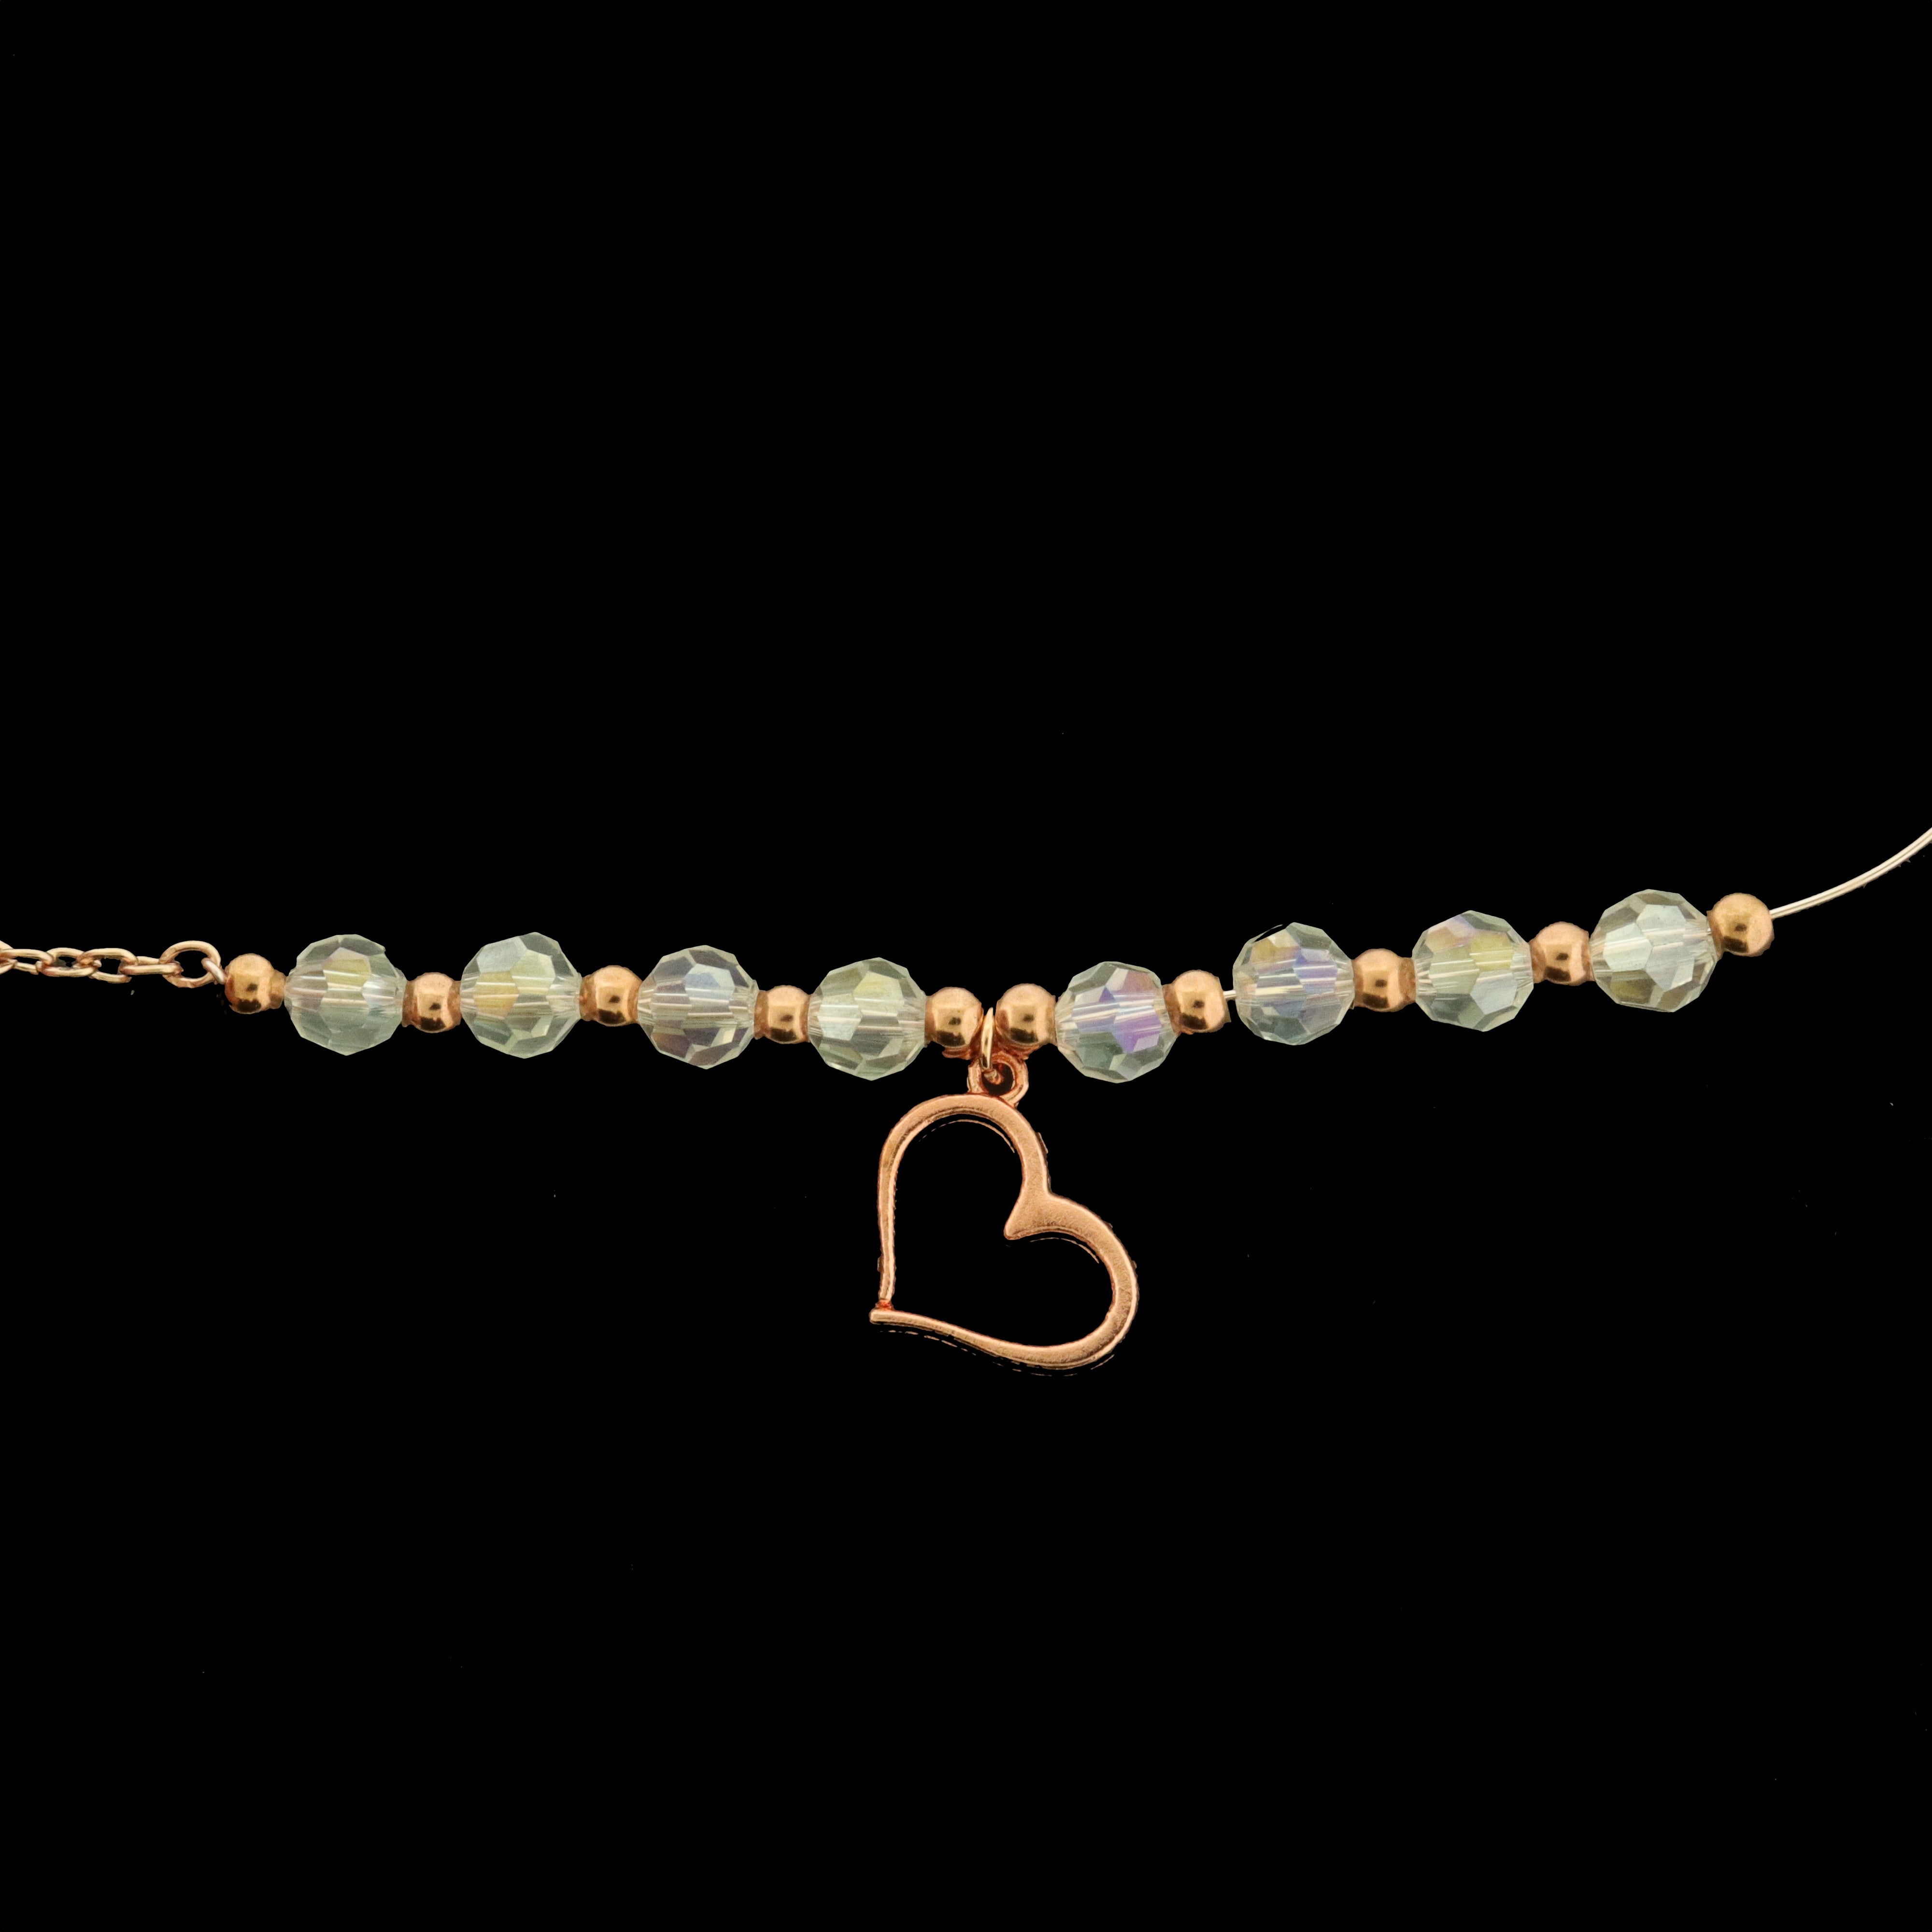
Bracelet cœur perlé or rose
Créez votre propre magnifique Bracelet Cœur Perlés grâce à nos instructions DIY faciles ! Le produit fini est un magnifique bracelet fait à la main qui peut être un souvenir pour les années à venir ! N'hésitez pas à remplacer le charm cœur par l'un des nombreux autres charms en or rose que nous avons en stock !
Auteur : Hope Difficulté : Moyenne Temps : 10 min

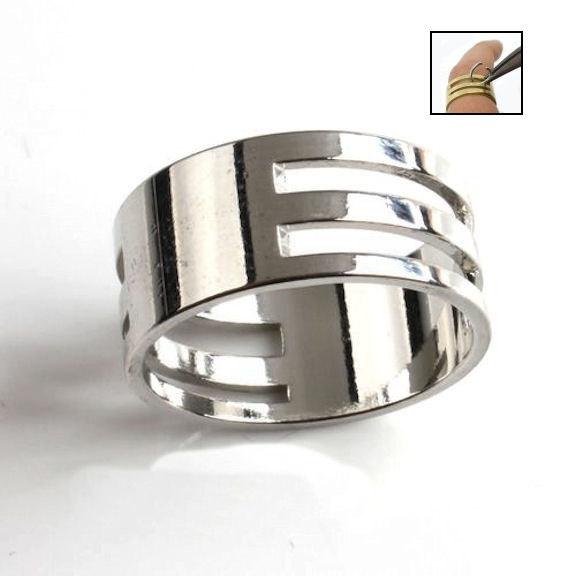
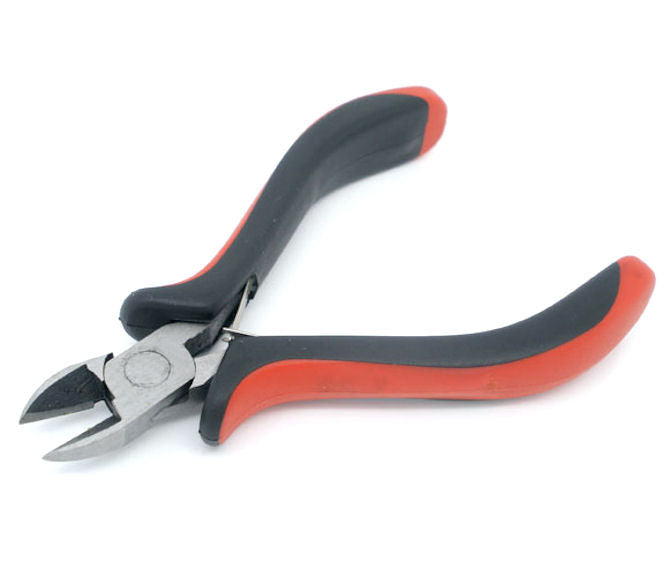
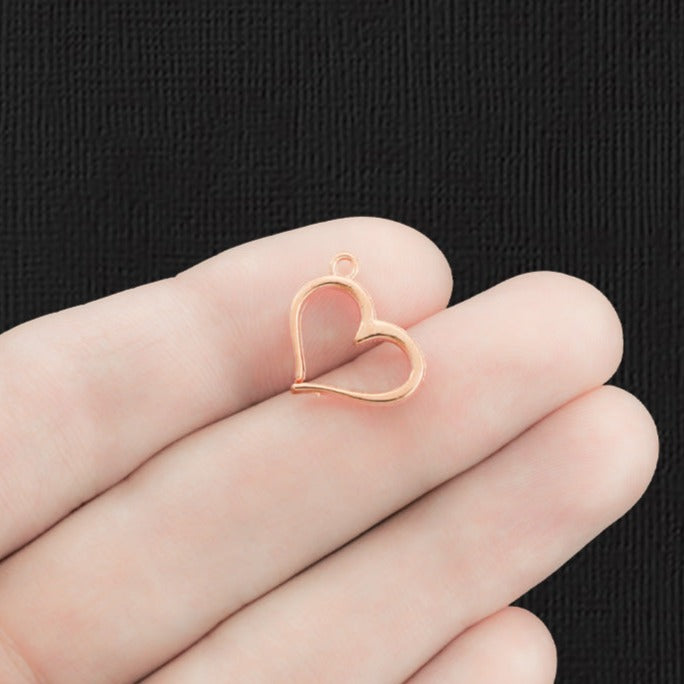
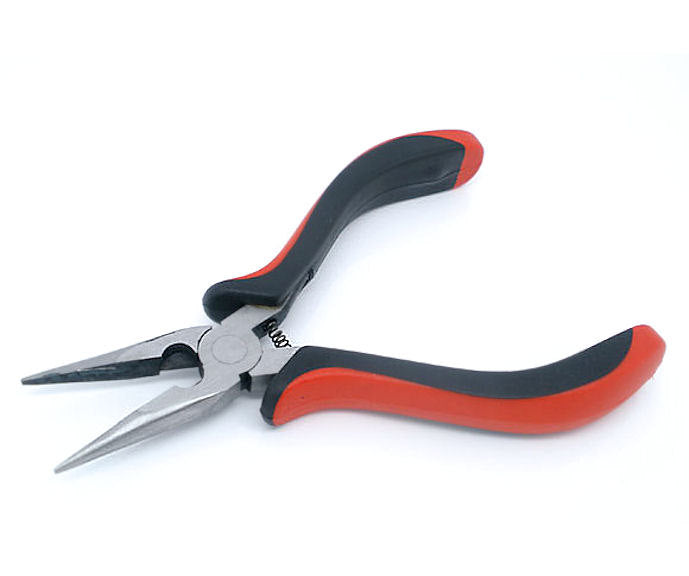
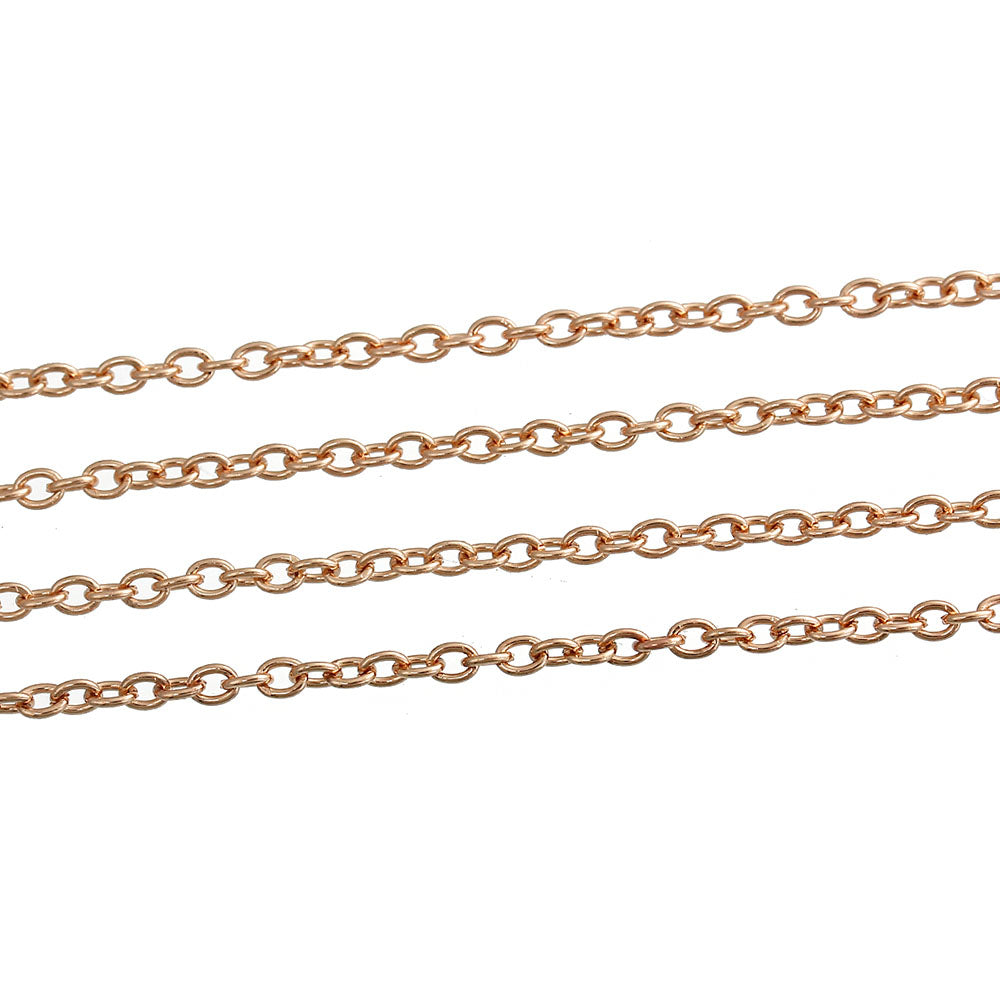
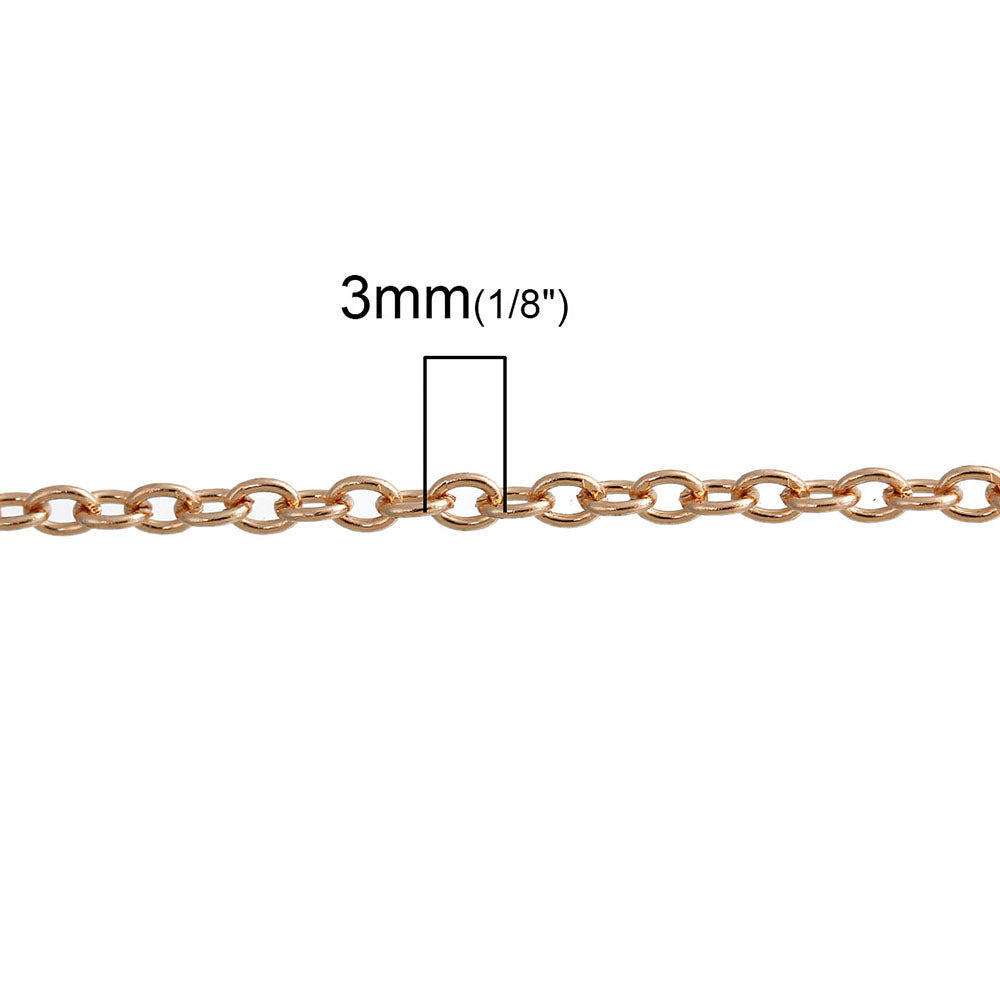
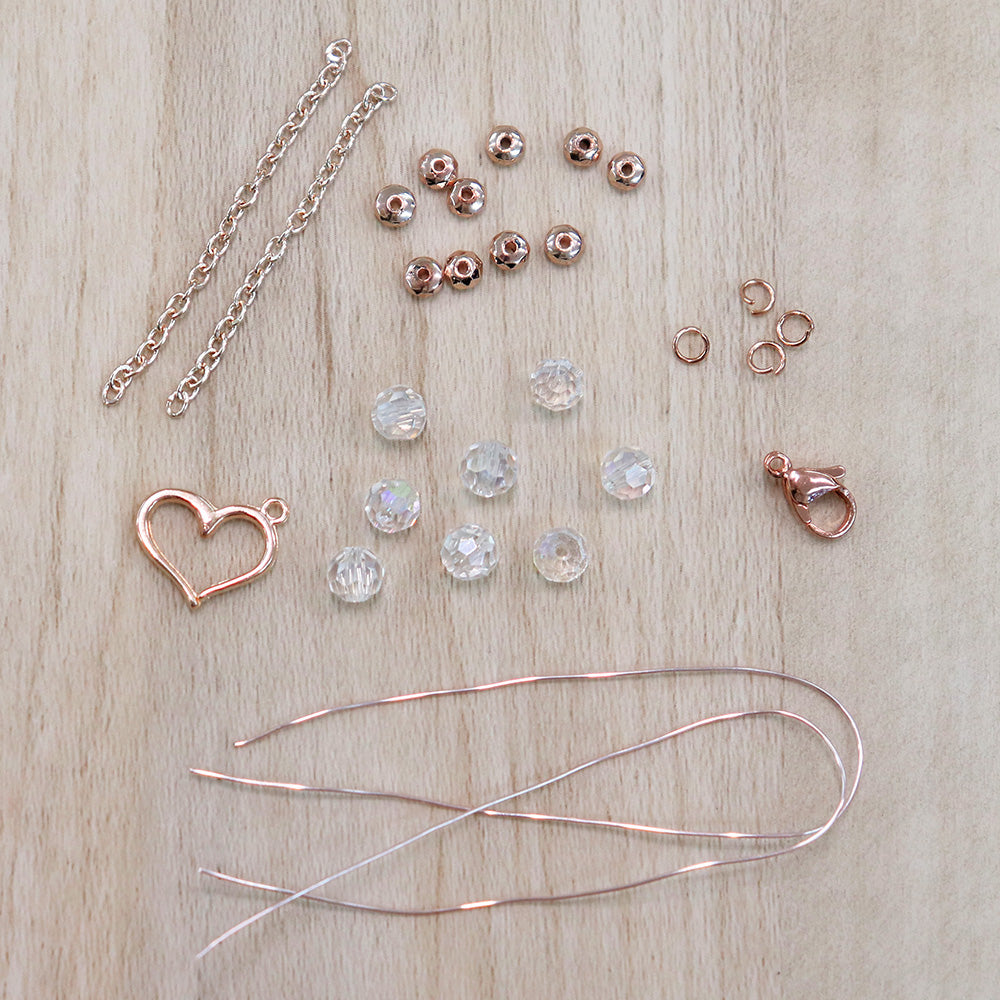
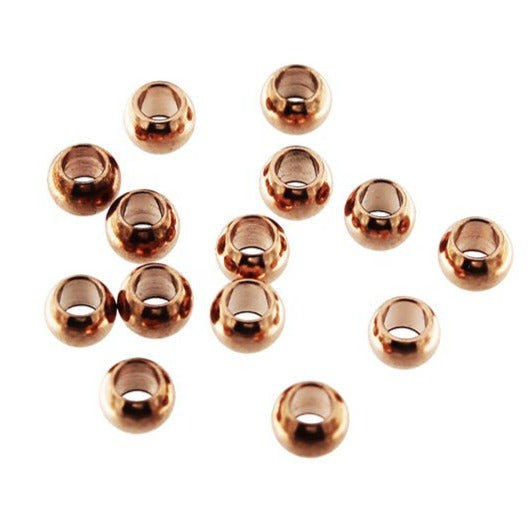
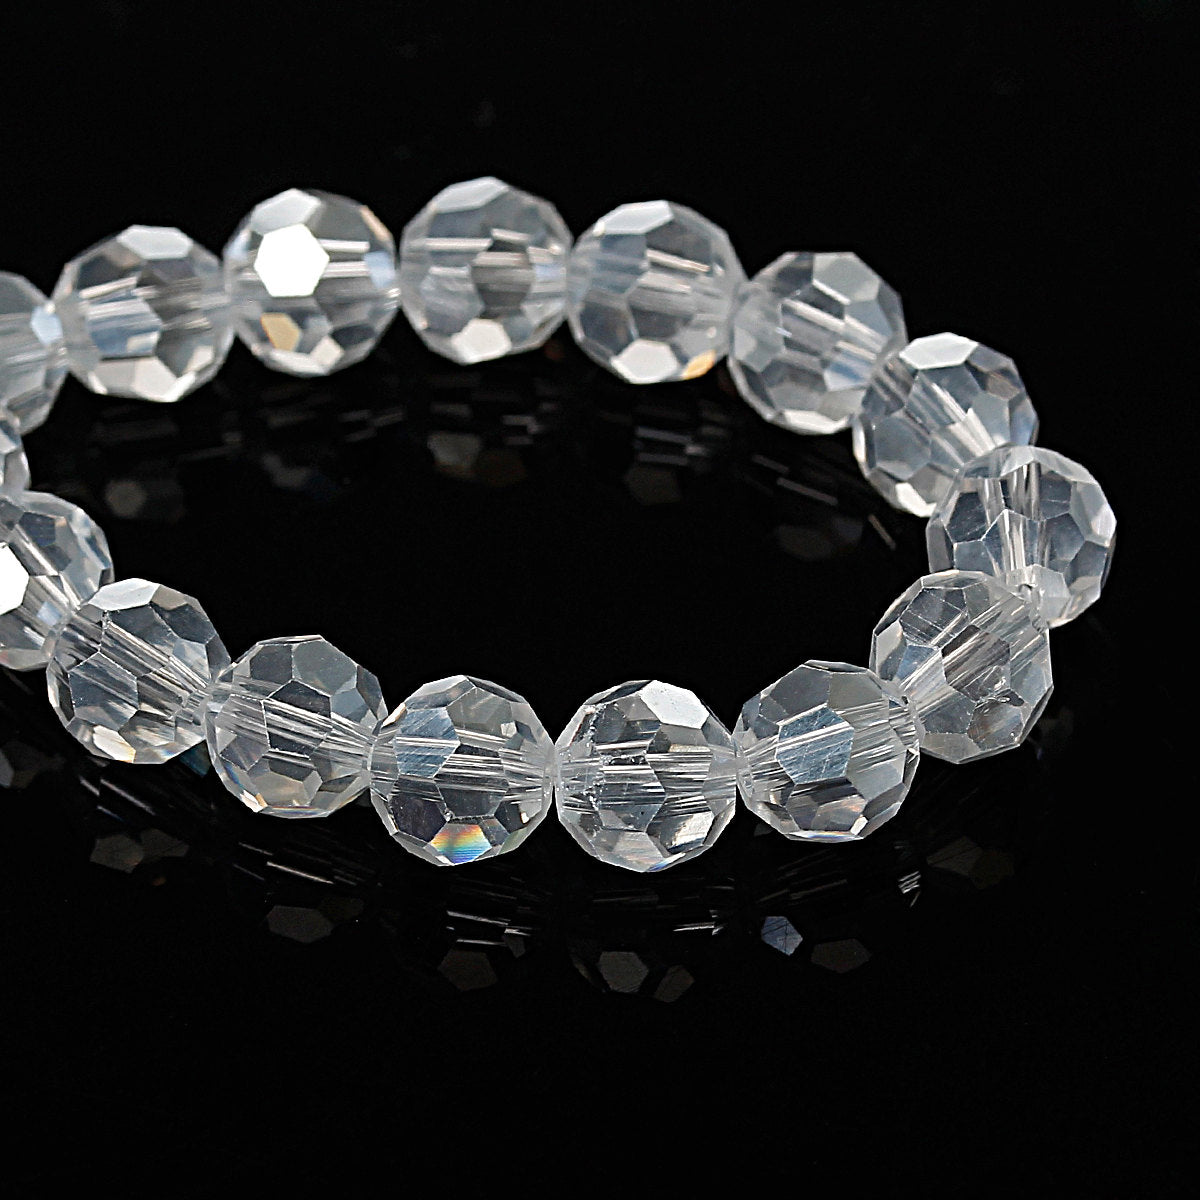
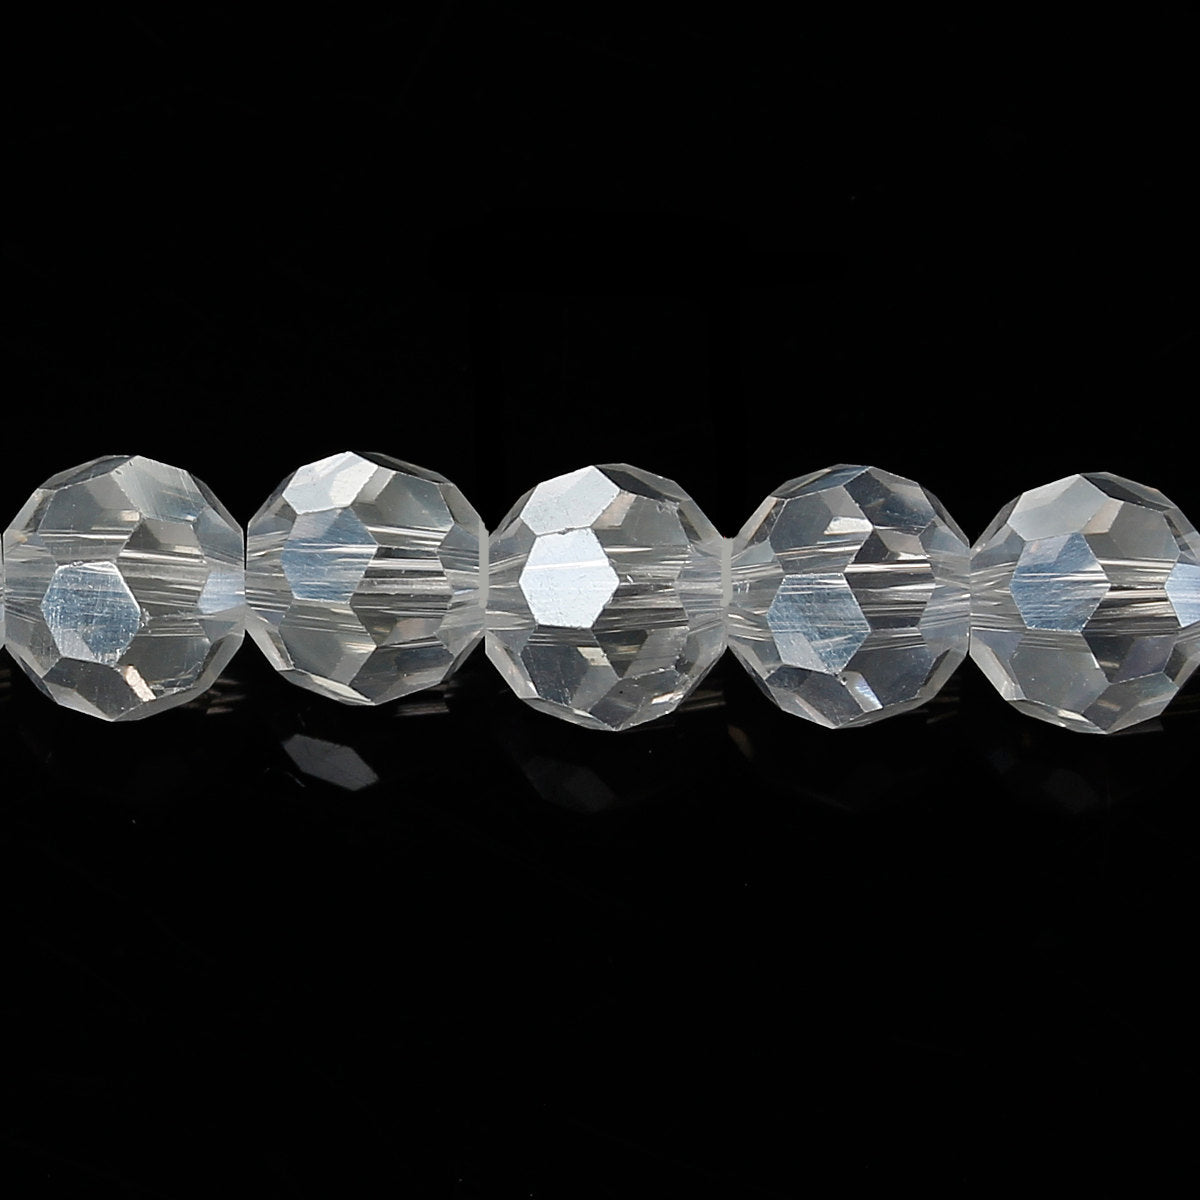
Fournitures nécessaires


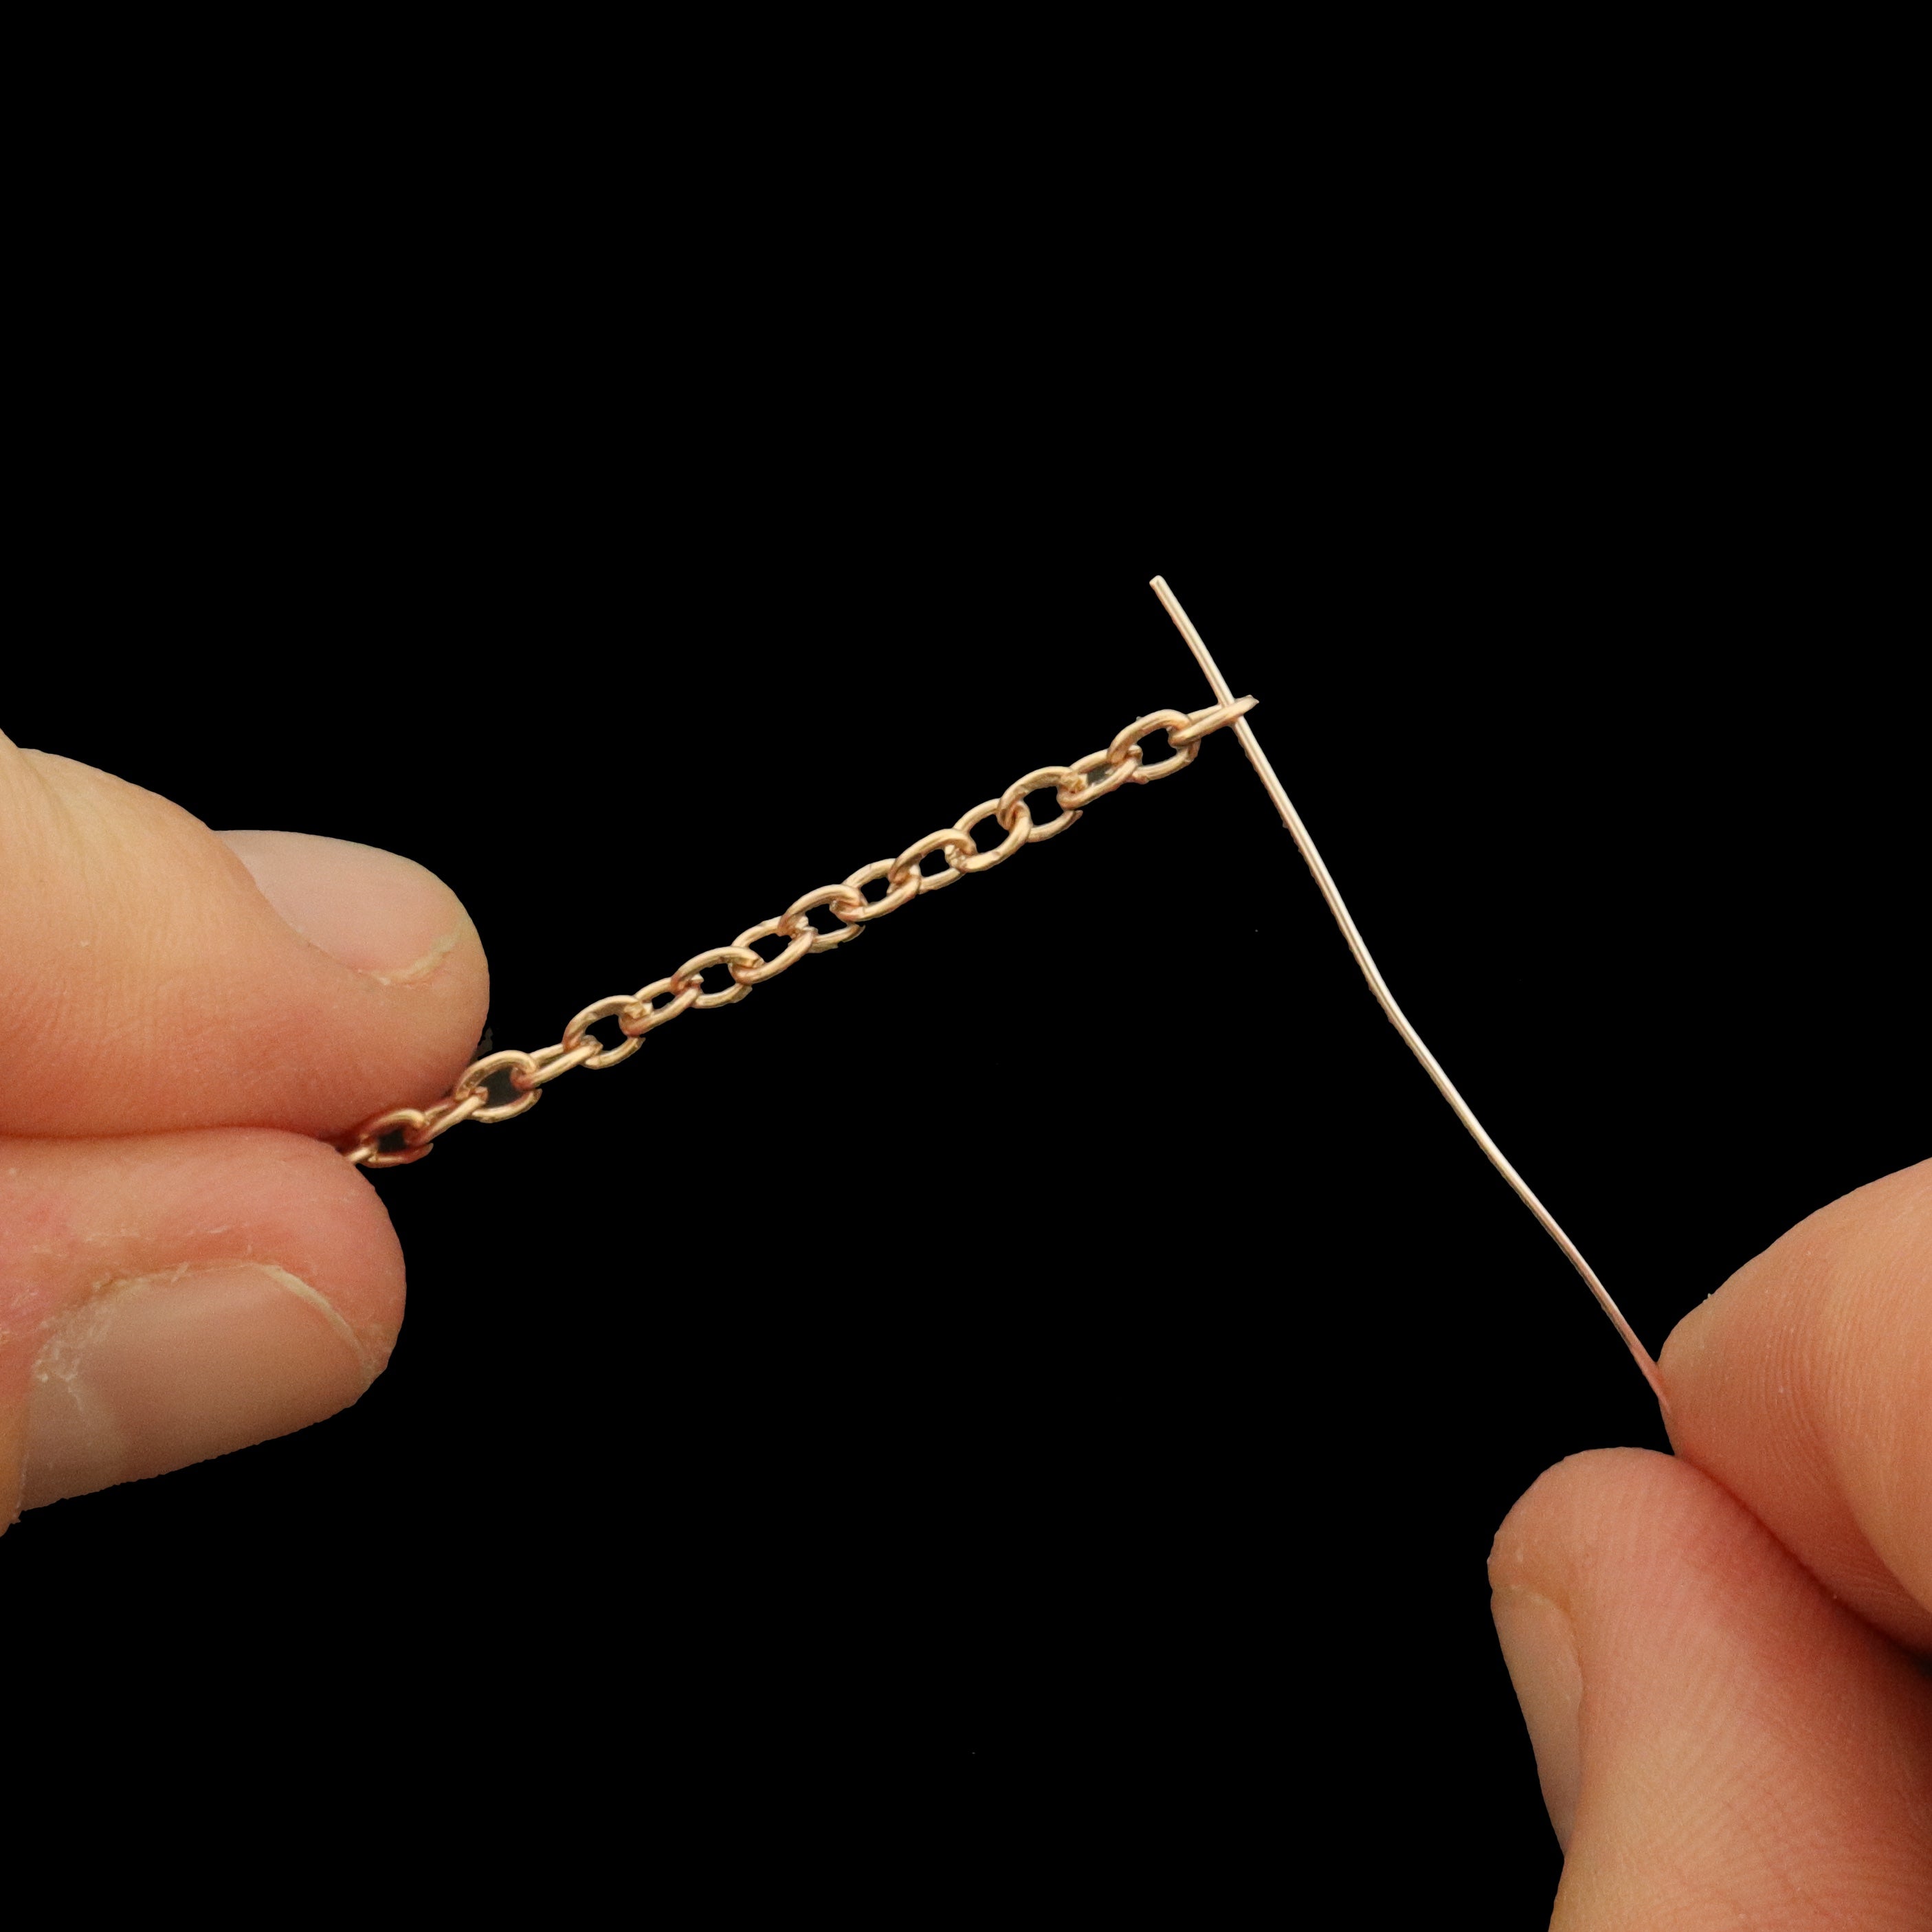
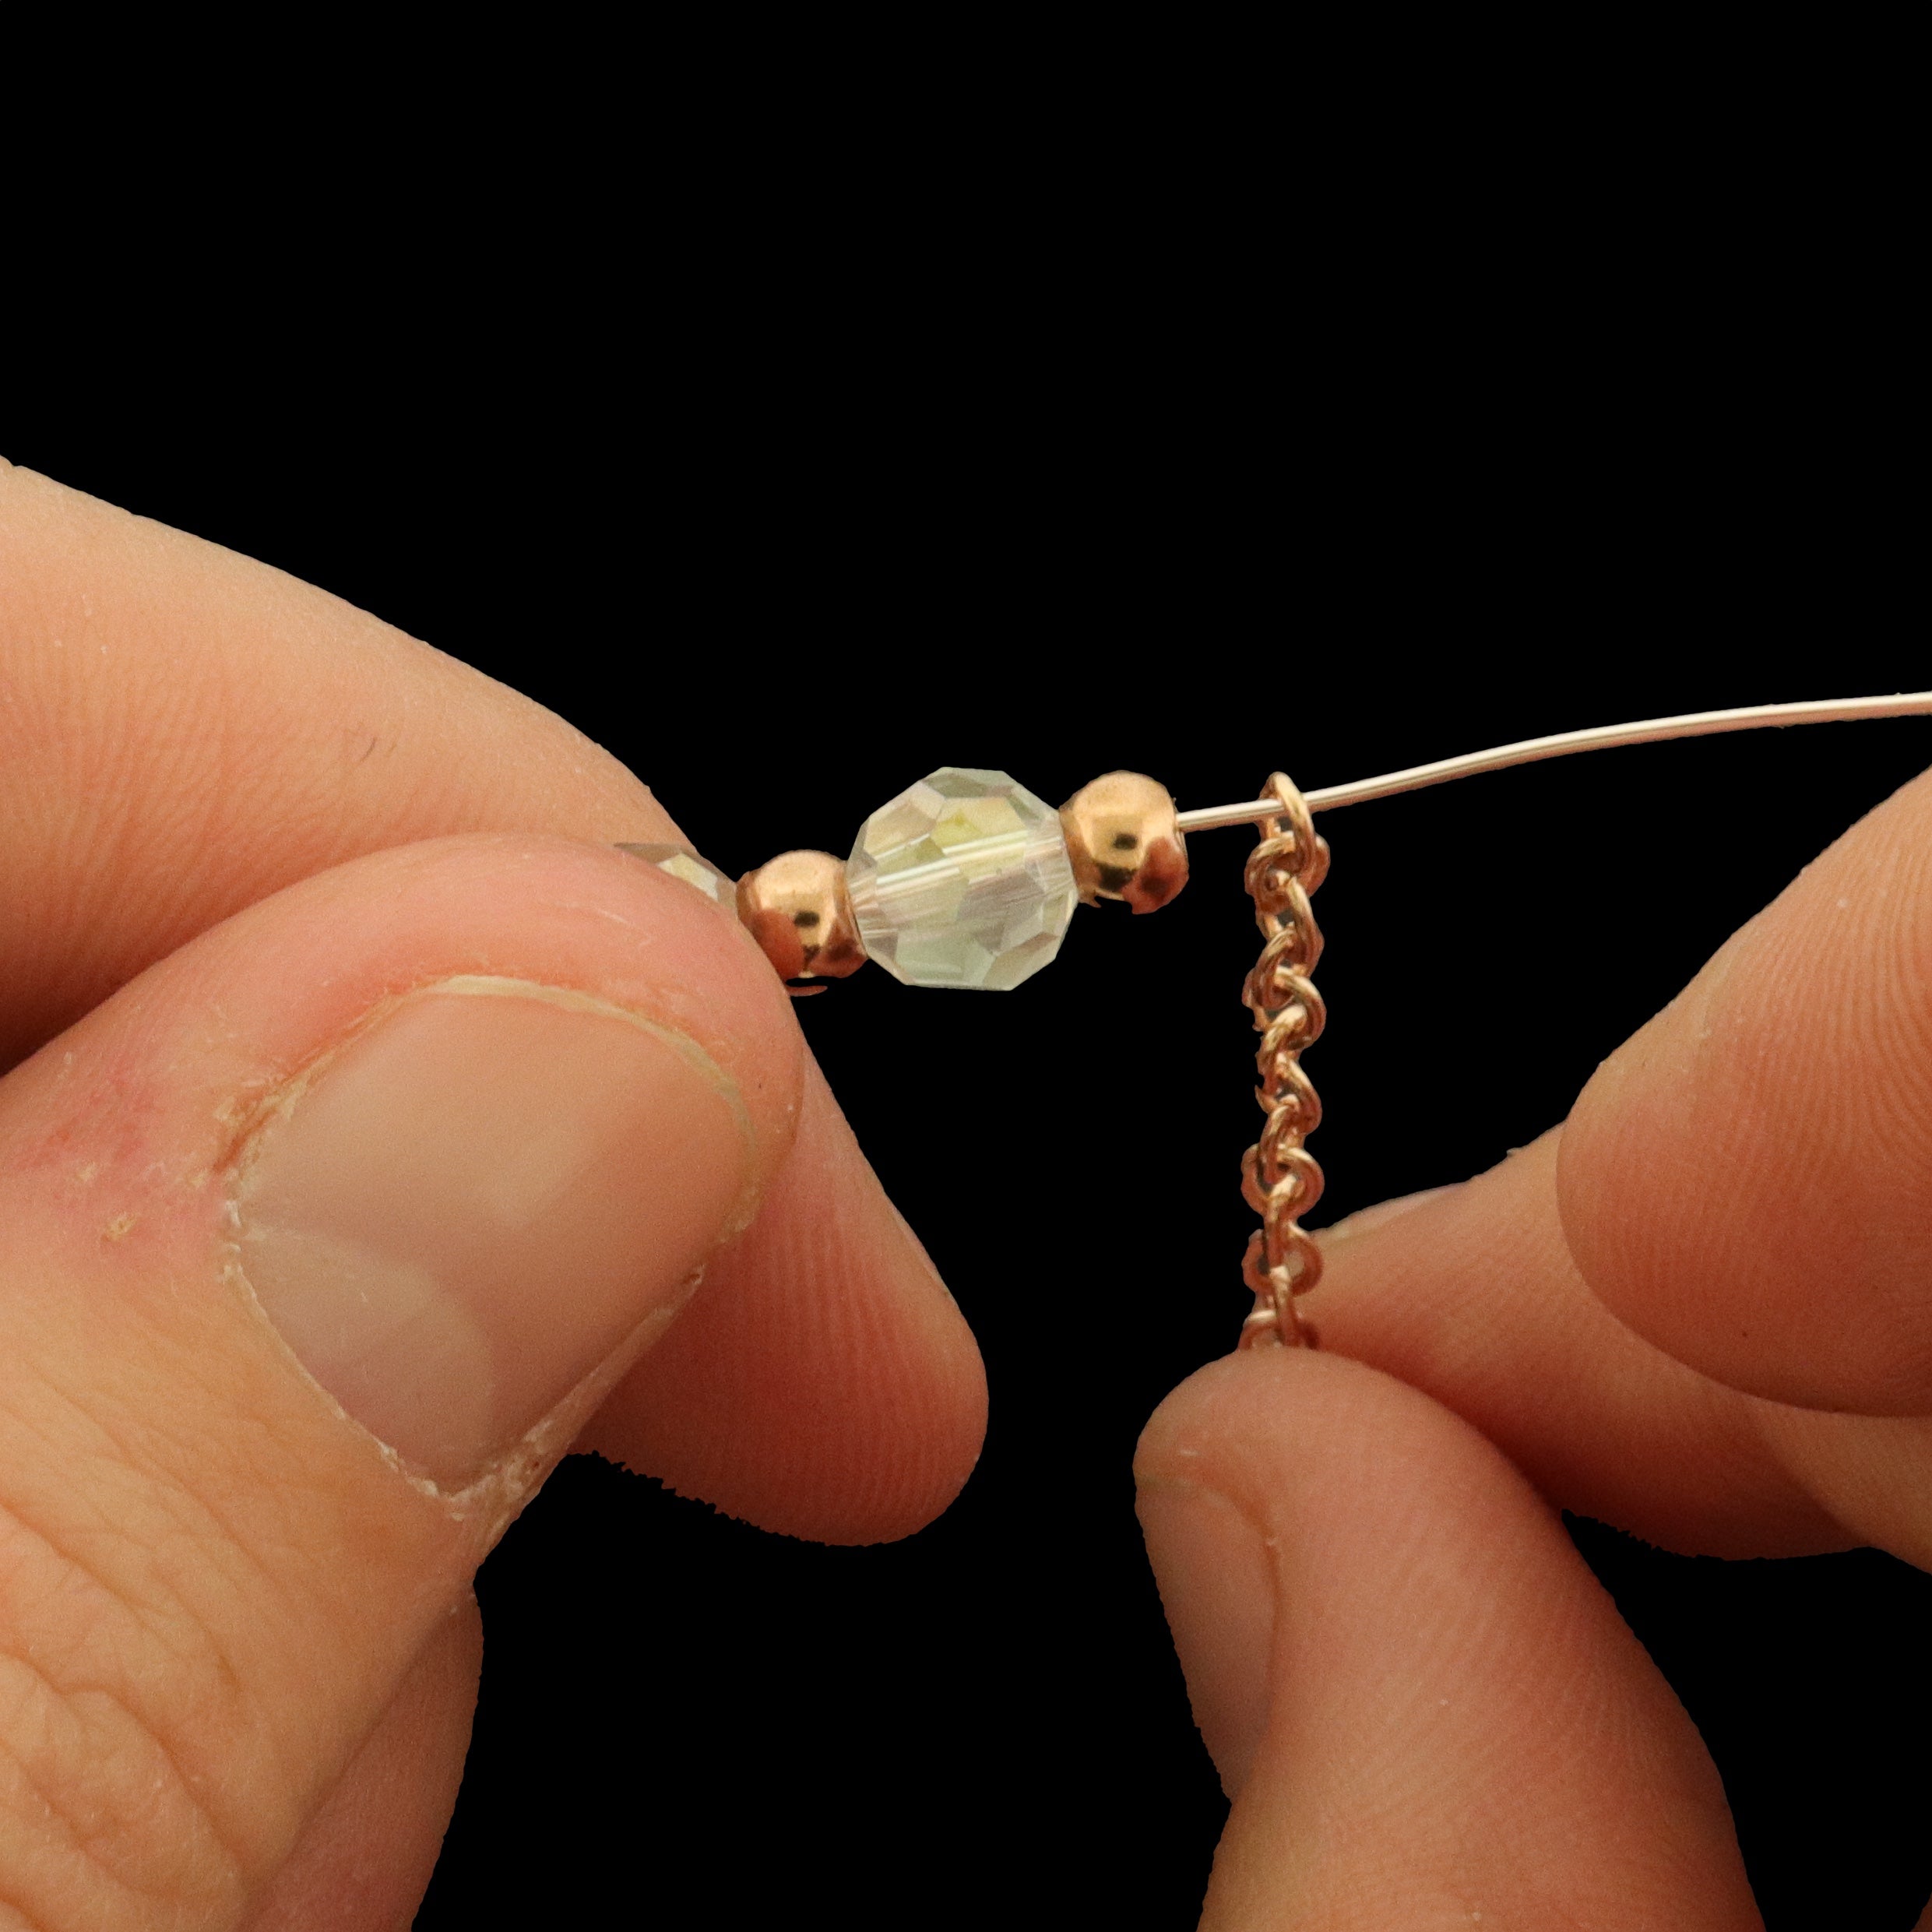
ÉTAPE 1 : Coupez la chaîne et le fil
Commencez par prendre votre chaîne en or rose et coupez deux longueurs de 5 cm (2") – elles constitueront les deux côtés du bracelet. Coupez un morceau de fil d'or rose de 15 cm (6") et enfilez l'extrémité dans le dernier maillon de la chaîne, comme illustré sur la photo.
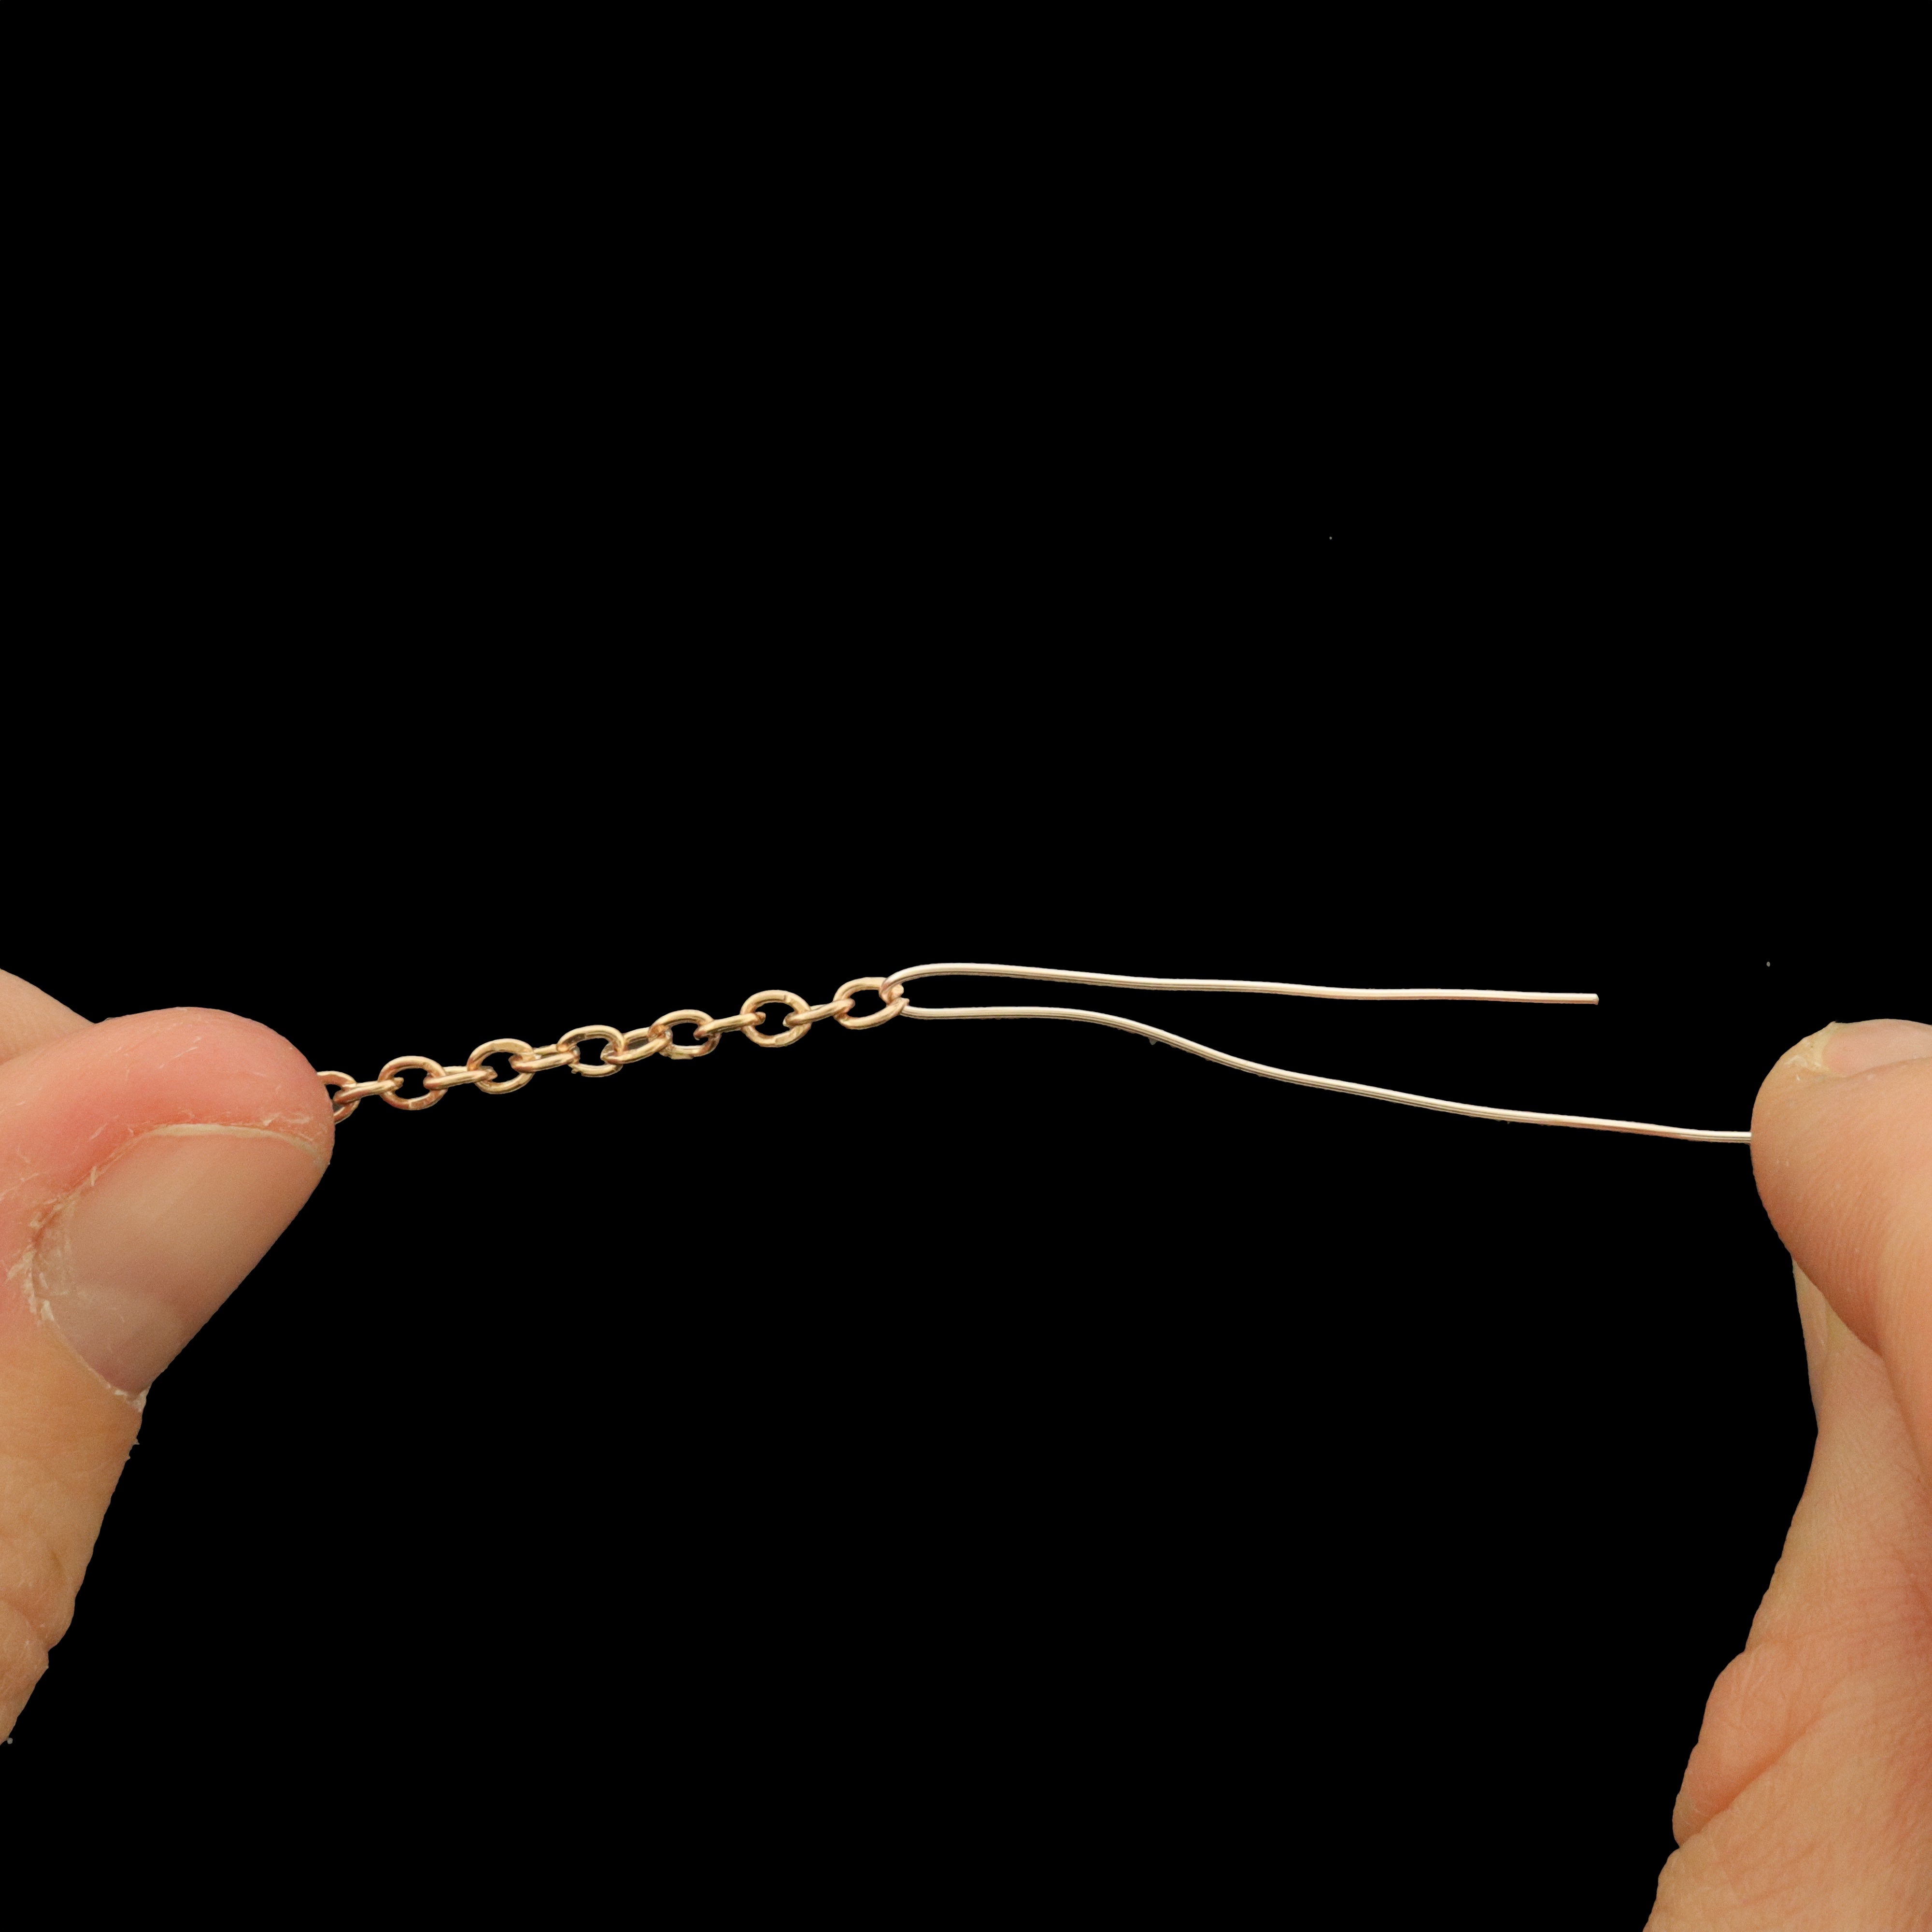
ÉTAPE 2 : Enfilez le fil dans la chaîne
Passez le fil dans le dernier maillon de la chaîne et repliez-le. Nous avons beaucoup de surplus sur la photo pour faciliter la tâche, mais une grande partie sera coupée.
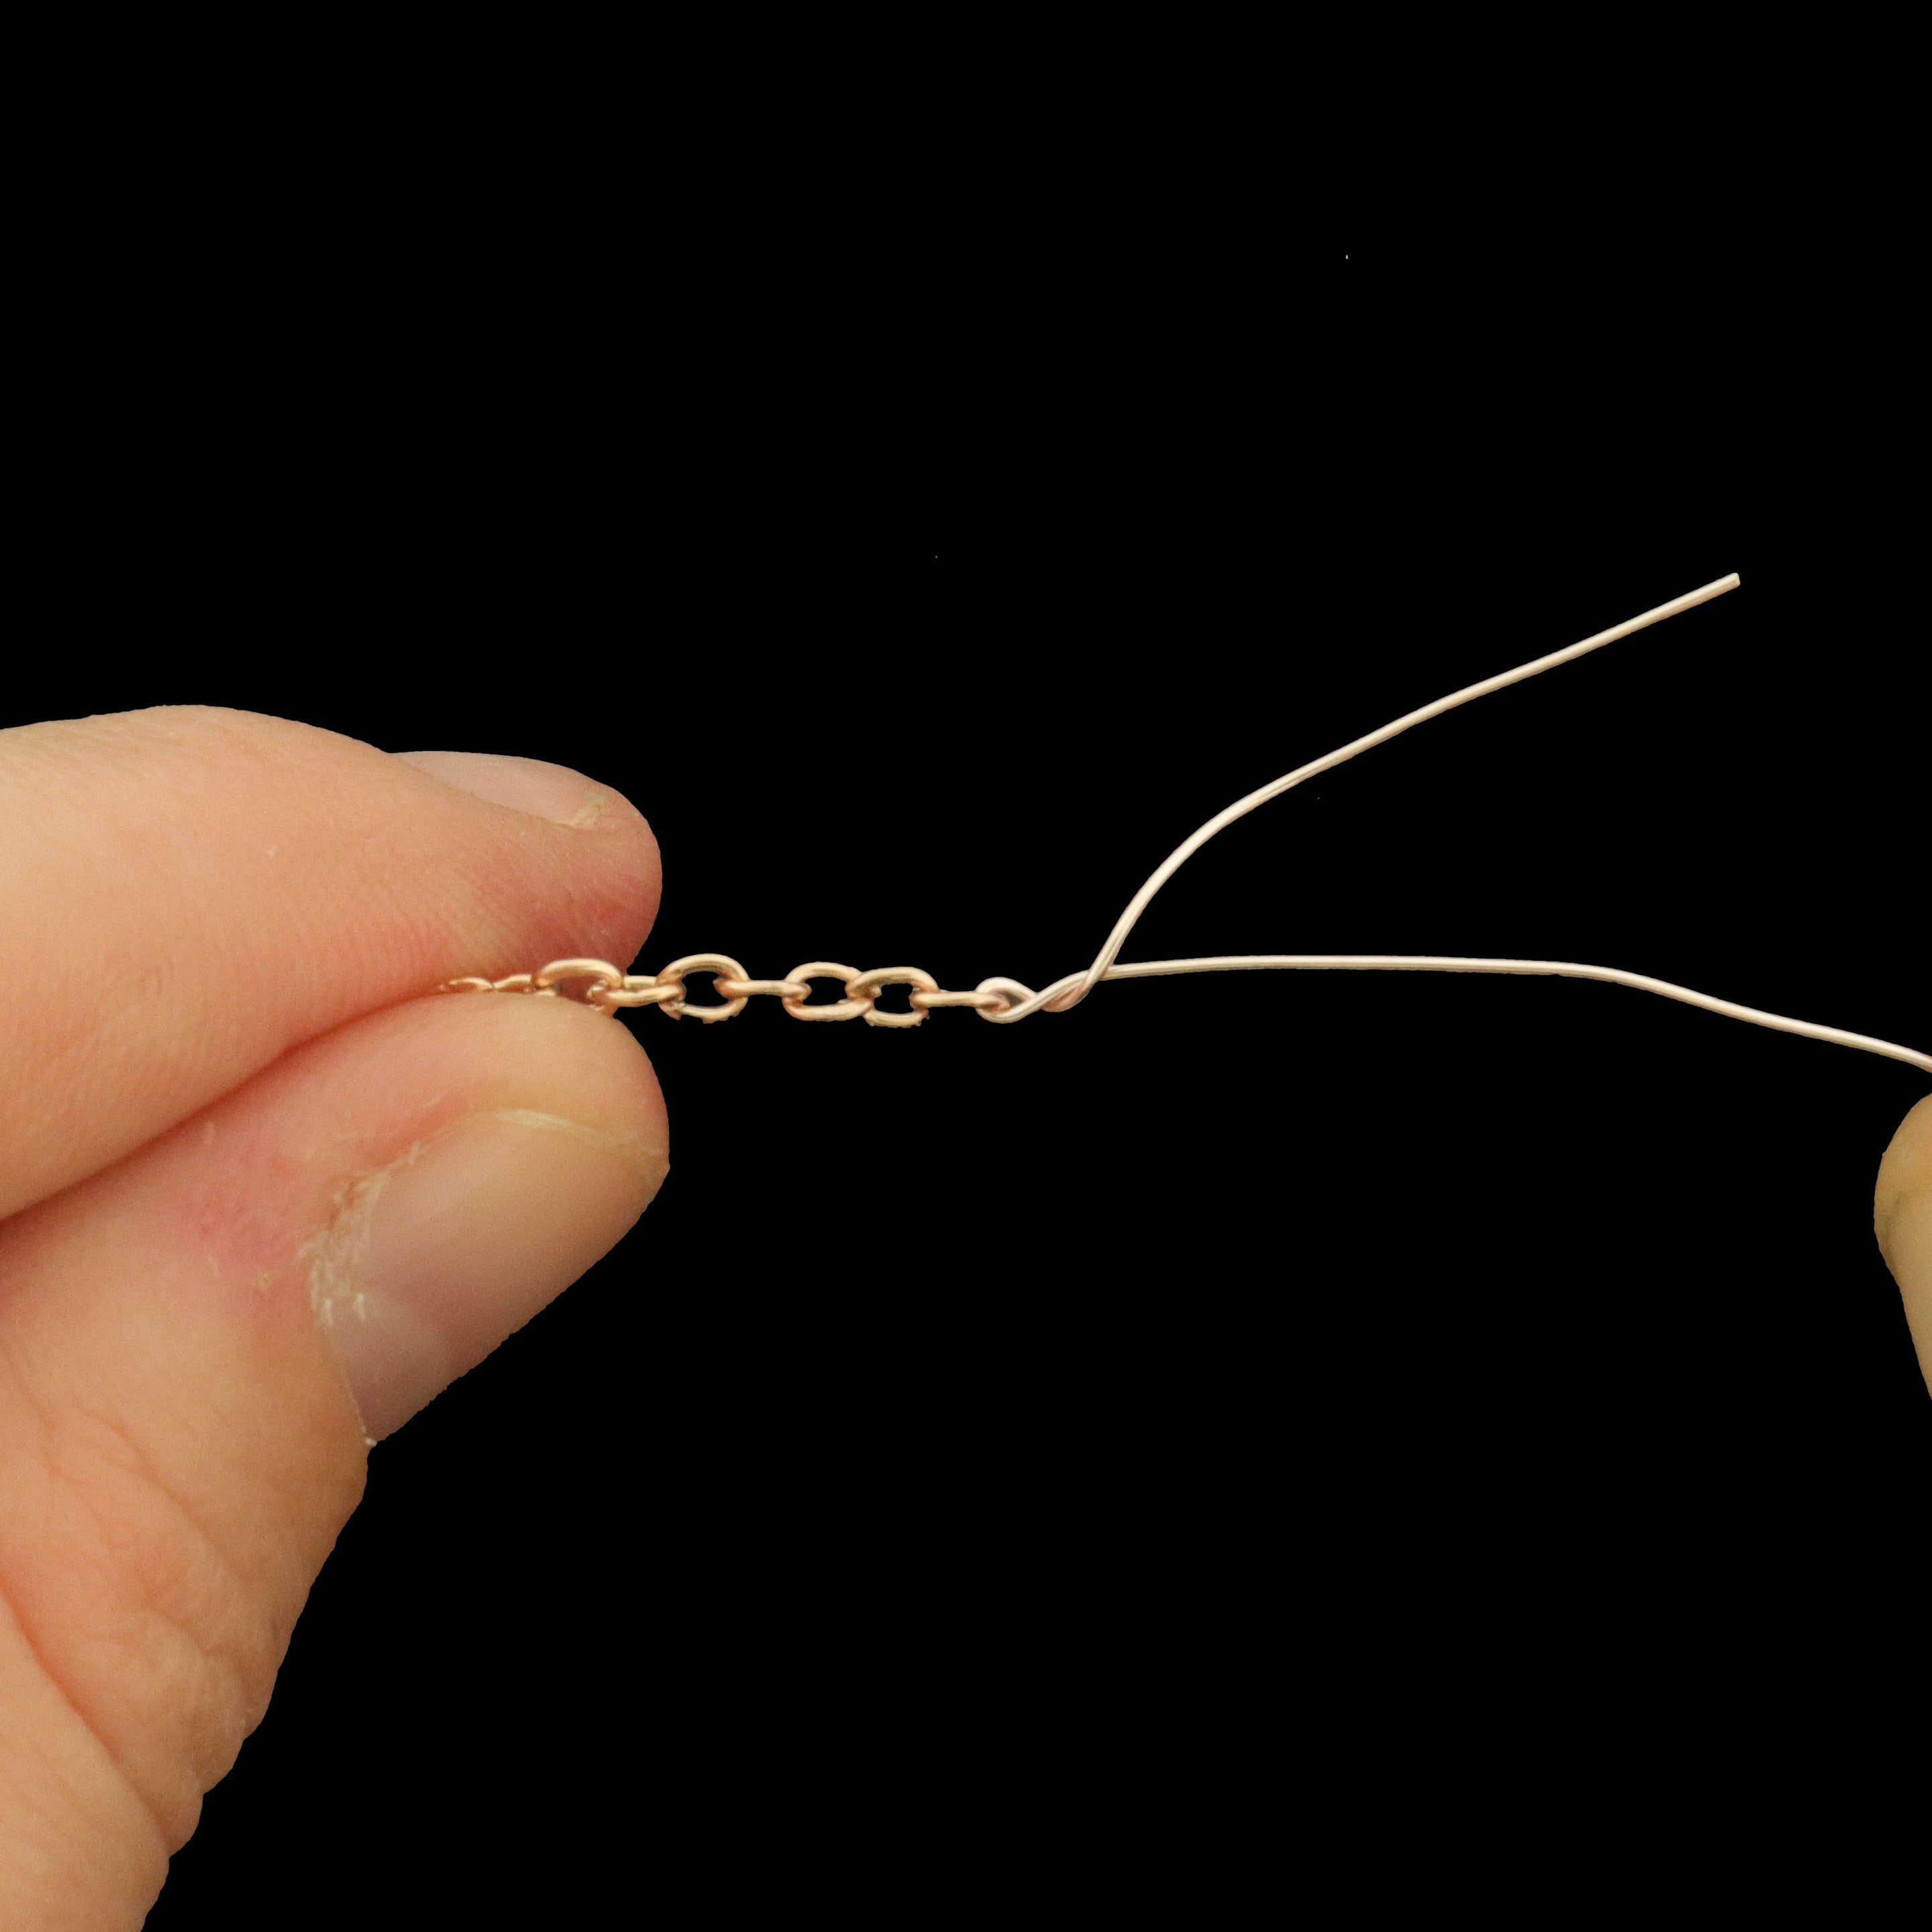
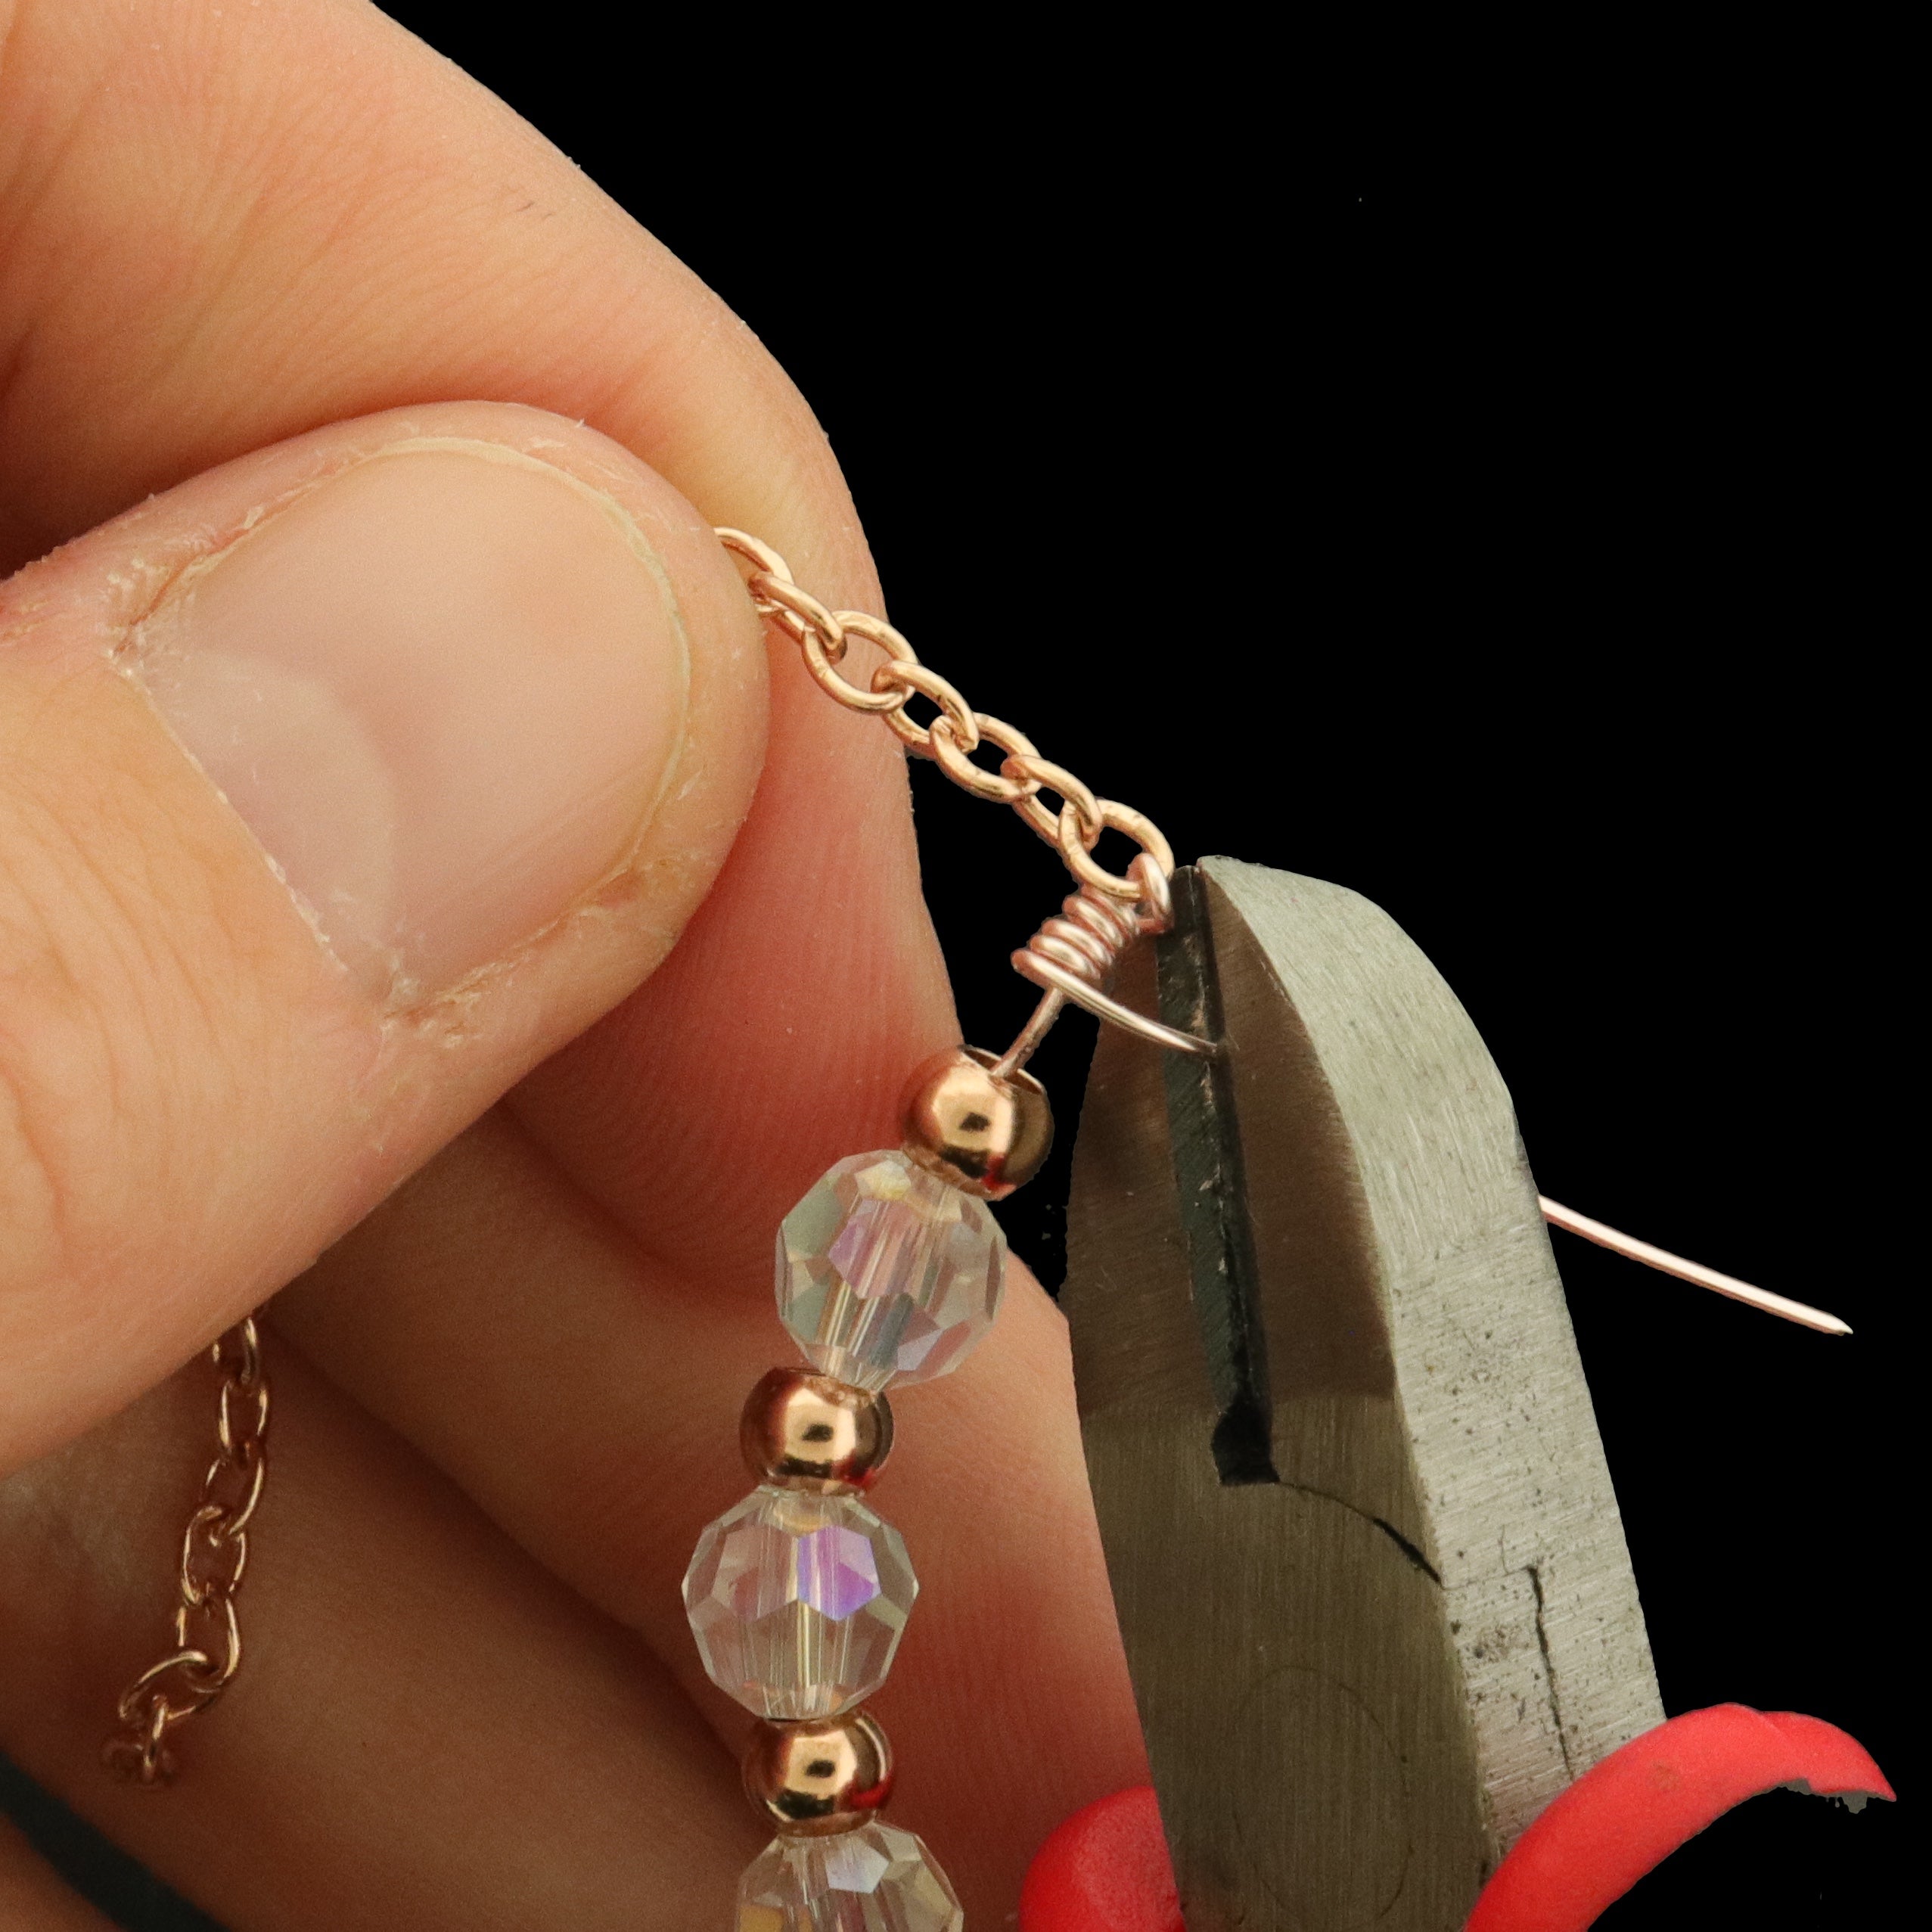
ÉTAPE 3 : Enroulez le fil sur lui-même
Voici la partie délicate : faites passer la partie supérieure du fil sous le reste. Plus c'est serré, mieux c'est !
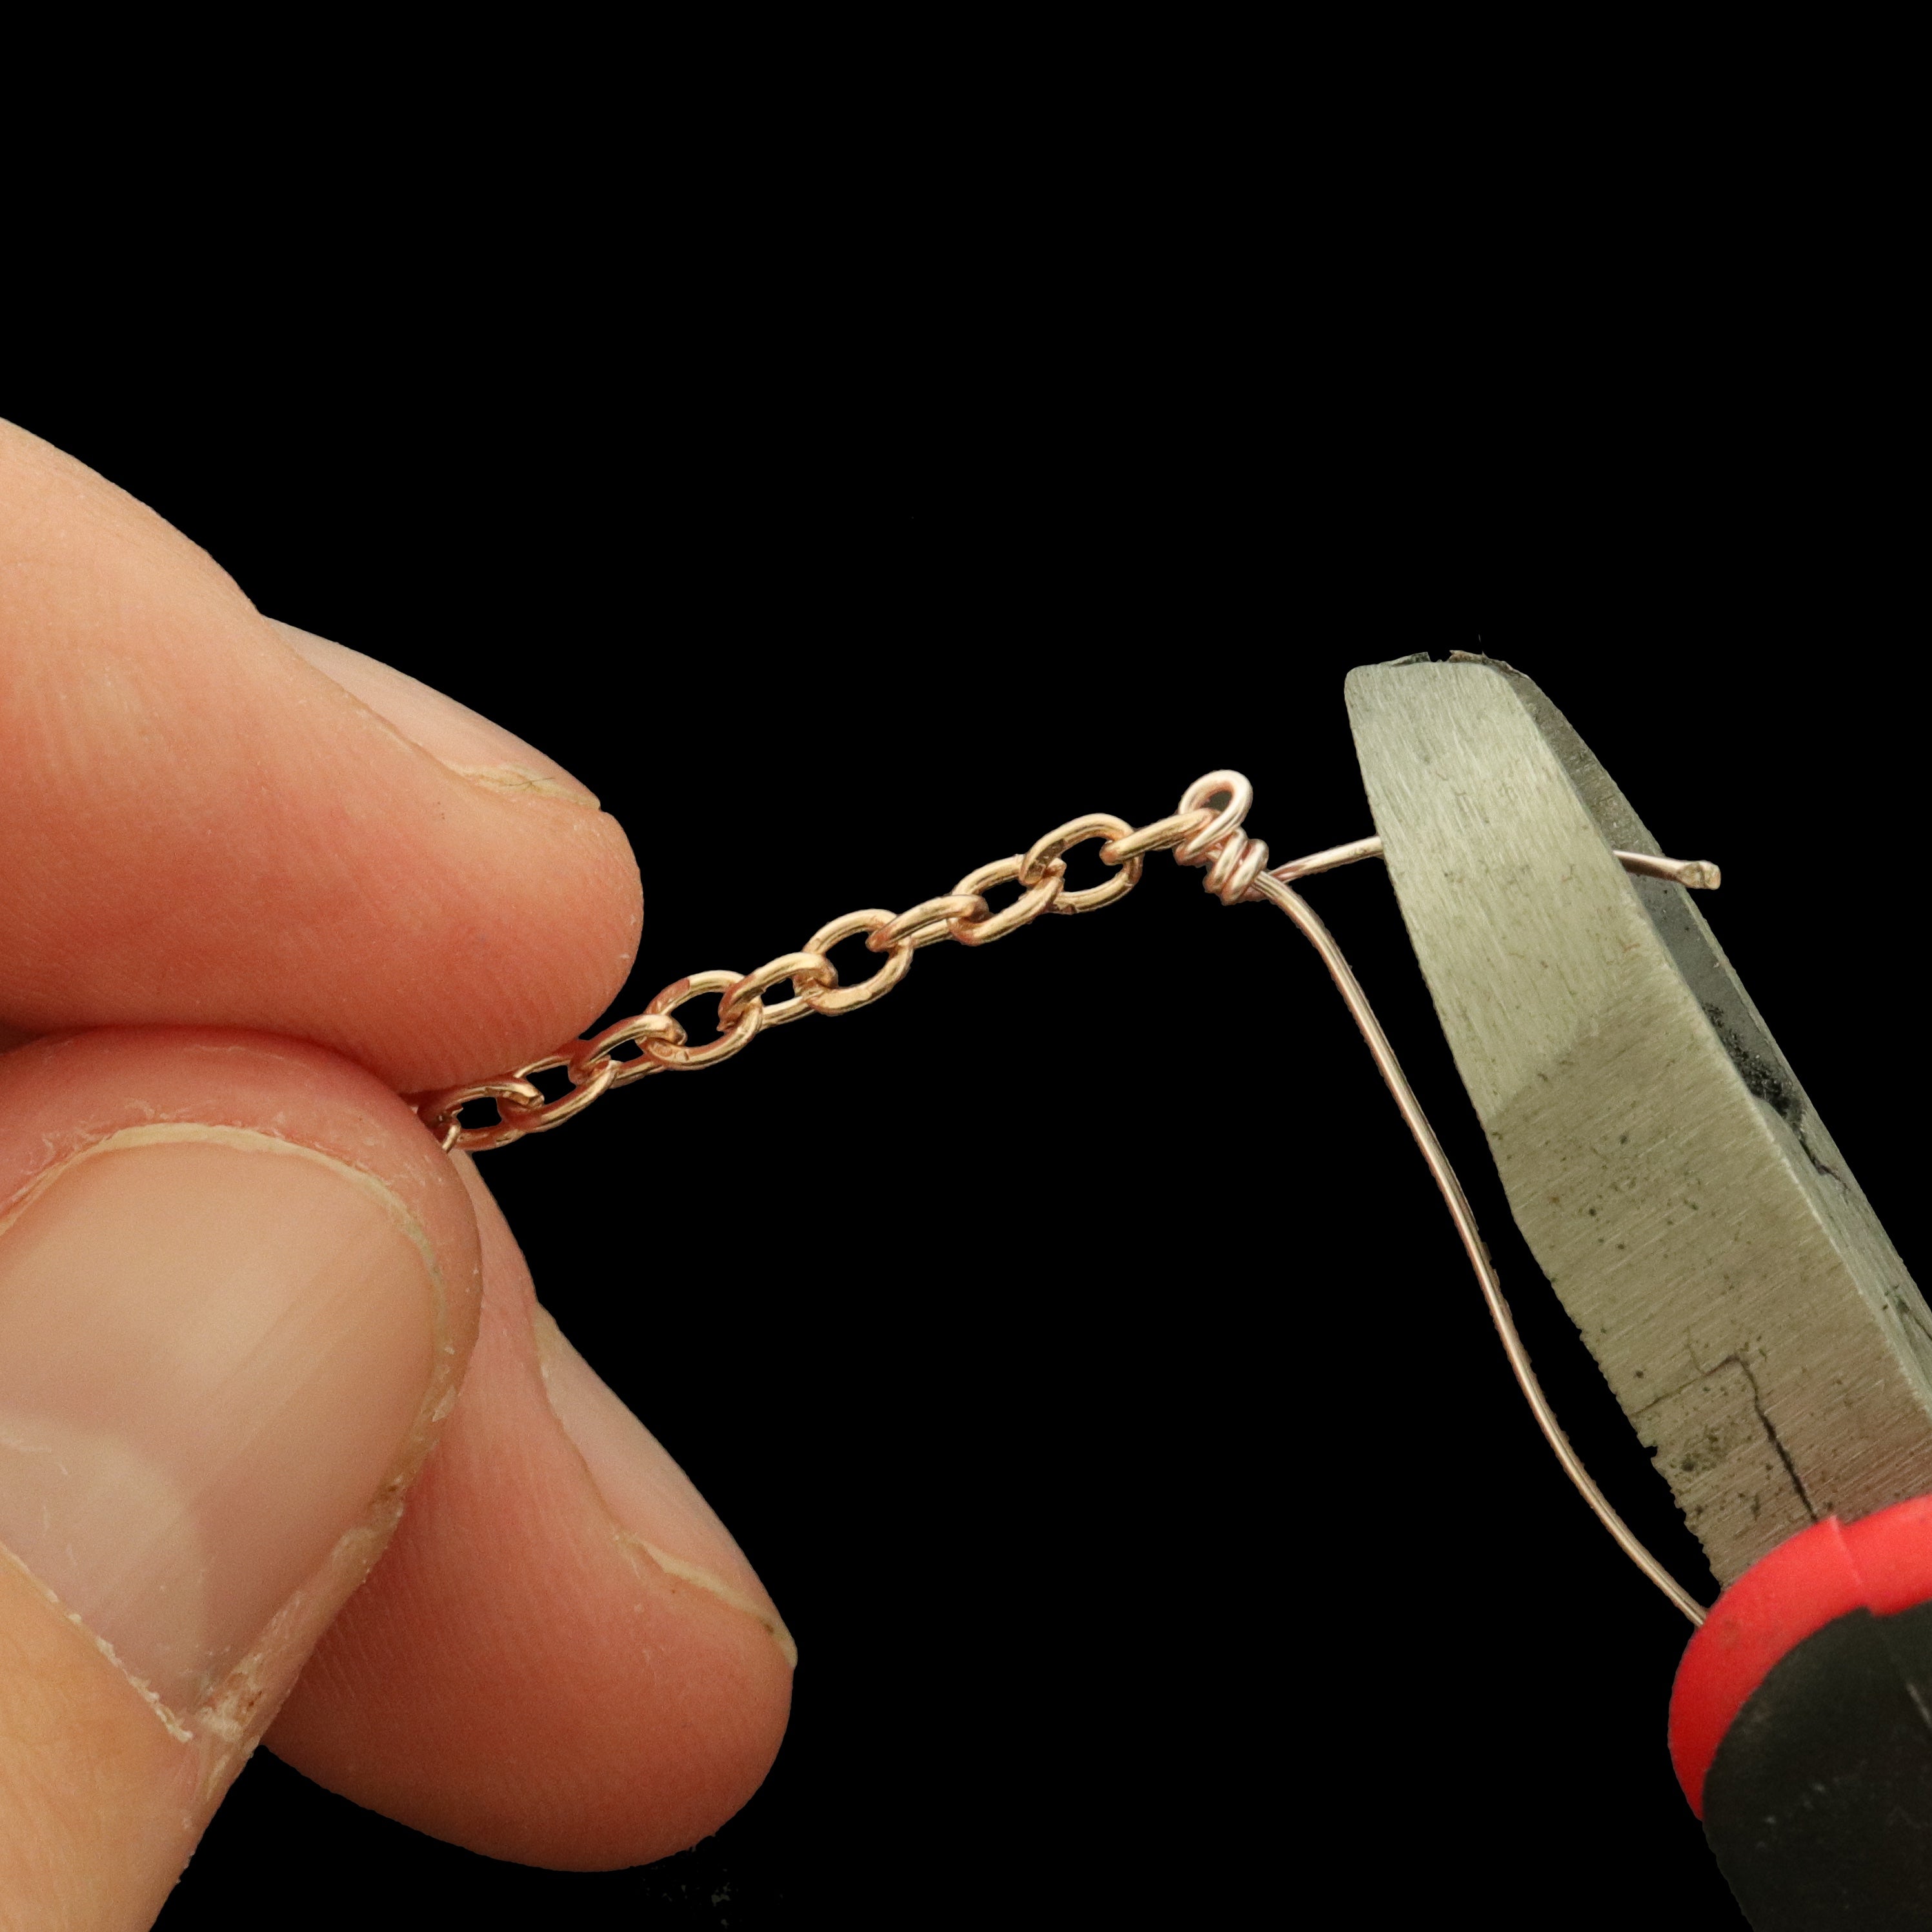
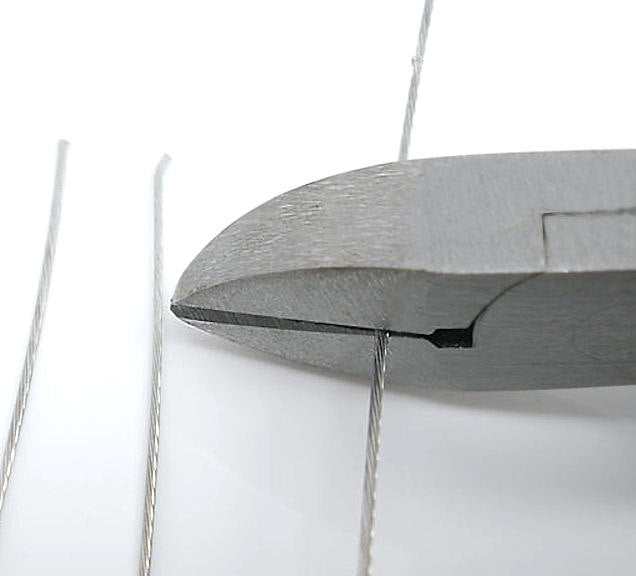
ÉTAPE 4 : Couper l'excédent de fil
Une fois que vous avez créé trois ou quatre boucles serrées, vous pouvez utiliser la pince coupante pour couper l'excédent.
REMARQUE : J'ai trouvé qu'il était plus facile d'utiliser mon pouce pour rapprocher les boucles afin d'obtenir un ajustement plus serré.

ÉTAPE 5 : Enfiler les perles sur le fil
Commencez à enfiler les perles entretoises en acier inoxydable or rose sur le fil, en les alternant avec les perles à facettes. Nous utilisons cinq perles entretoises et quatre perles de chaque côté.
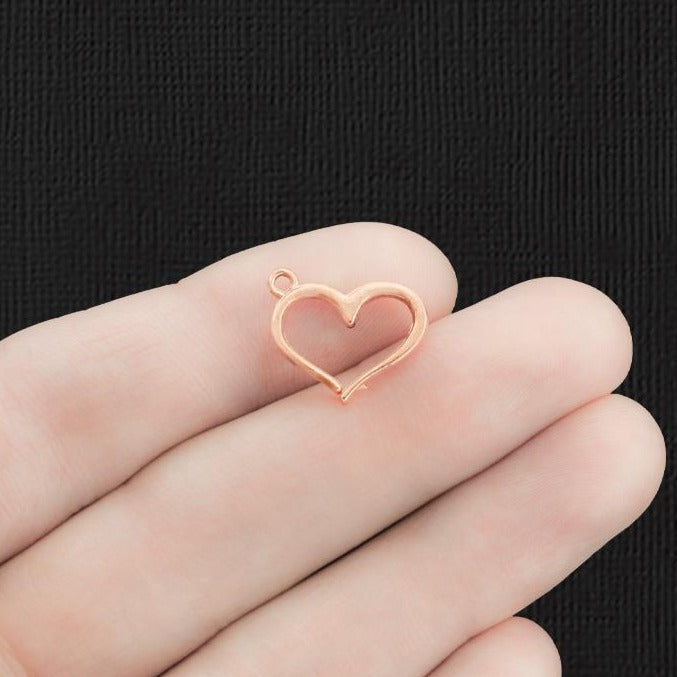
ÉTAPE 6 : Attachez le pendentif cœur
Fixez un anneau à l'œillet du pendentif cœur, puis enfilez-le sur le fil après votre première série de perles.
ÉTAPE 7 : Terminez d'enfiler les perles
Échangez les perles d'espacement en acier inoxydable avec les perles à facettes après le pendentif en forme de cœur. Avec des quantités égales des deux côtés, nous pouvons maintenant passer à la partie délicate !
ÉTAPE 8 : Fixer l'autre chaîne
Mettez soigneusement l'autre chaîne de 5 cm au bout du fil.

ÉTAPE 9 : Faites une boucle pour fixer la chaîne
C'était la partie la plus difficile ! Pour faire la boucle ici, il faut un peu de patience, car vous n'avez pas autant d'espace que la première fois. Pour faciliter la tâche, vous pouvez laisser un peu plus de mou dans le fil en laissant de l'espace avant la première boucle.
ÉTAPE 10 : Terminez la boucle et coupez l'excédent.
Nous avions un peu d'espace supplémentaire, alors nous avons créé quelques boucles et les avons regroupées. Utilisez votre outil de coupe pour couper l'extrémité du fil - allez plus près que nous ne l'avons fait sur la photo.
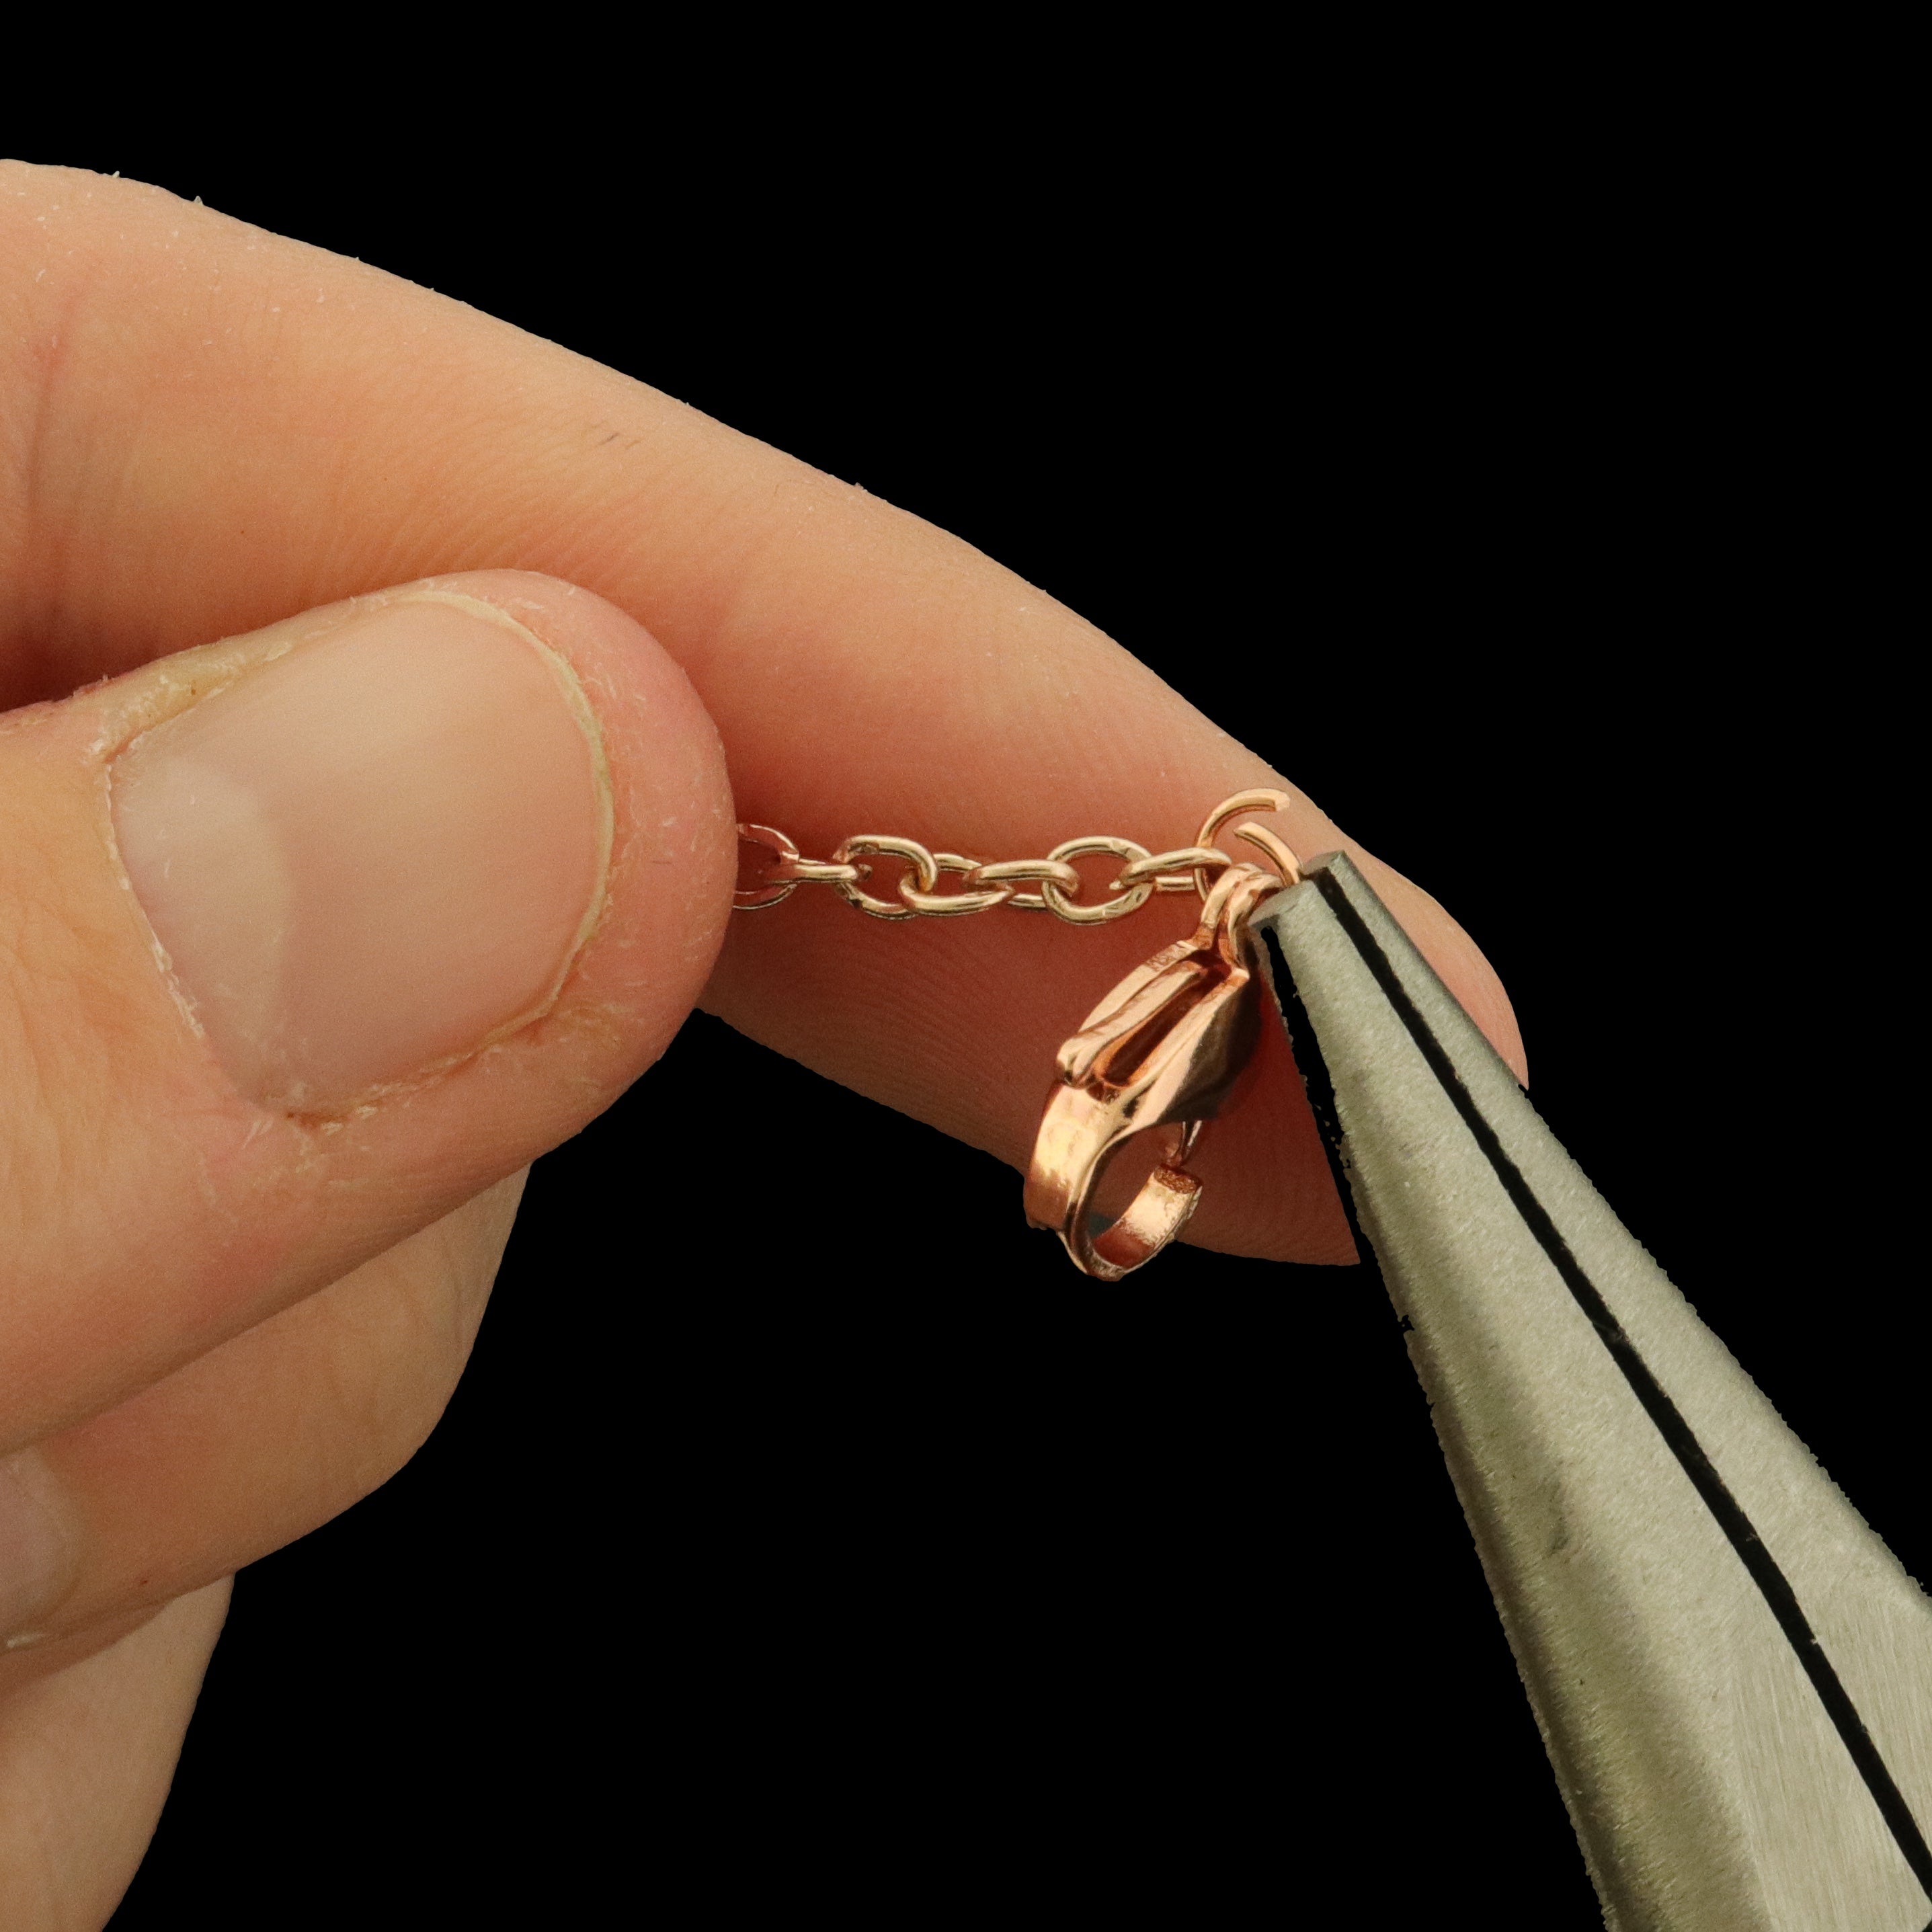
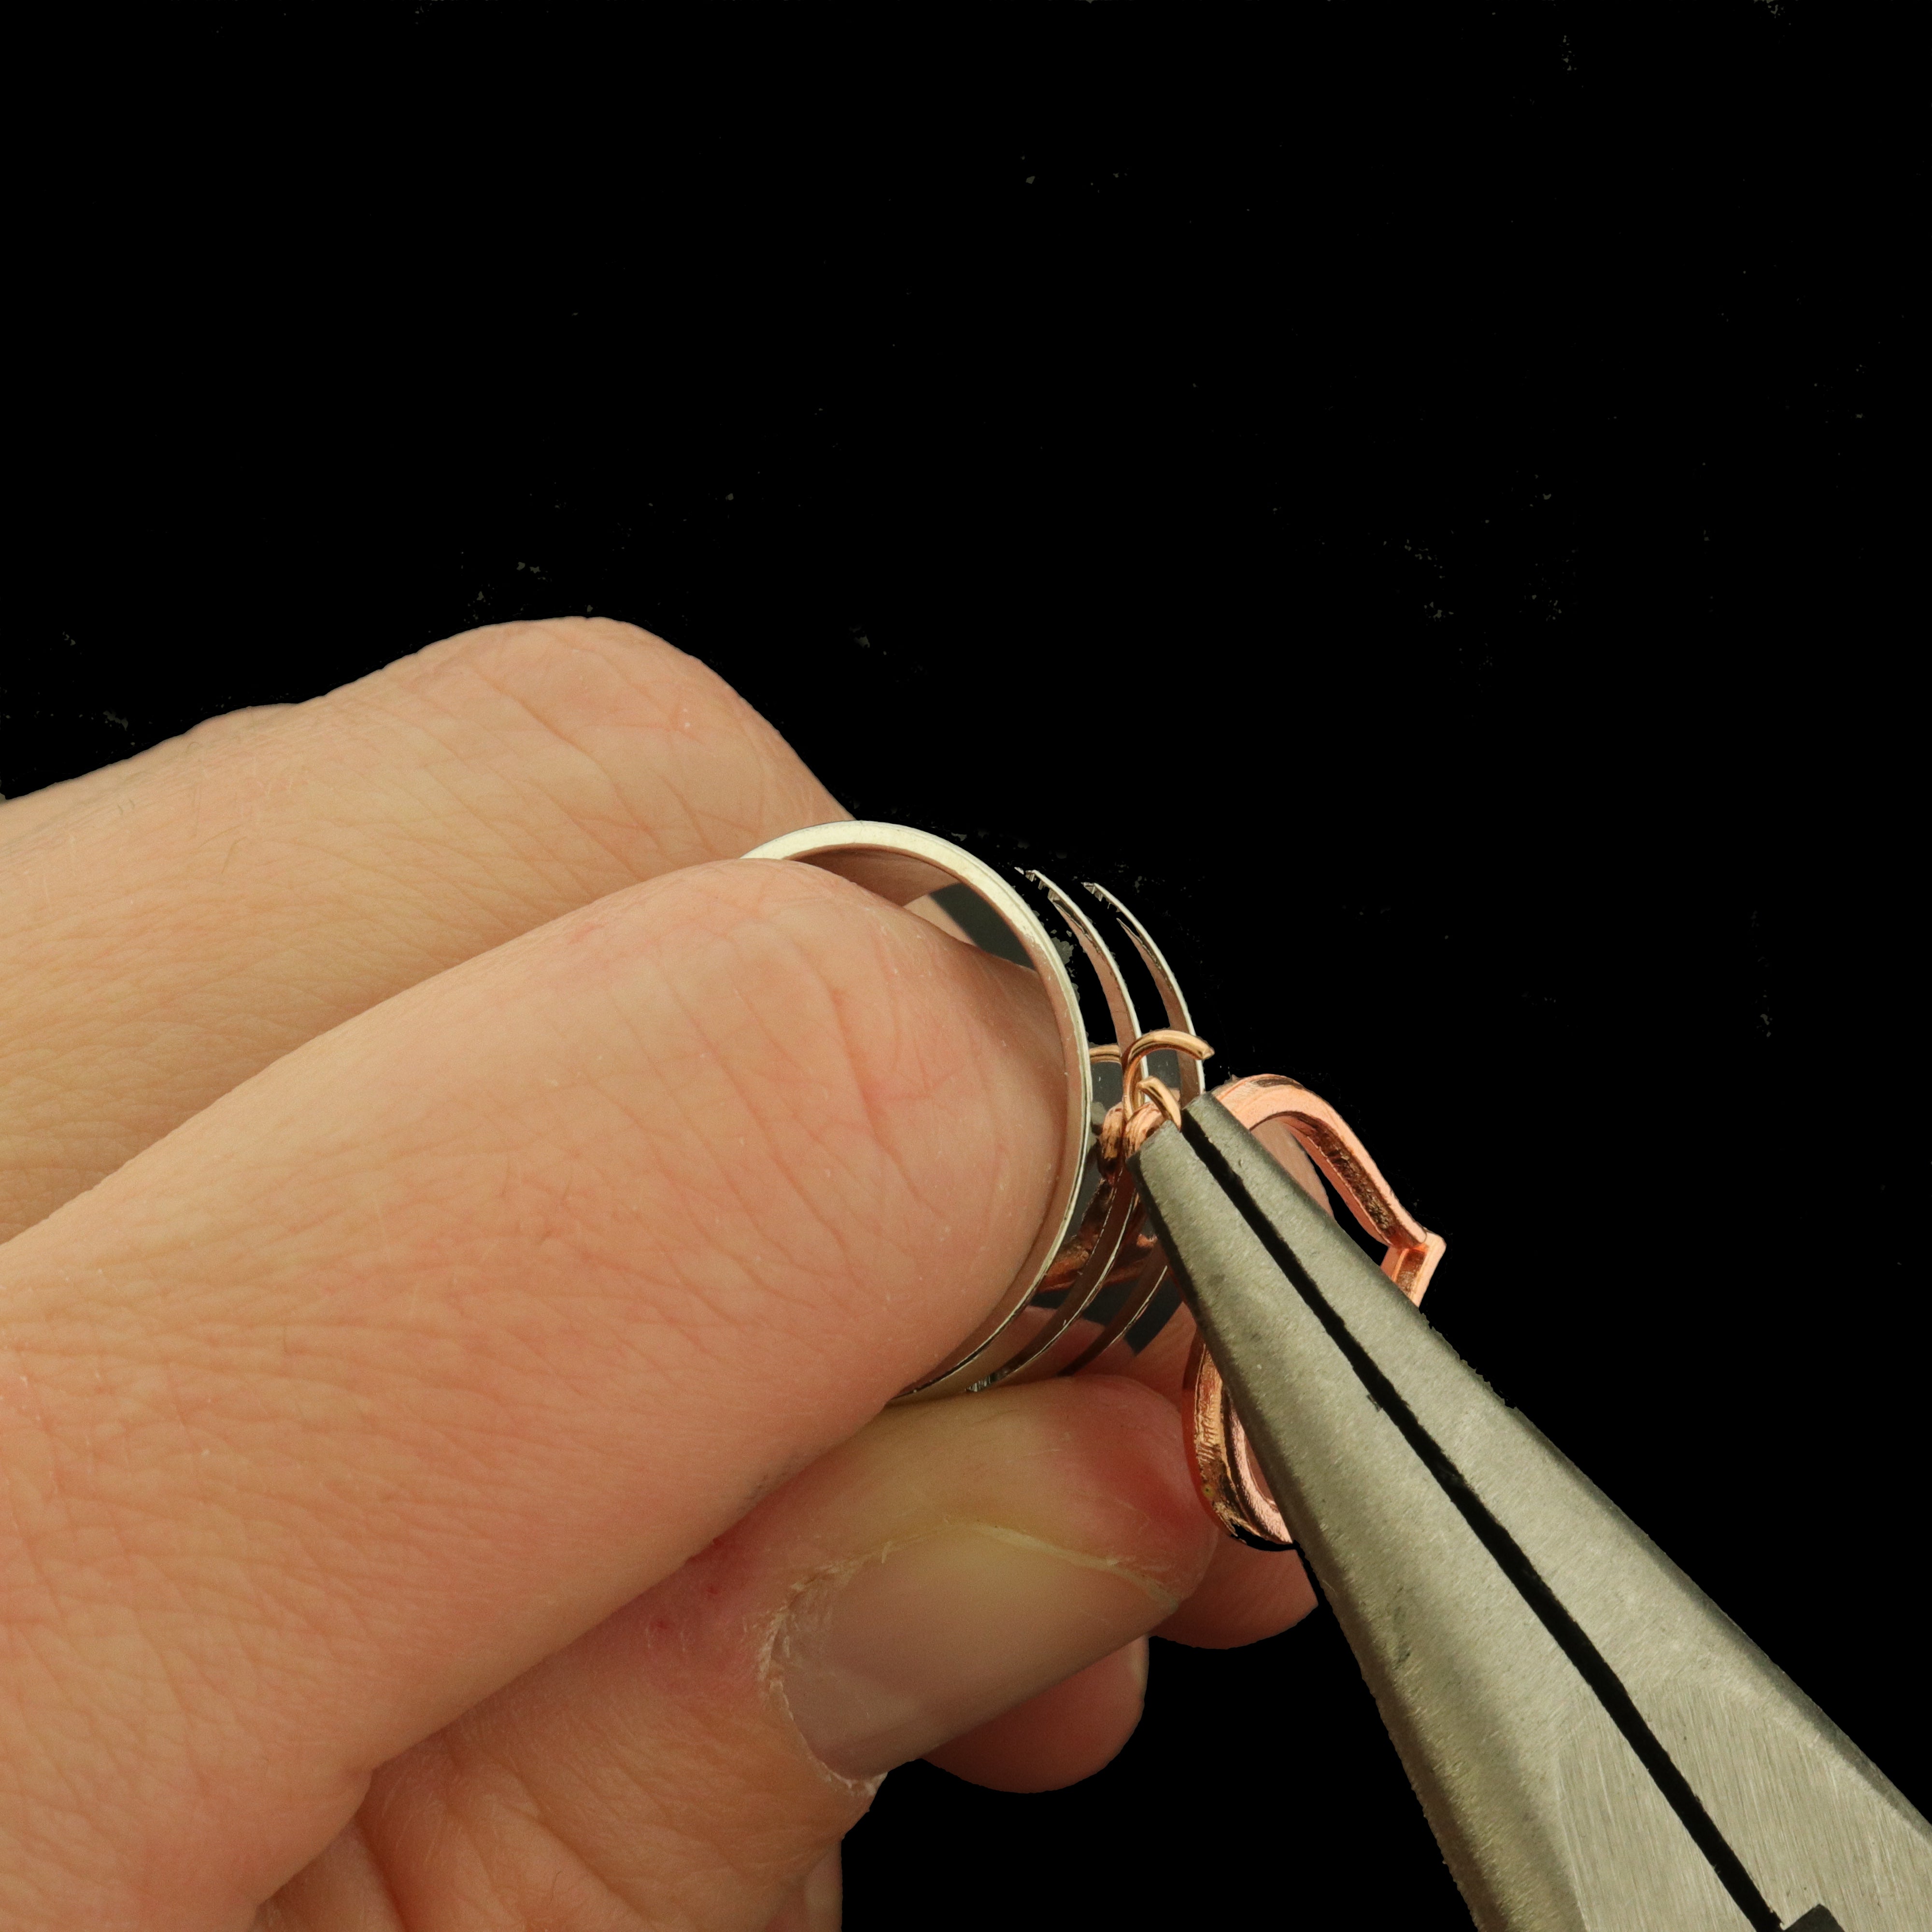
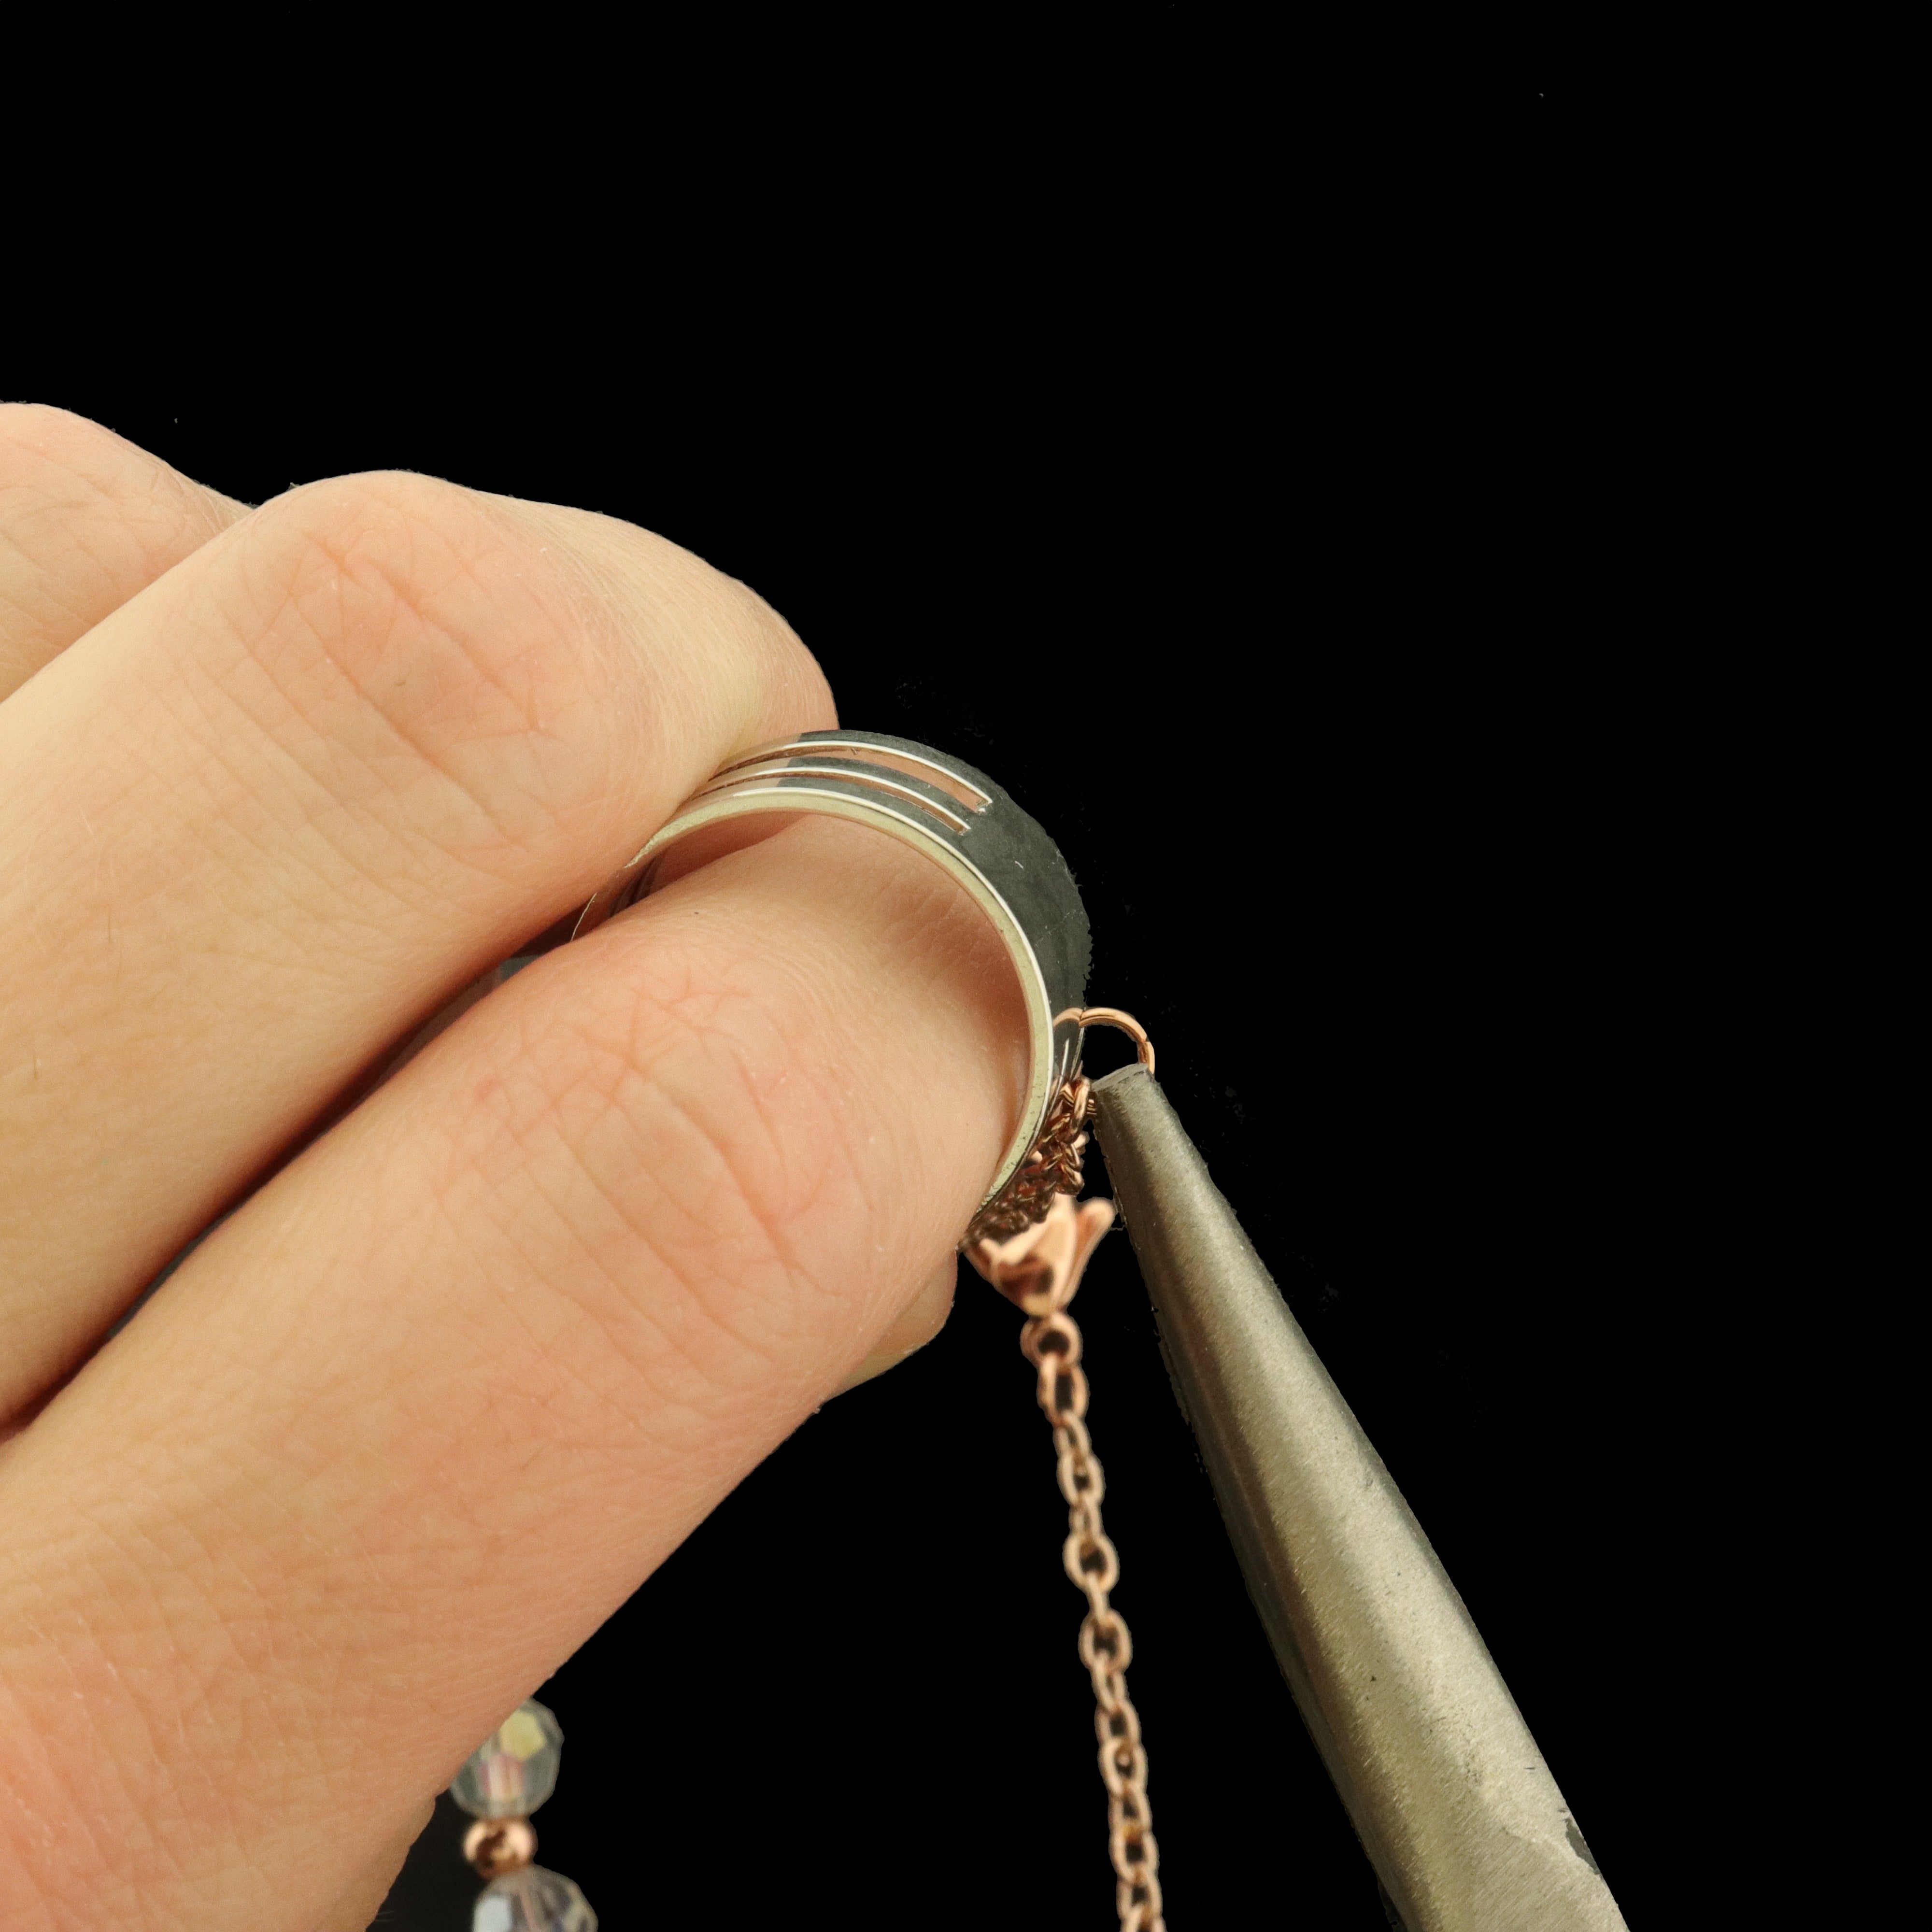
ÉTAPE 11 : Fixez le fermoir mousqueton
Ouvrez un anneau brisé et fixez-le à l'extrémité de la chaîne. Passez-le dans la boucle du fermoir mousqueton et refermez l'anneau brisé.
ÉTAPE 12 : Fixez un anneau brisé de l'autre côté
Attachez un anneau de jonction au dernier maillon de l'autre chaîne - cela servira de point de connexion au fermoir mousqueton pour fermer le bracelet.
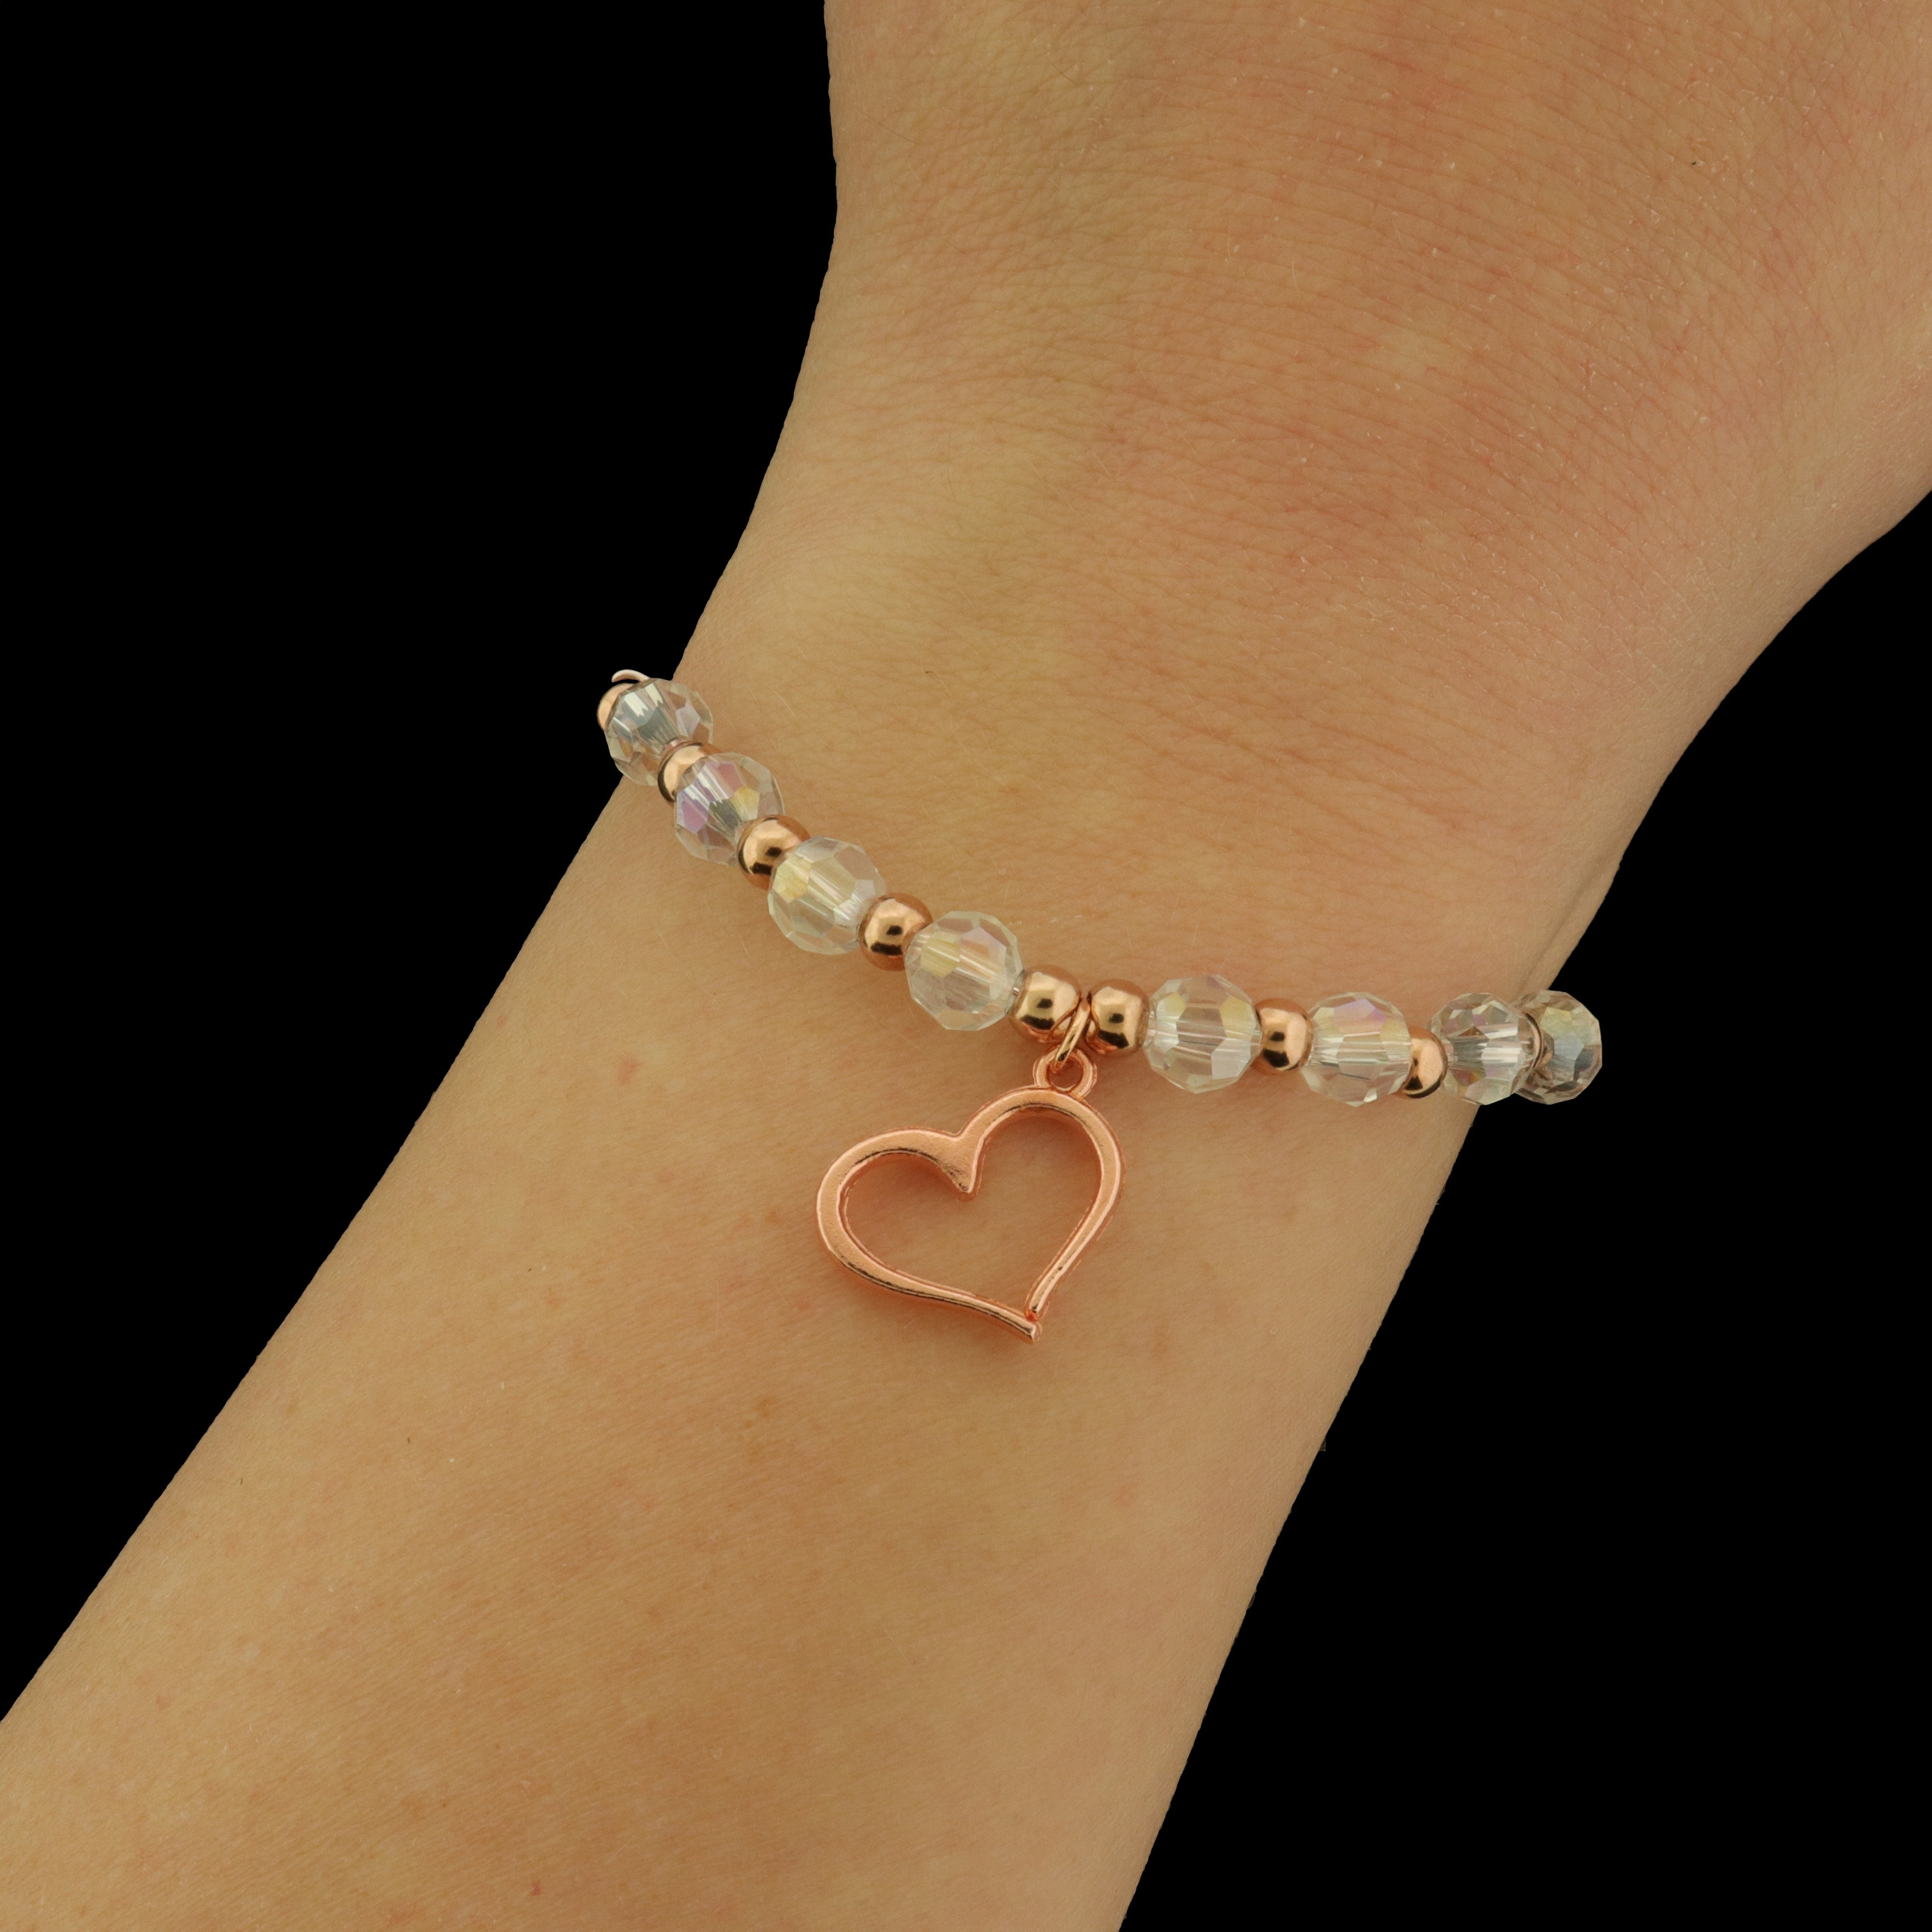
Hourra ! C'est fait !
Asseyez-vous et admirez le magnifique bracelet que vous avez créé. Essayez-le même. Il vous va à merveille, n'est-ce pas ?