

Home / How to Make Jewelry / How to Make a Beaded Charm Bracelet
How to Make a Beaded Charm Bracelet
Create your own beautiful beaded bracelet with just a few simple steps. This easy DIY jewelry project is perfect for creating a simple trendy bracelet for yourself, or as a gift! Whether you're a beginner or a seasoned creator, you'll love this simple design.
Author: Andrea Difficulty: Beginner Time: 15 mins

Supplies Needed

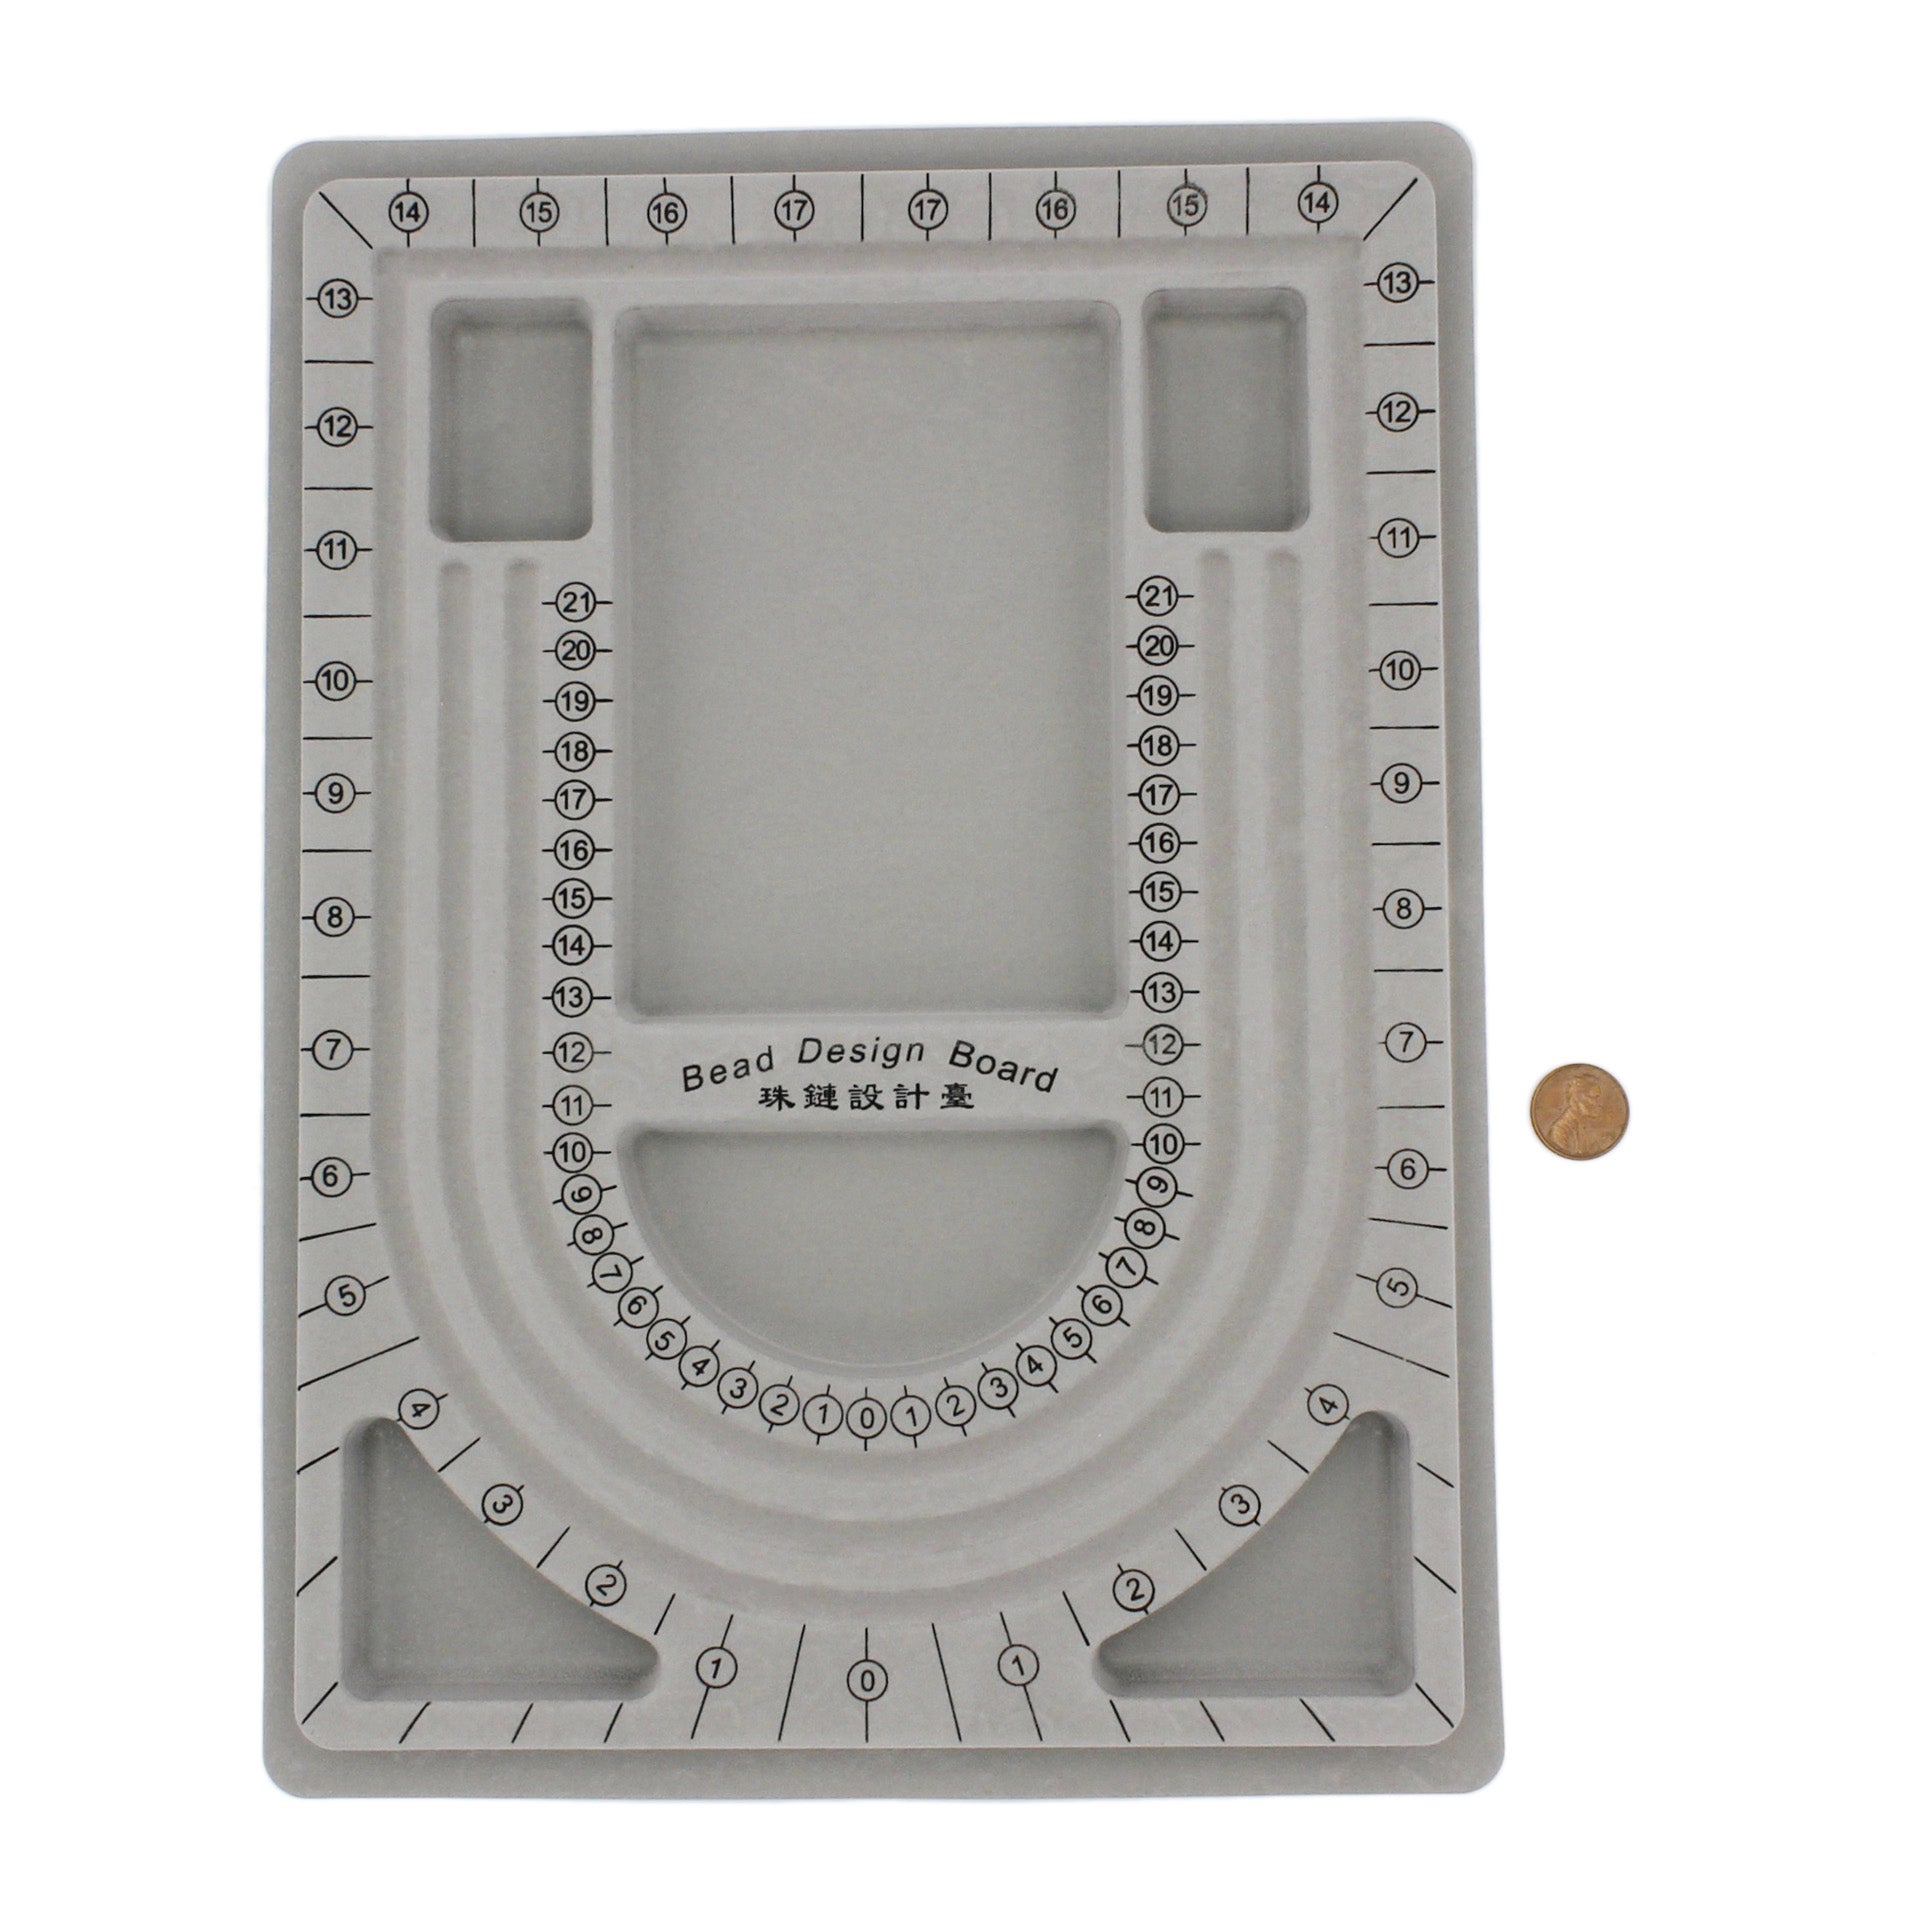


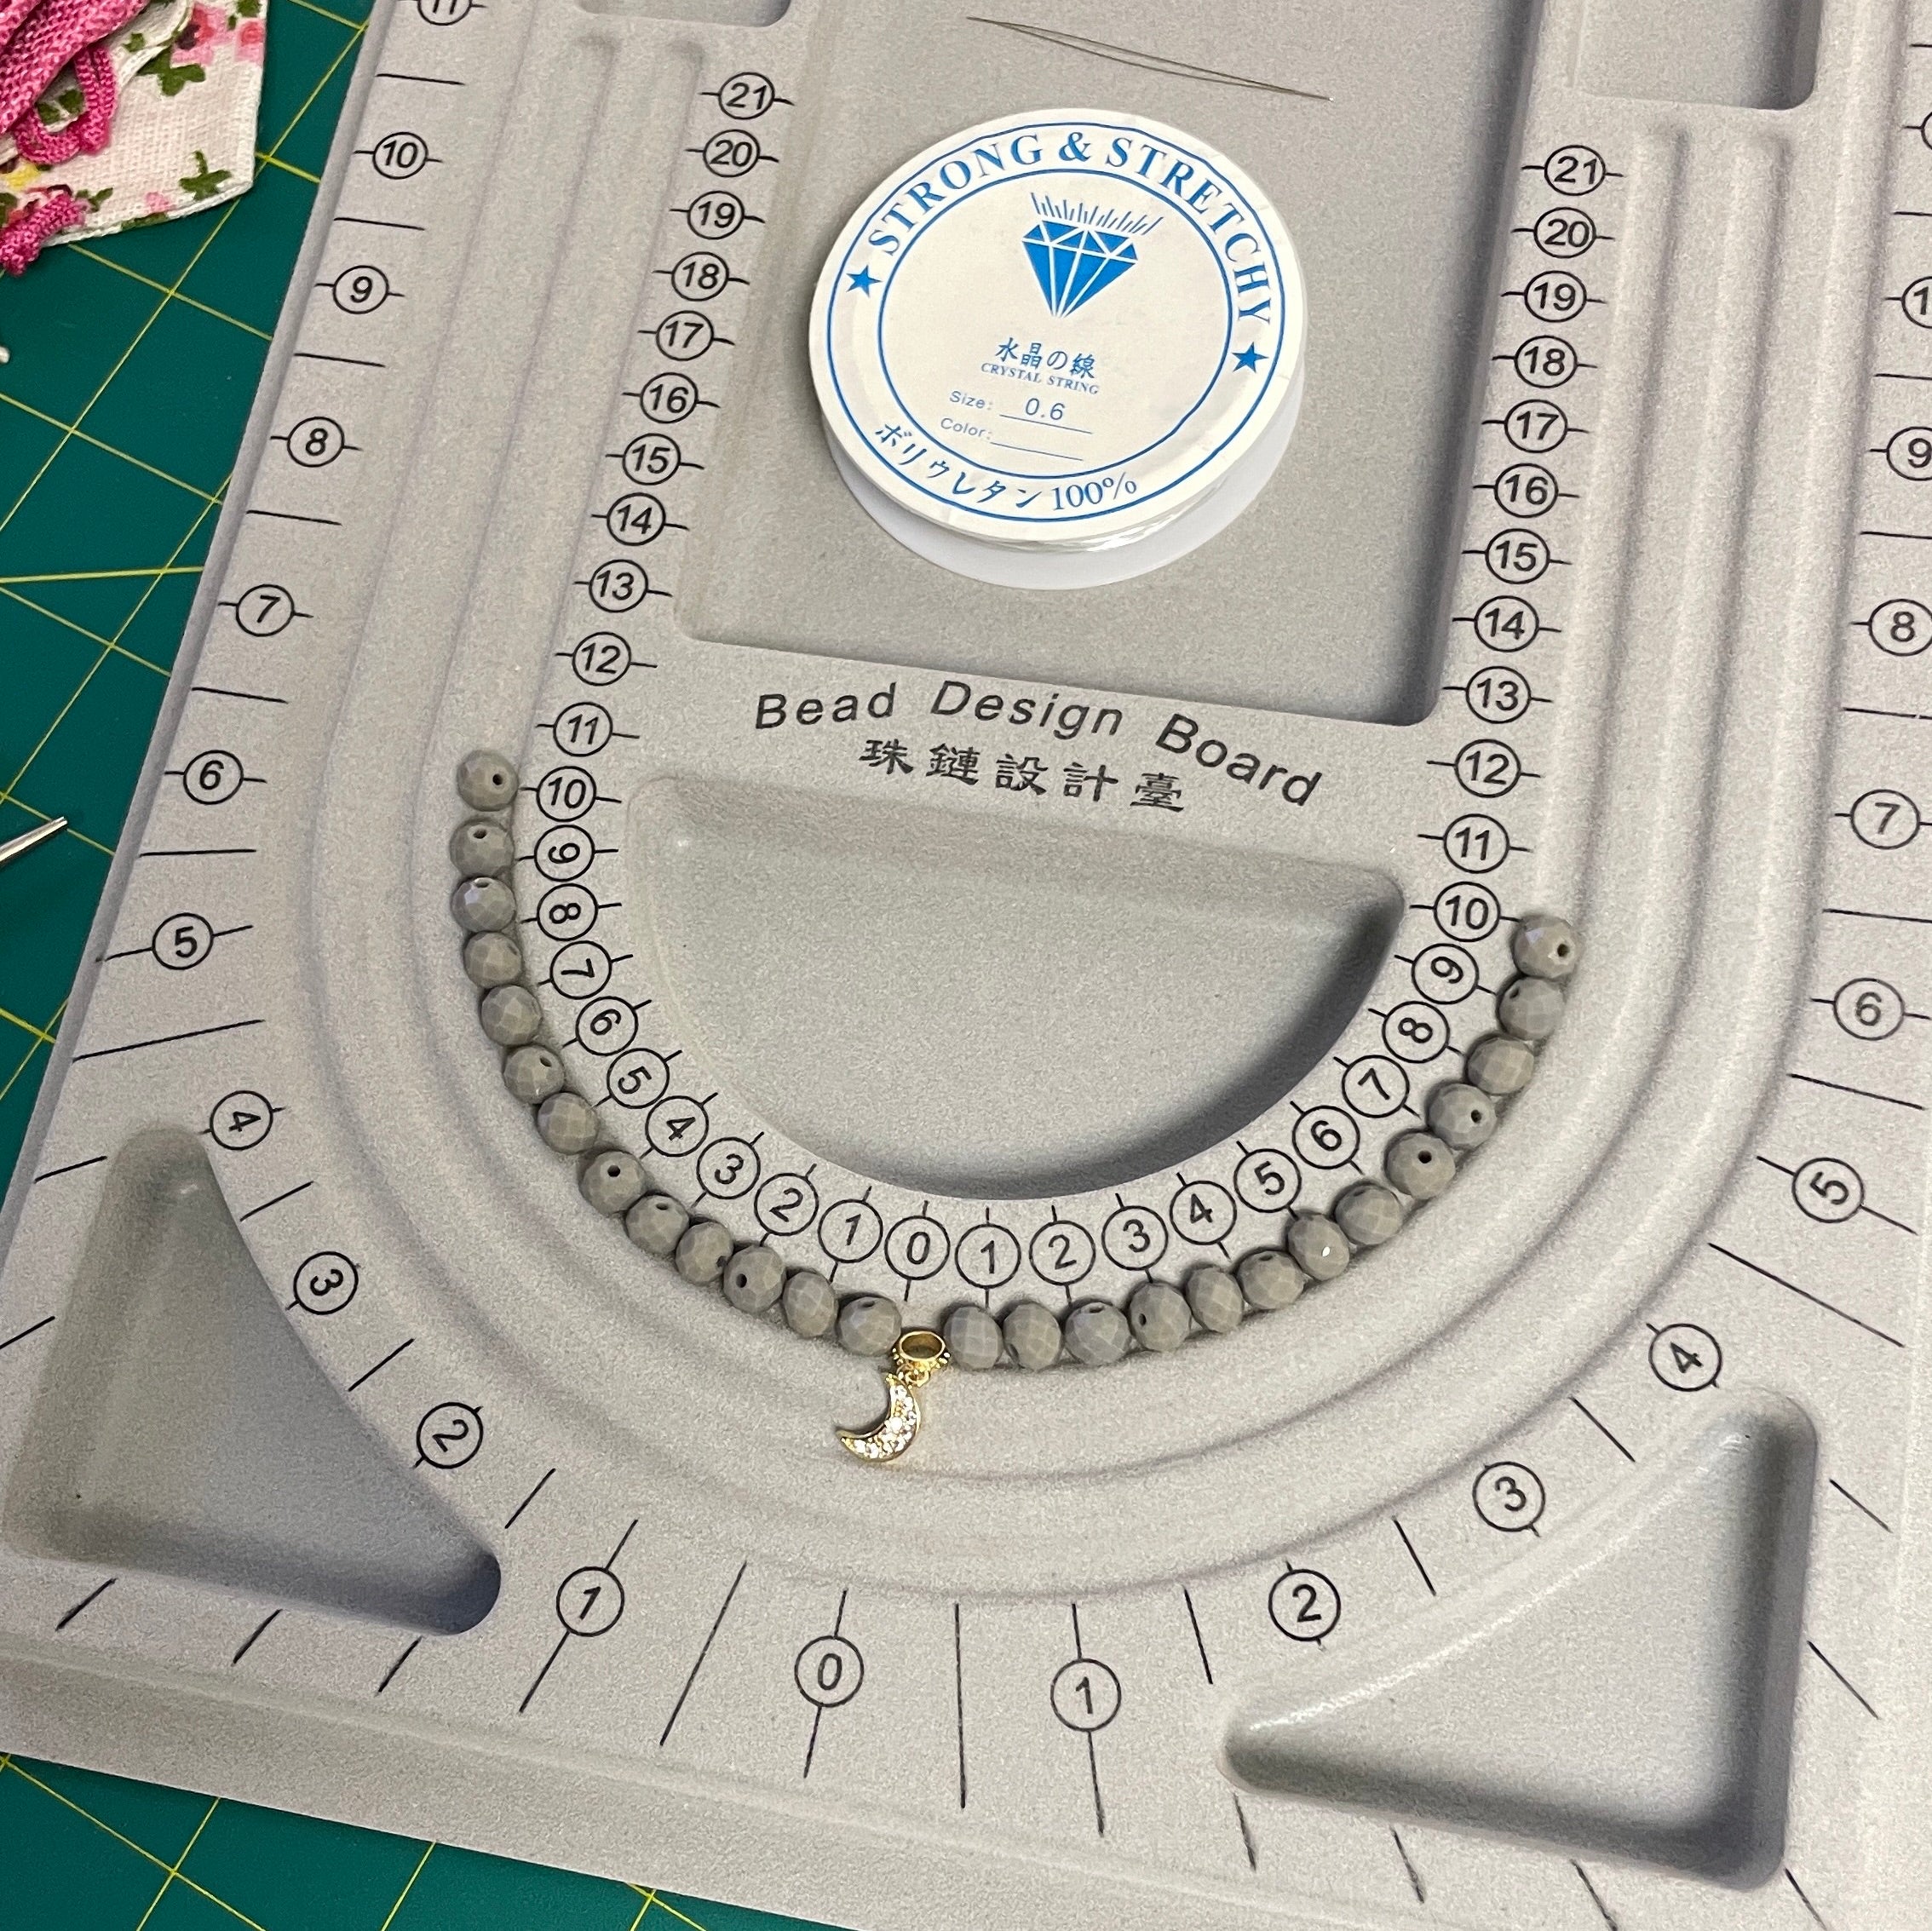
STEP 1: Set up your Bead Design Board
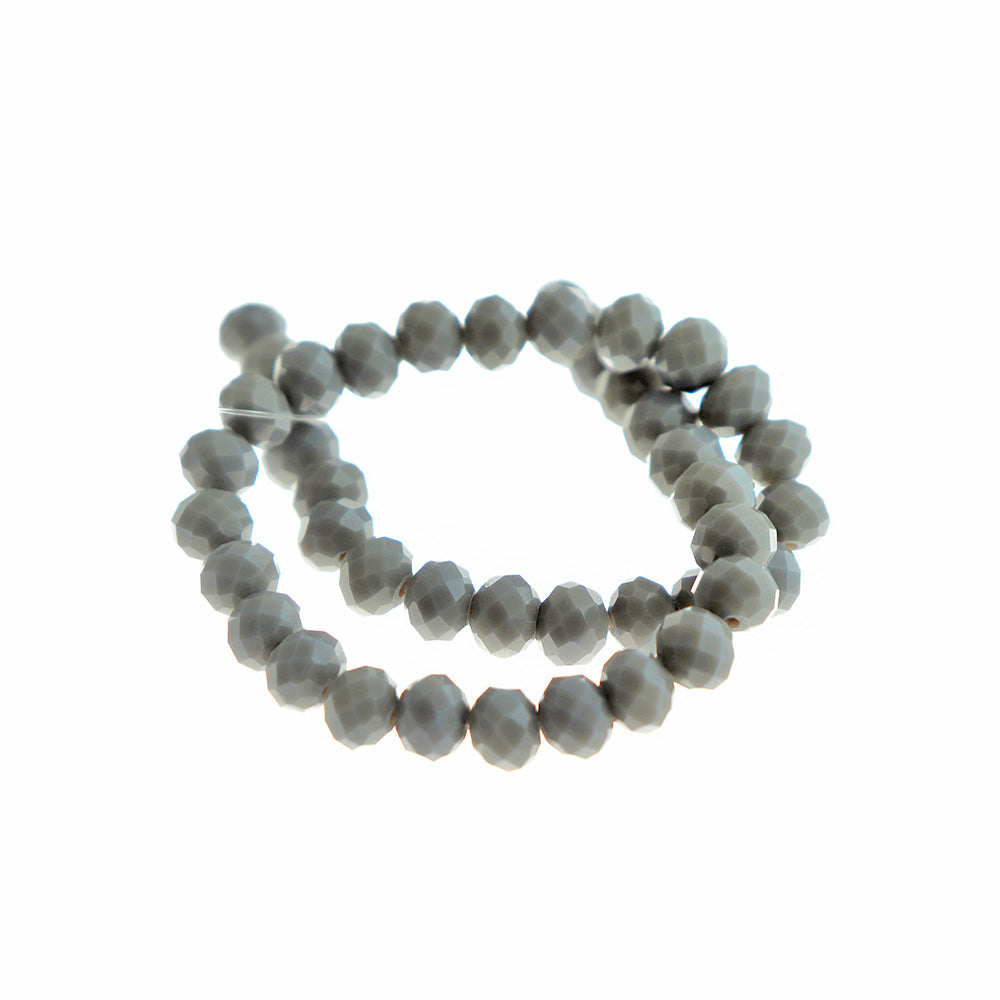
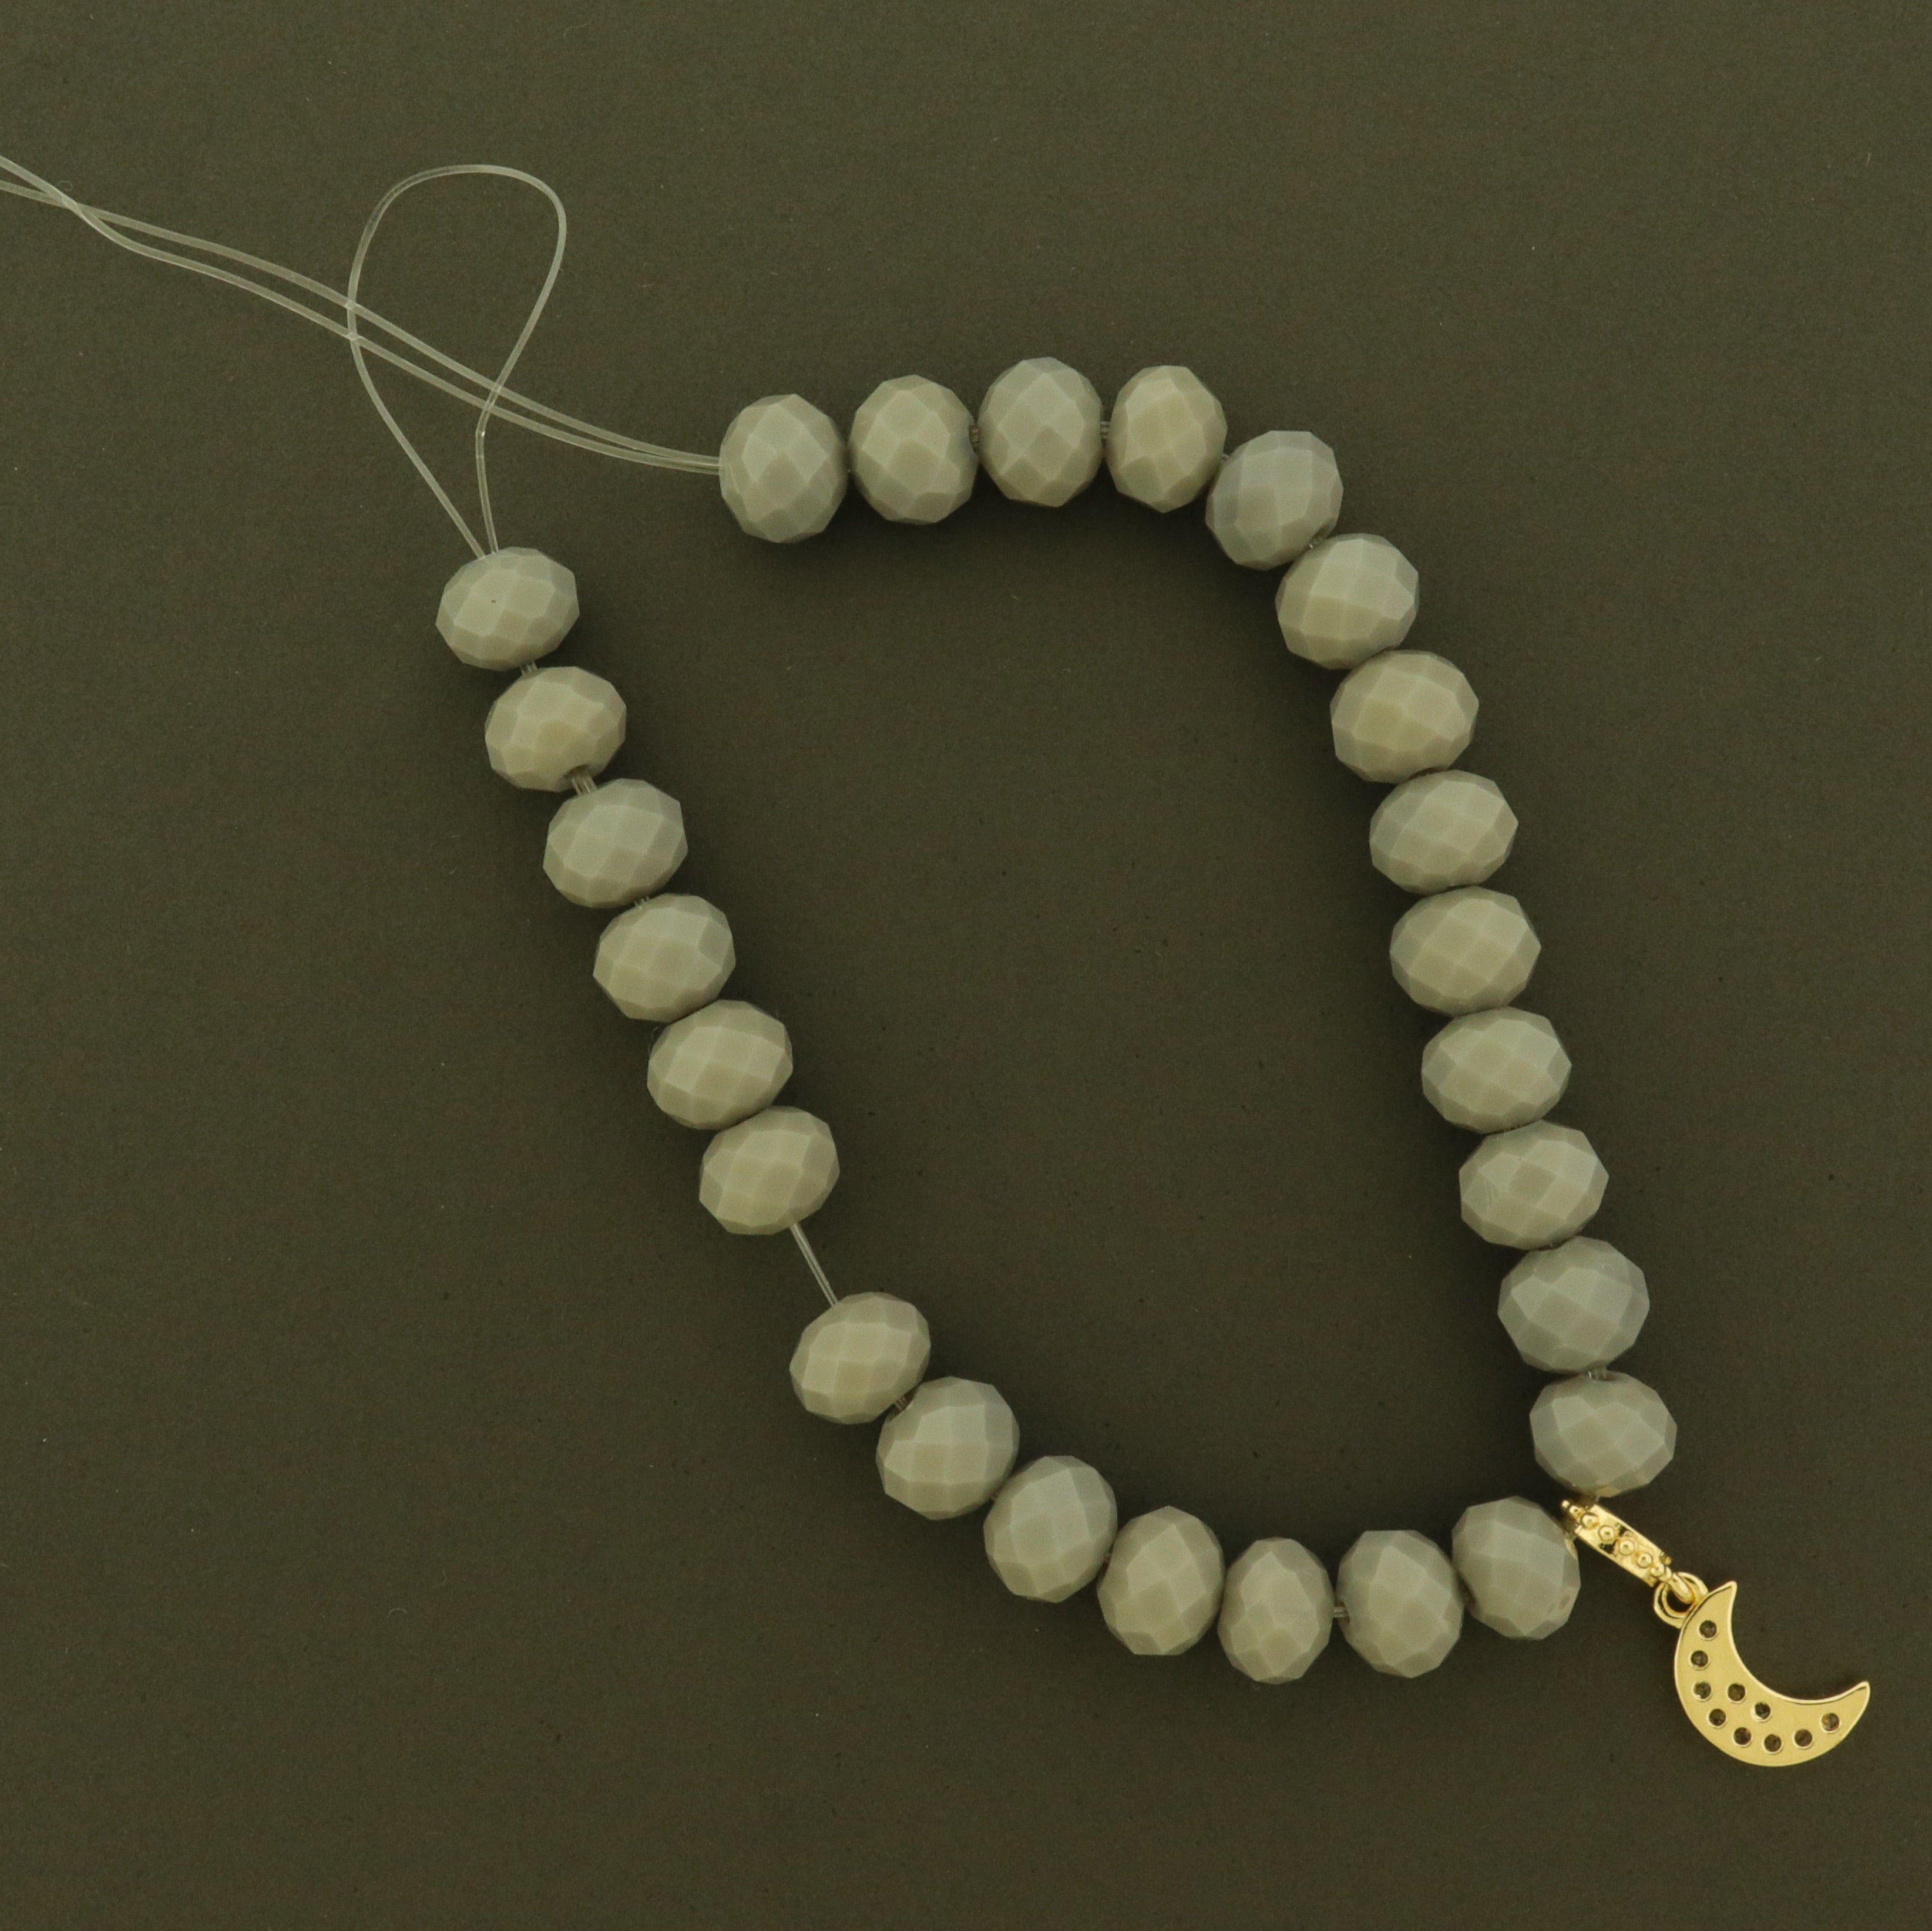
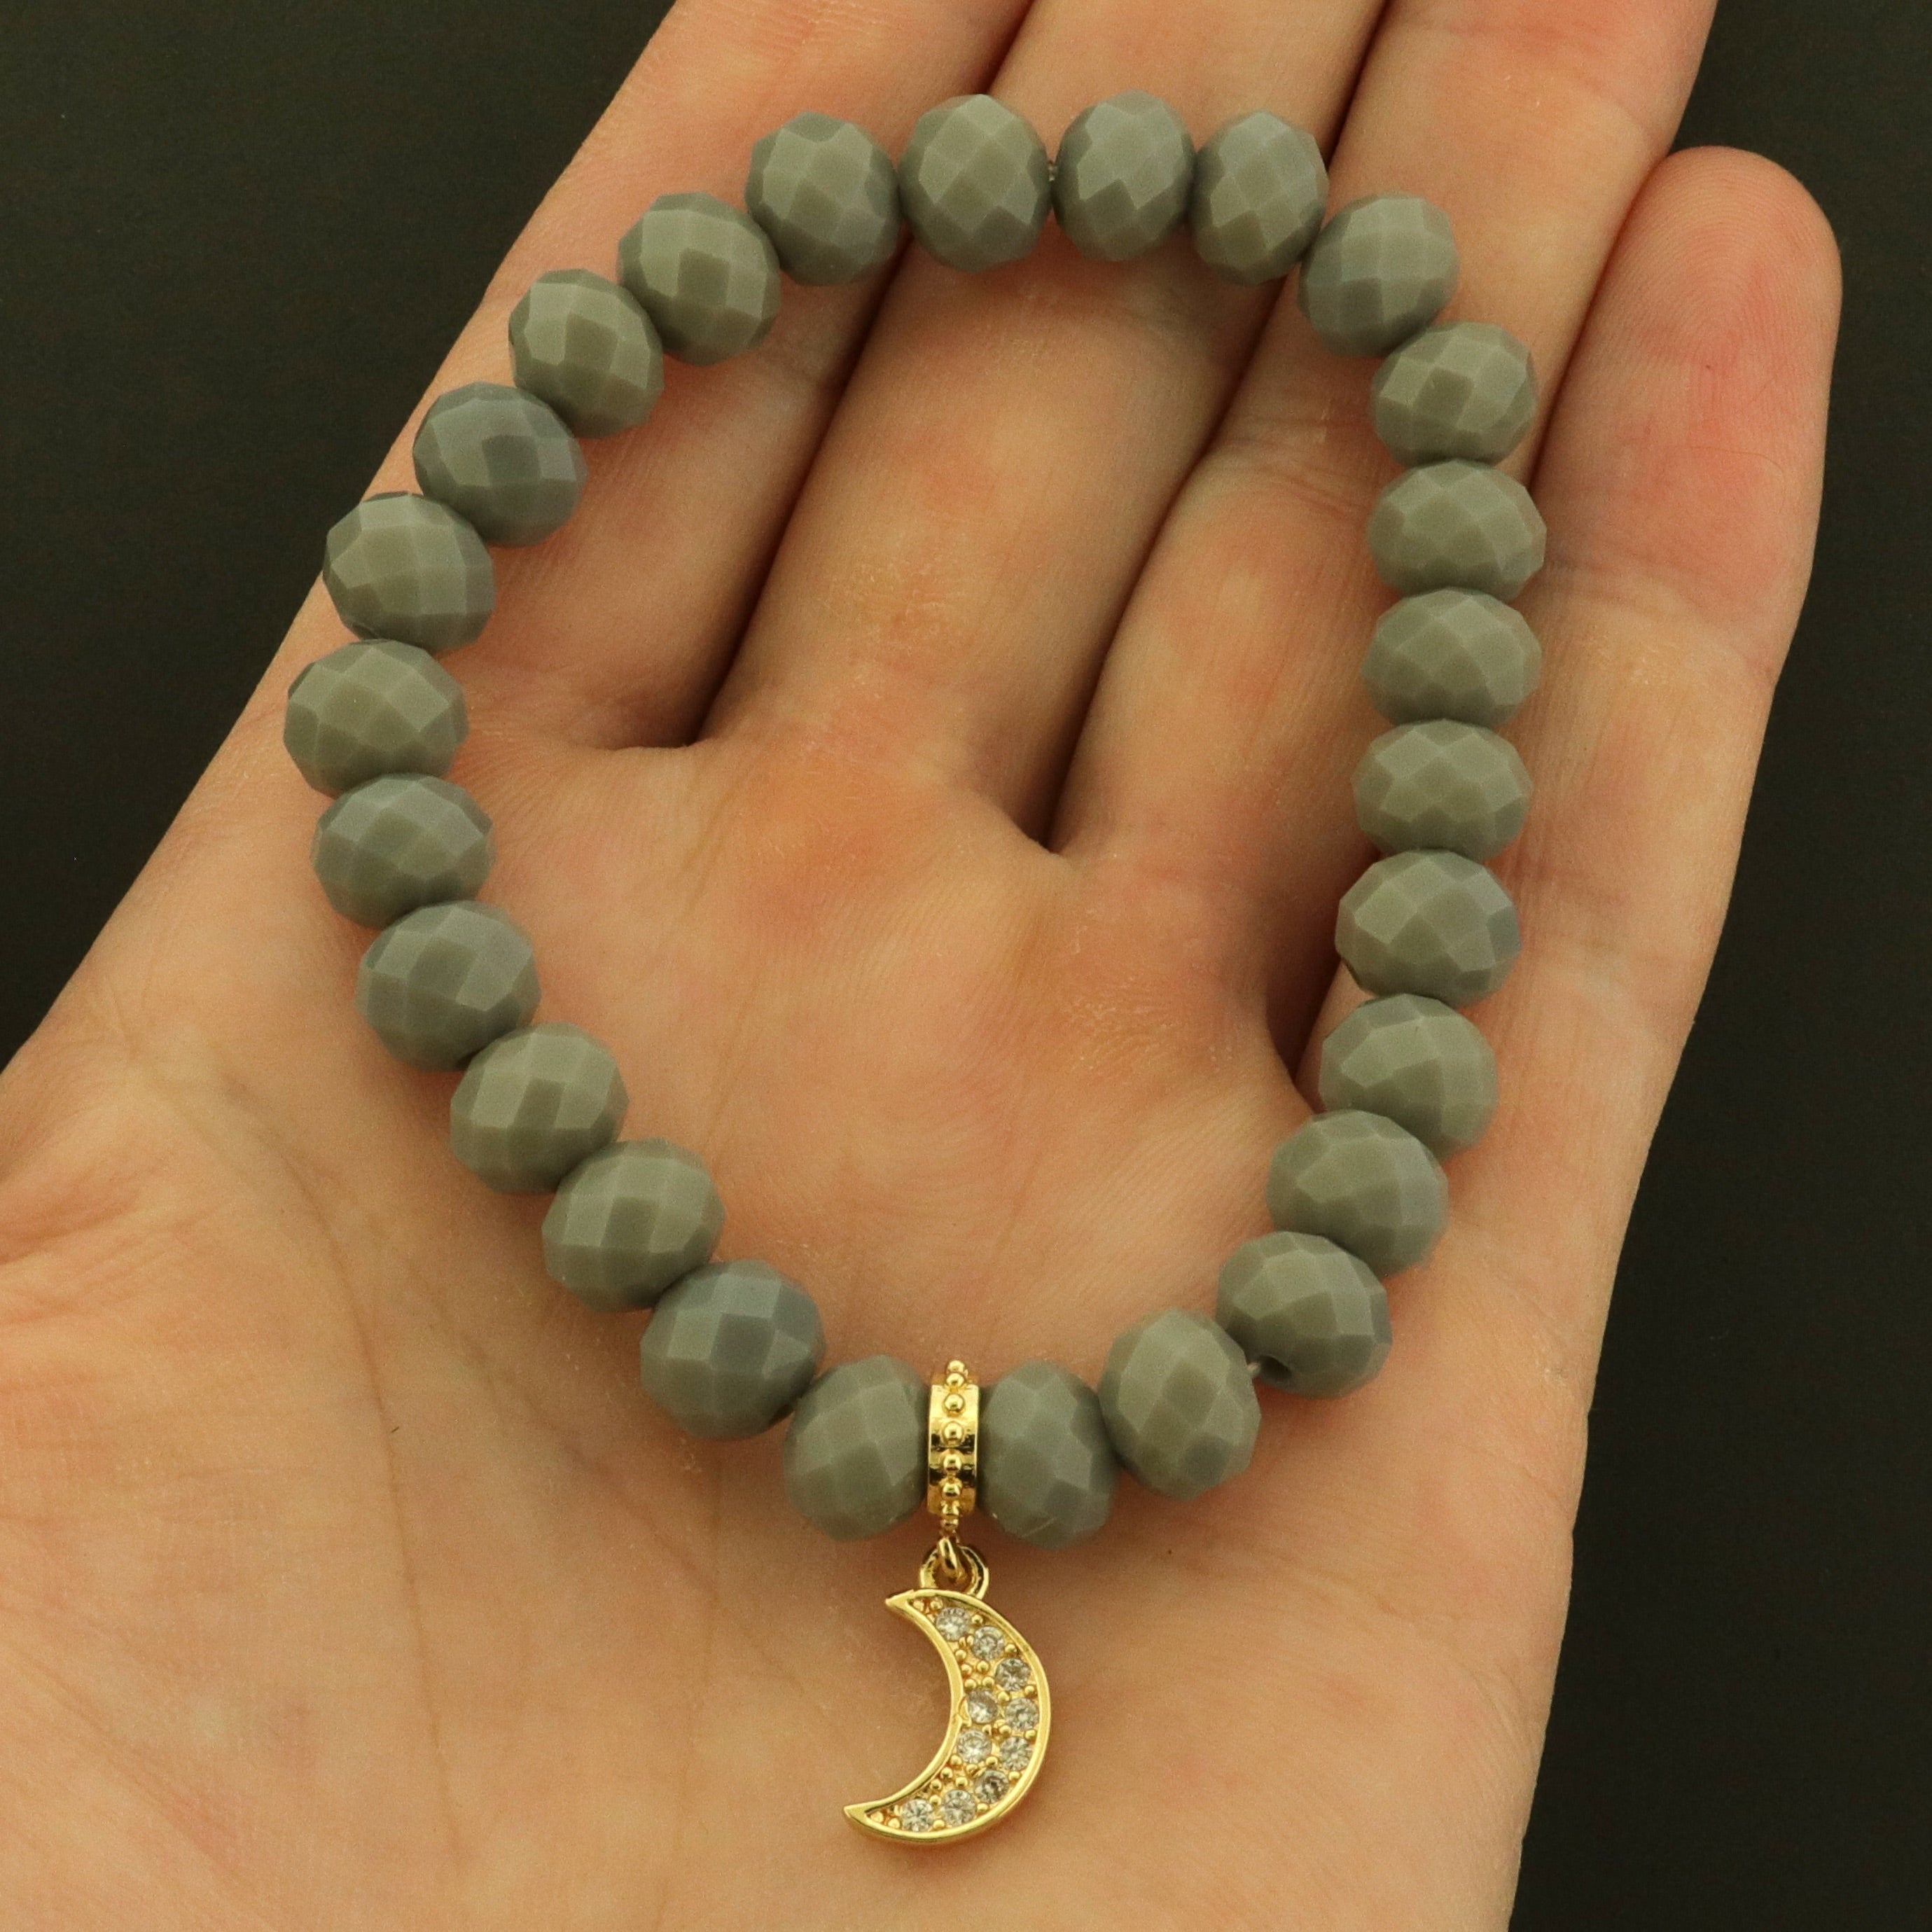
Figure out the exact size of your bracelet using your bead design board. For this tutorial we're using 13 beads on either side of the charm, for a size of approx. 6.2".
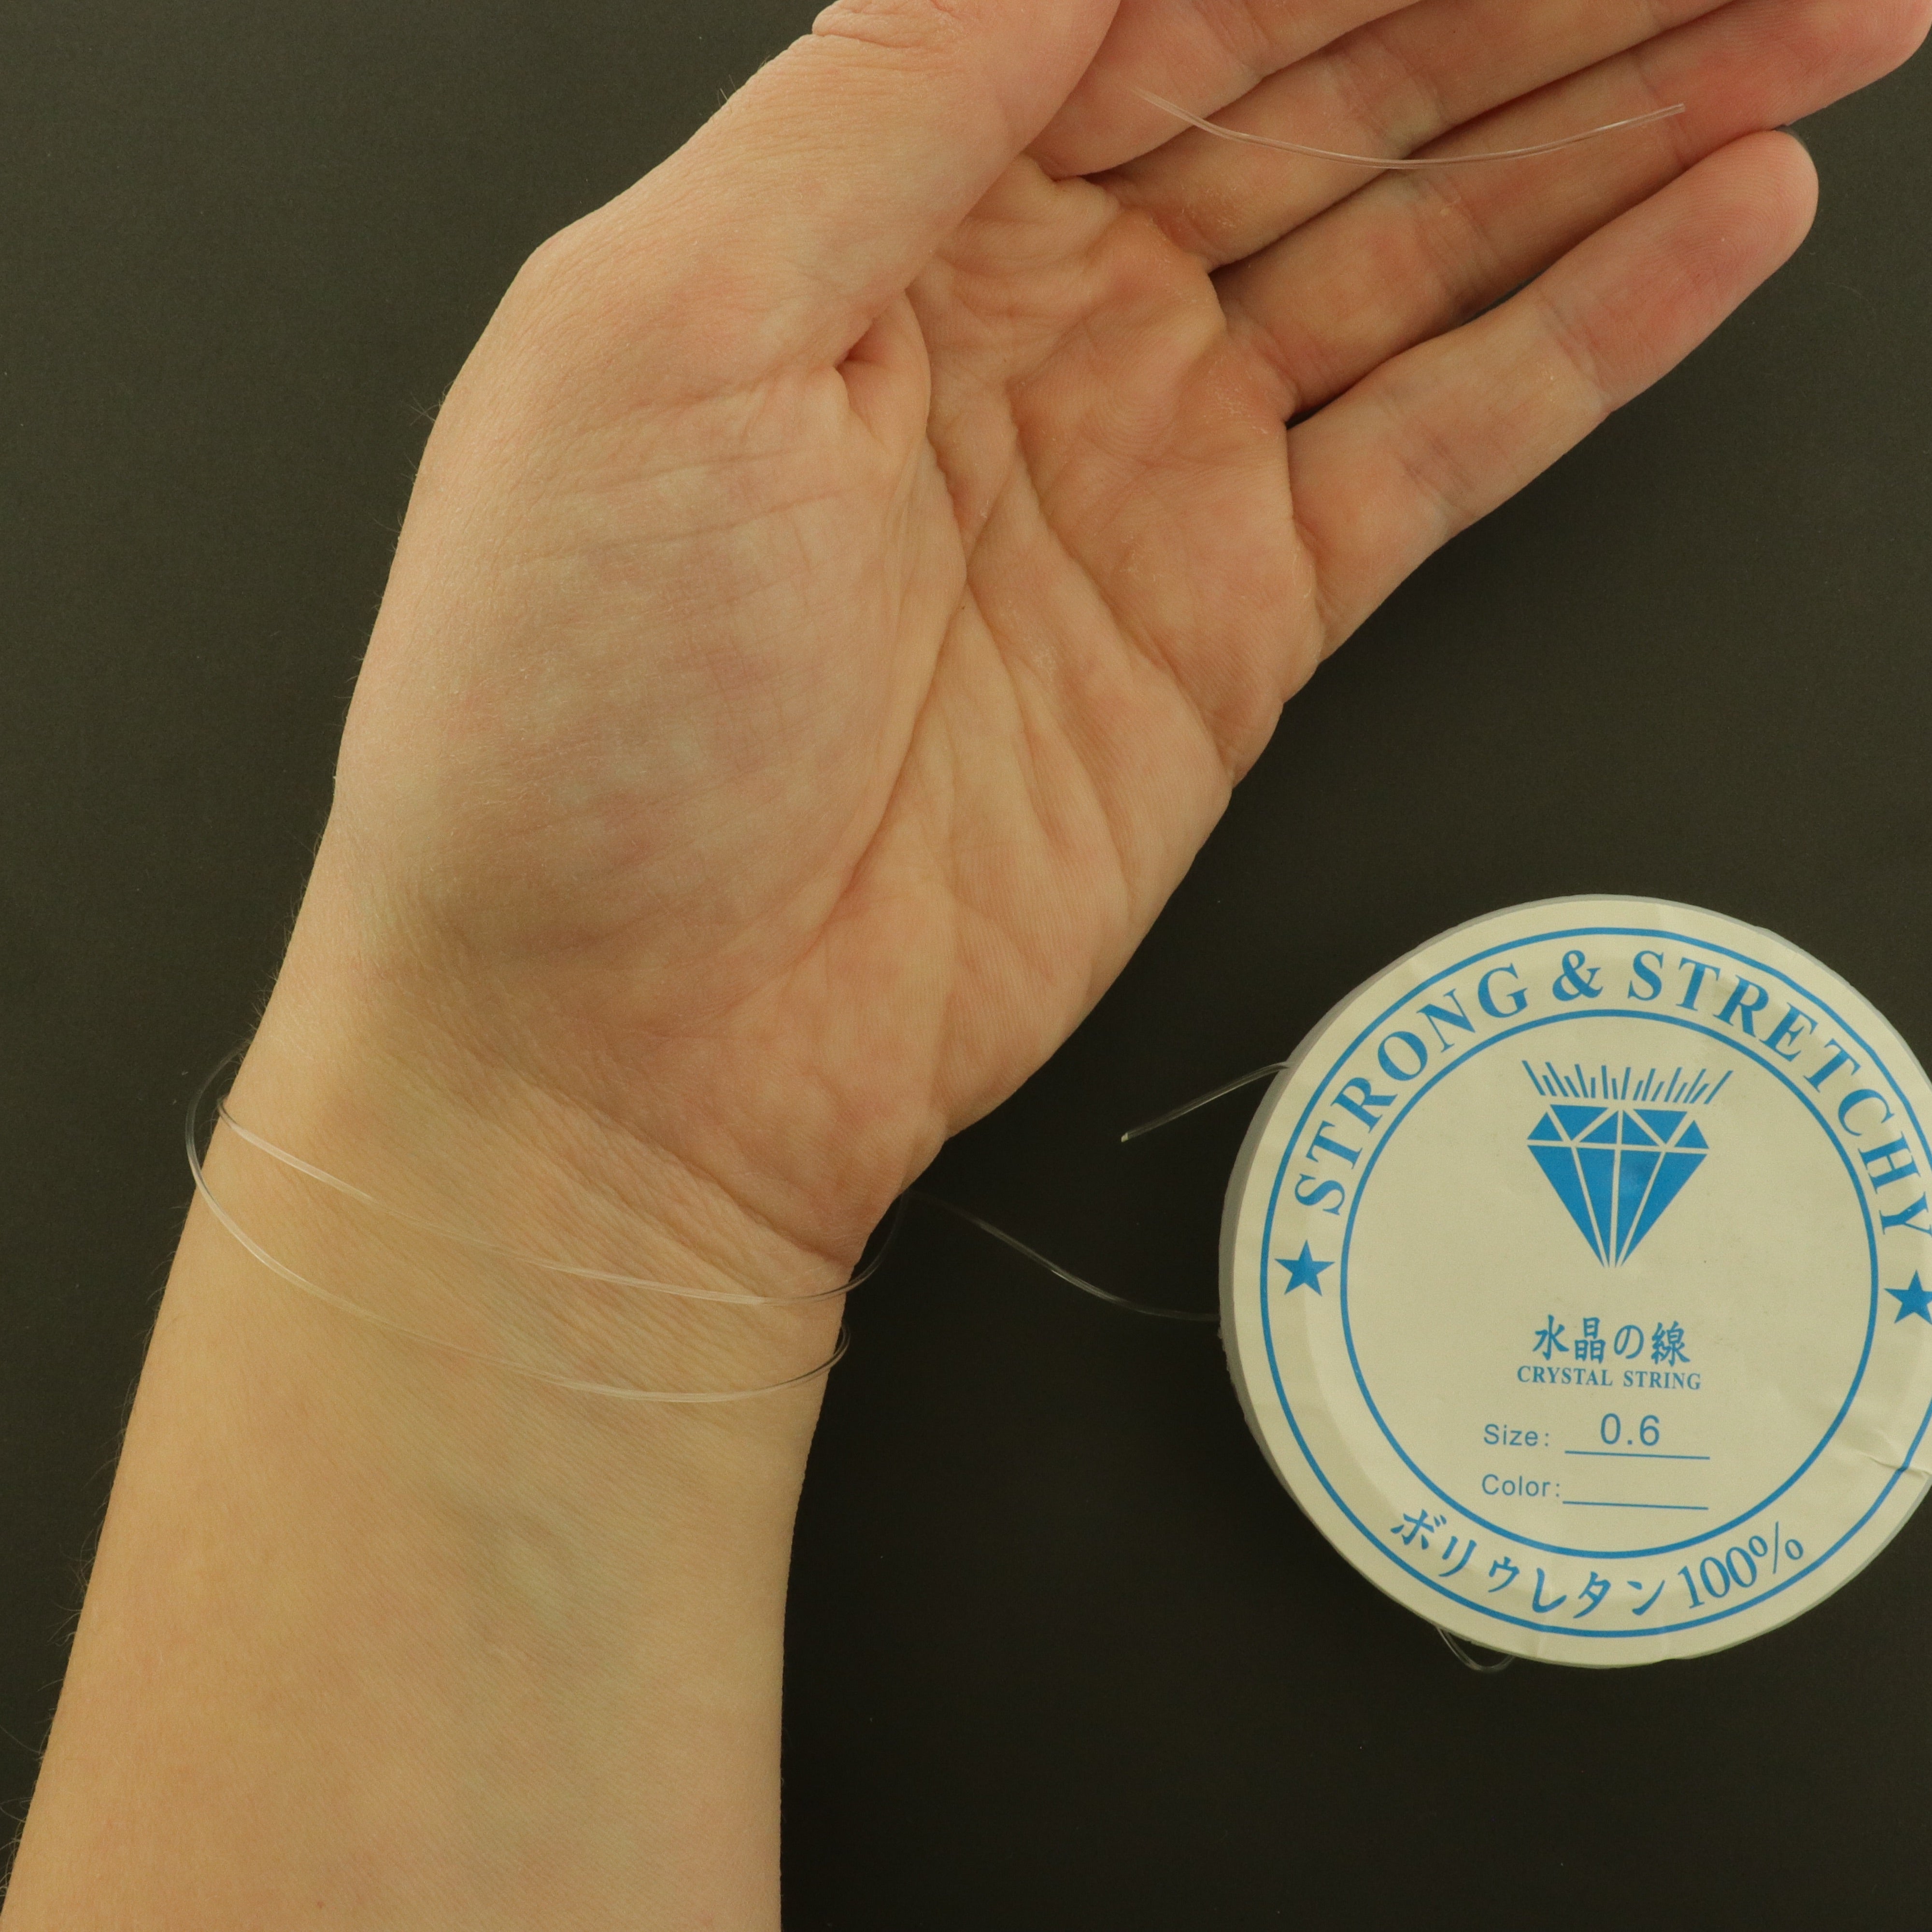
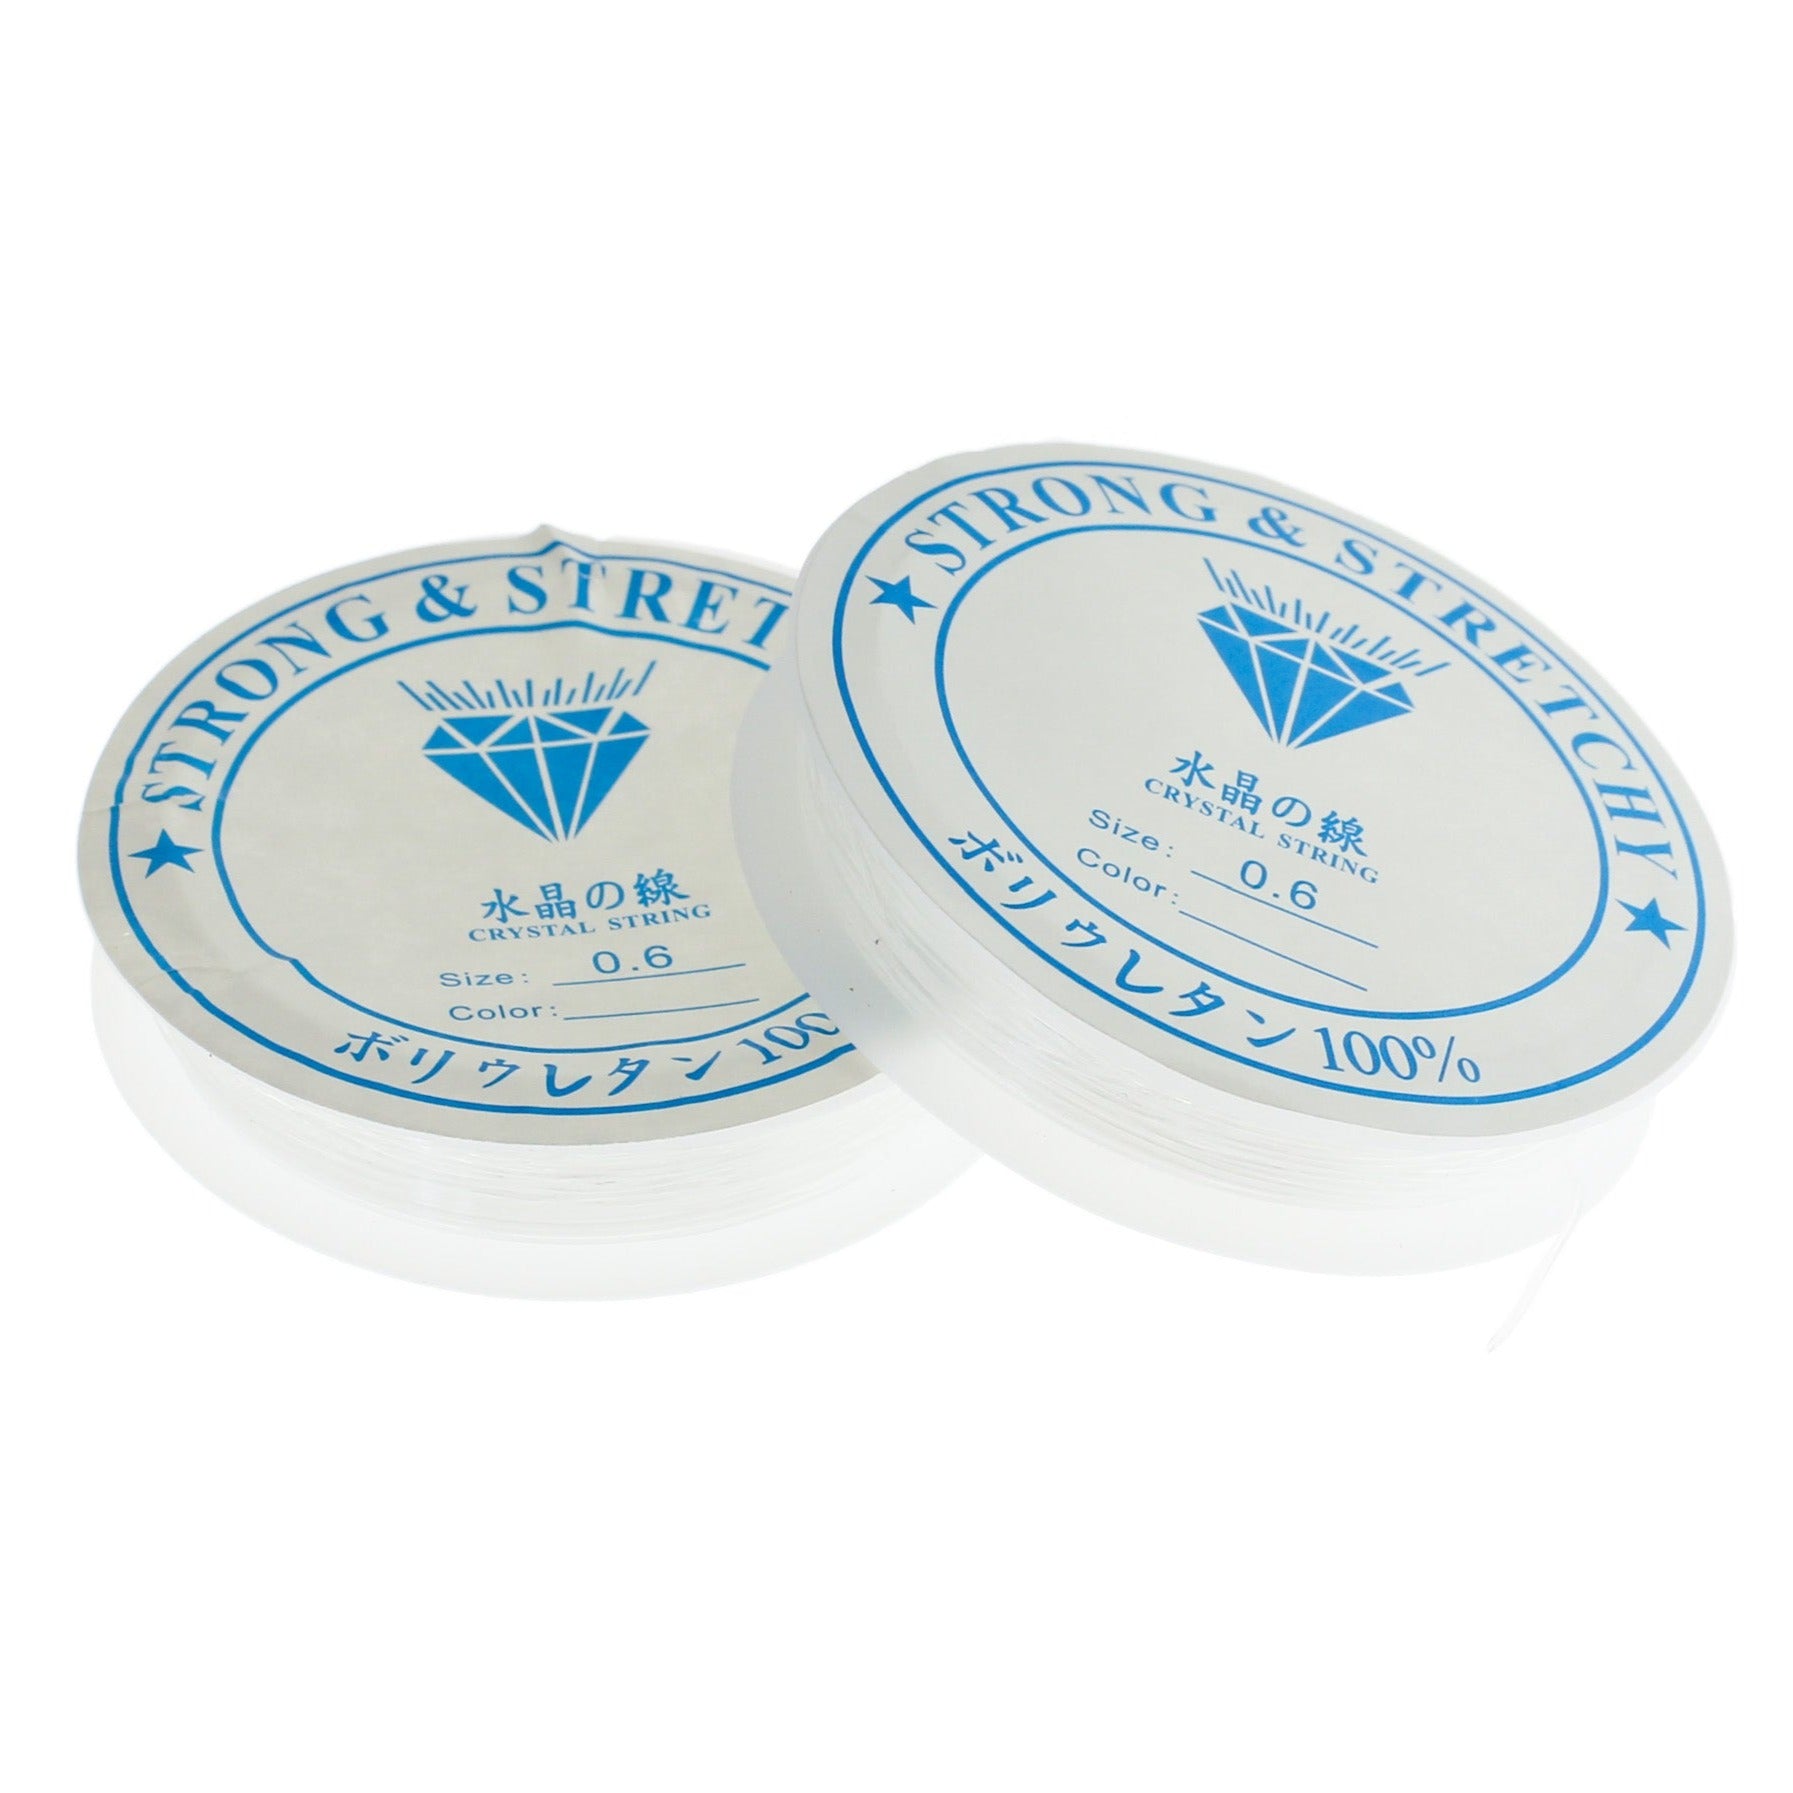
STEP 2: Cut the bracelet wire
To figure out how much wire to use, wrap the elastic wire around your wrist two to three times, and then cut the cord with scissors. In this tutorial we're using 0.6mm cord.
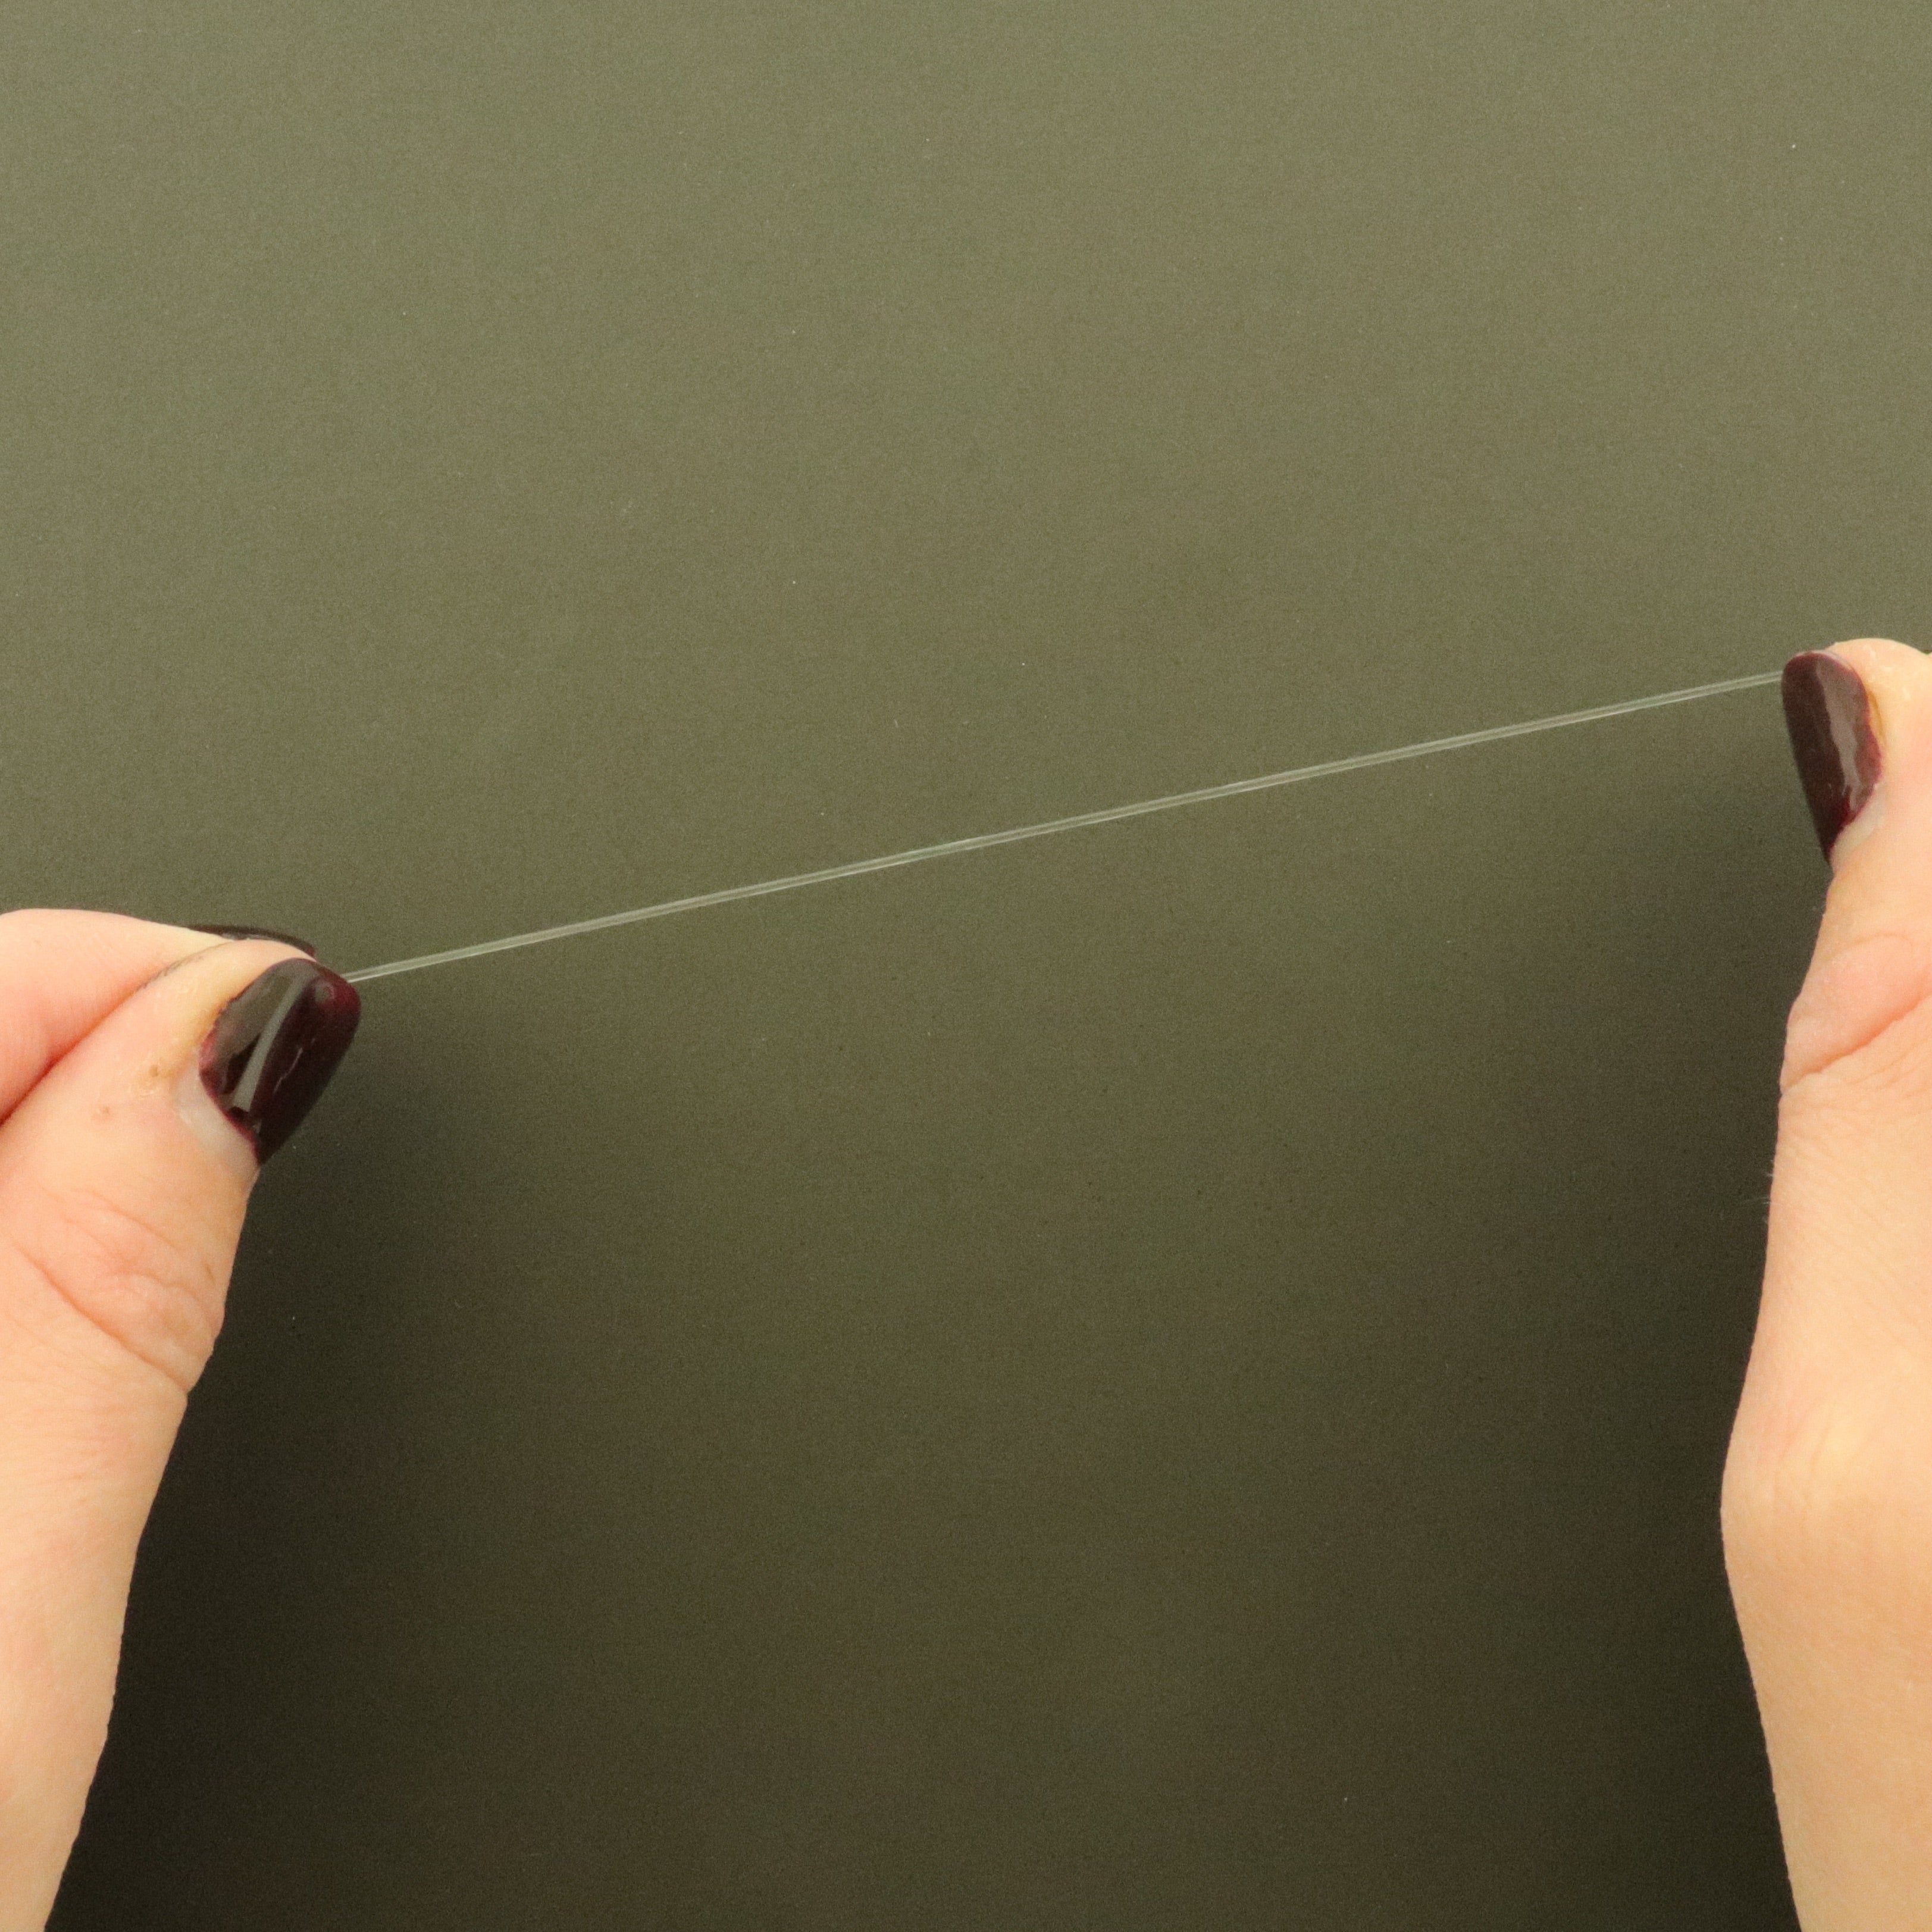
STEP 3: Pre-stretch the Wire
Take small 2-3" sections of your cut wire and stretch it out with two hands. This will ensure the bracelet won't stretch and sag after being worn.
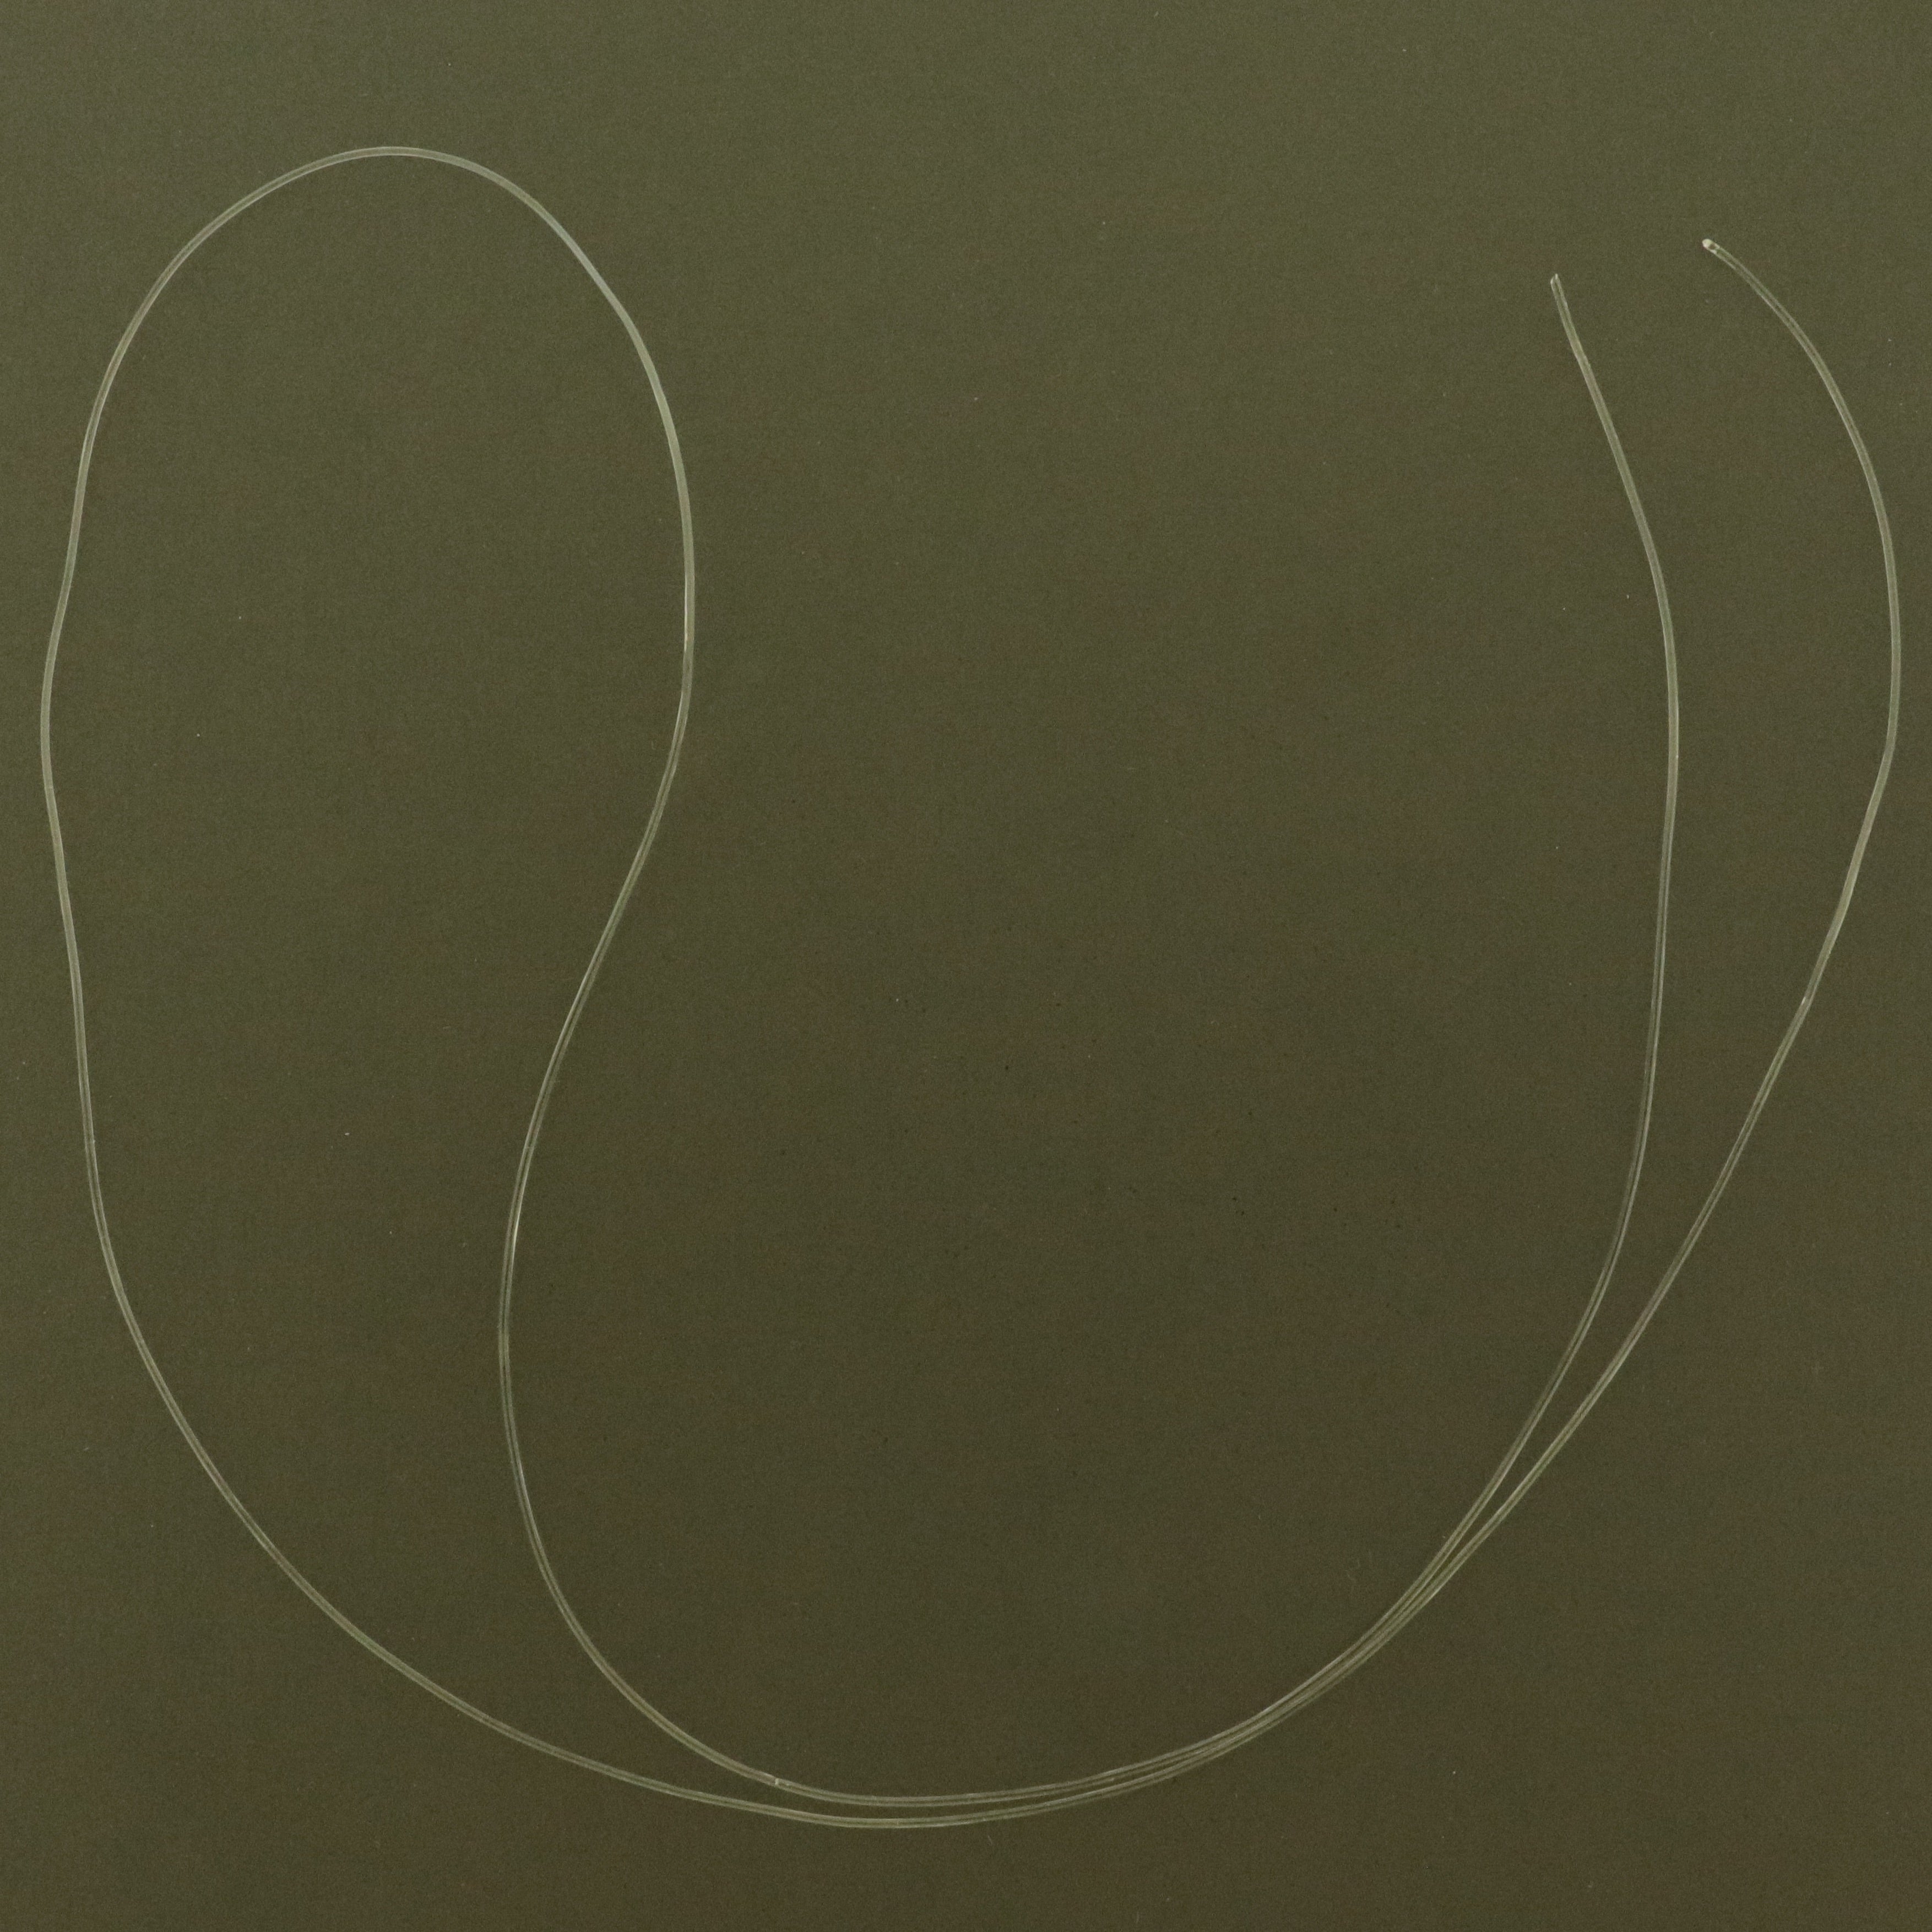
STEP 4: Fold the Wire
Set your wire up on your desk just like in the photo - with a loop on one end, and the two loose ends on the other side.
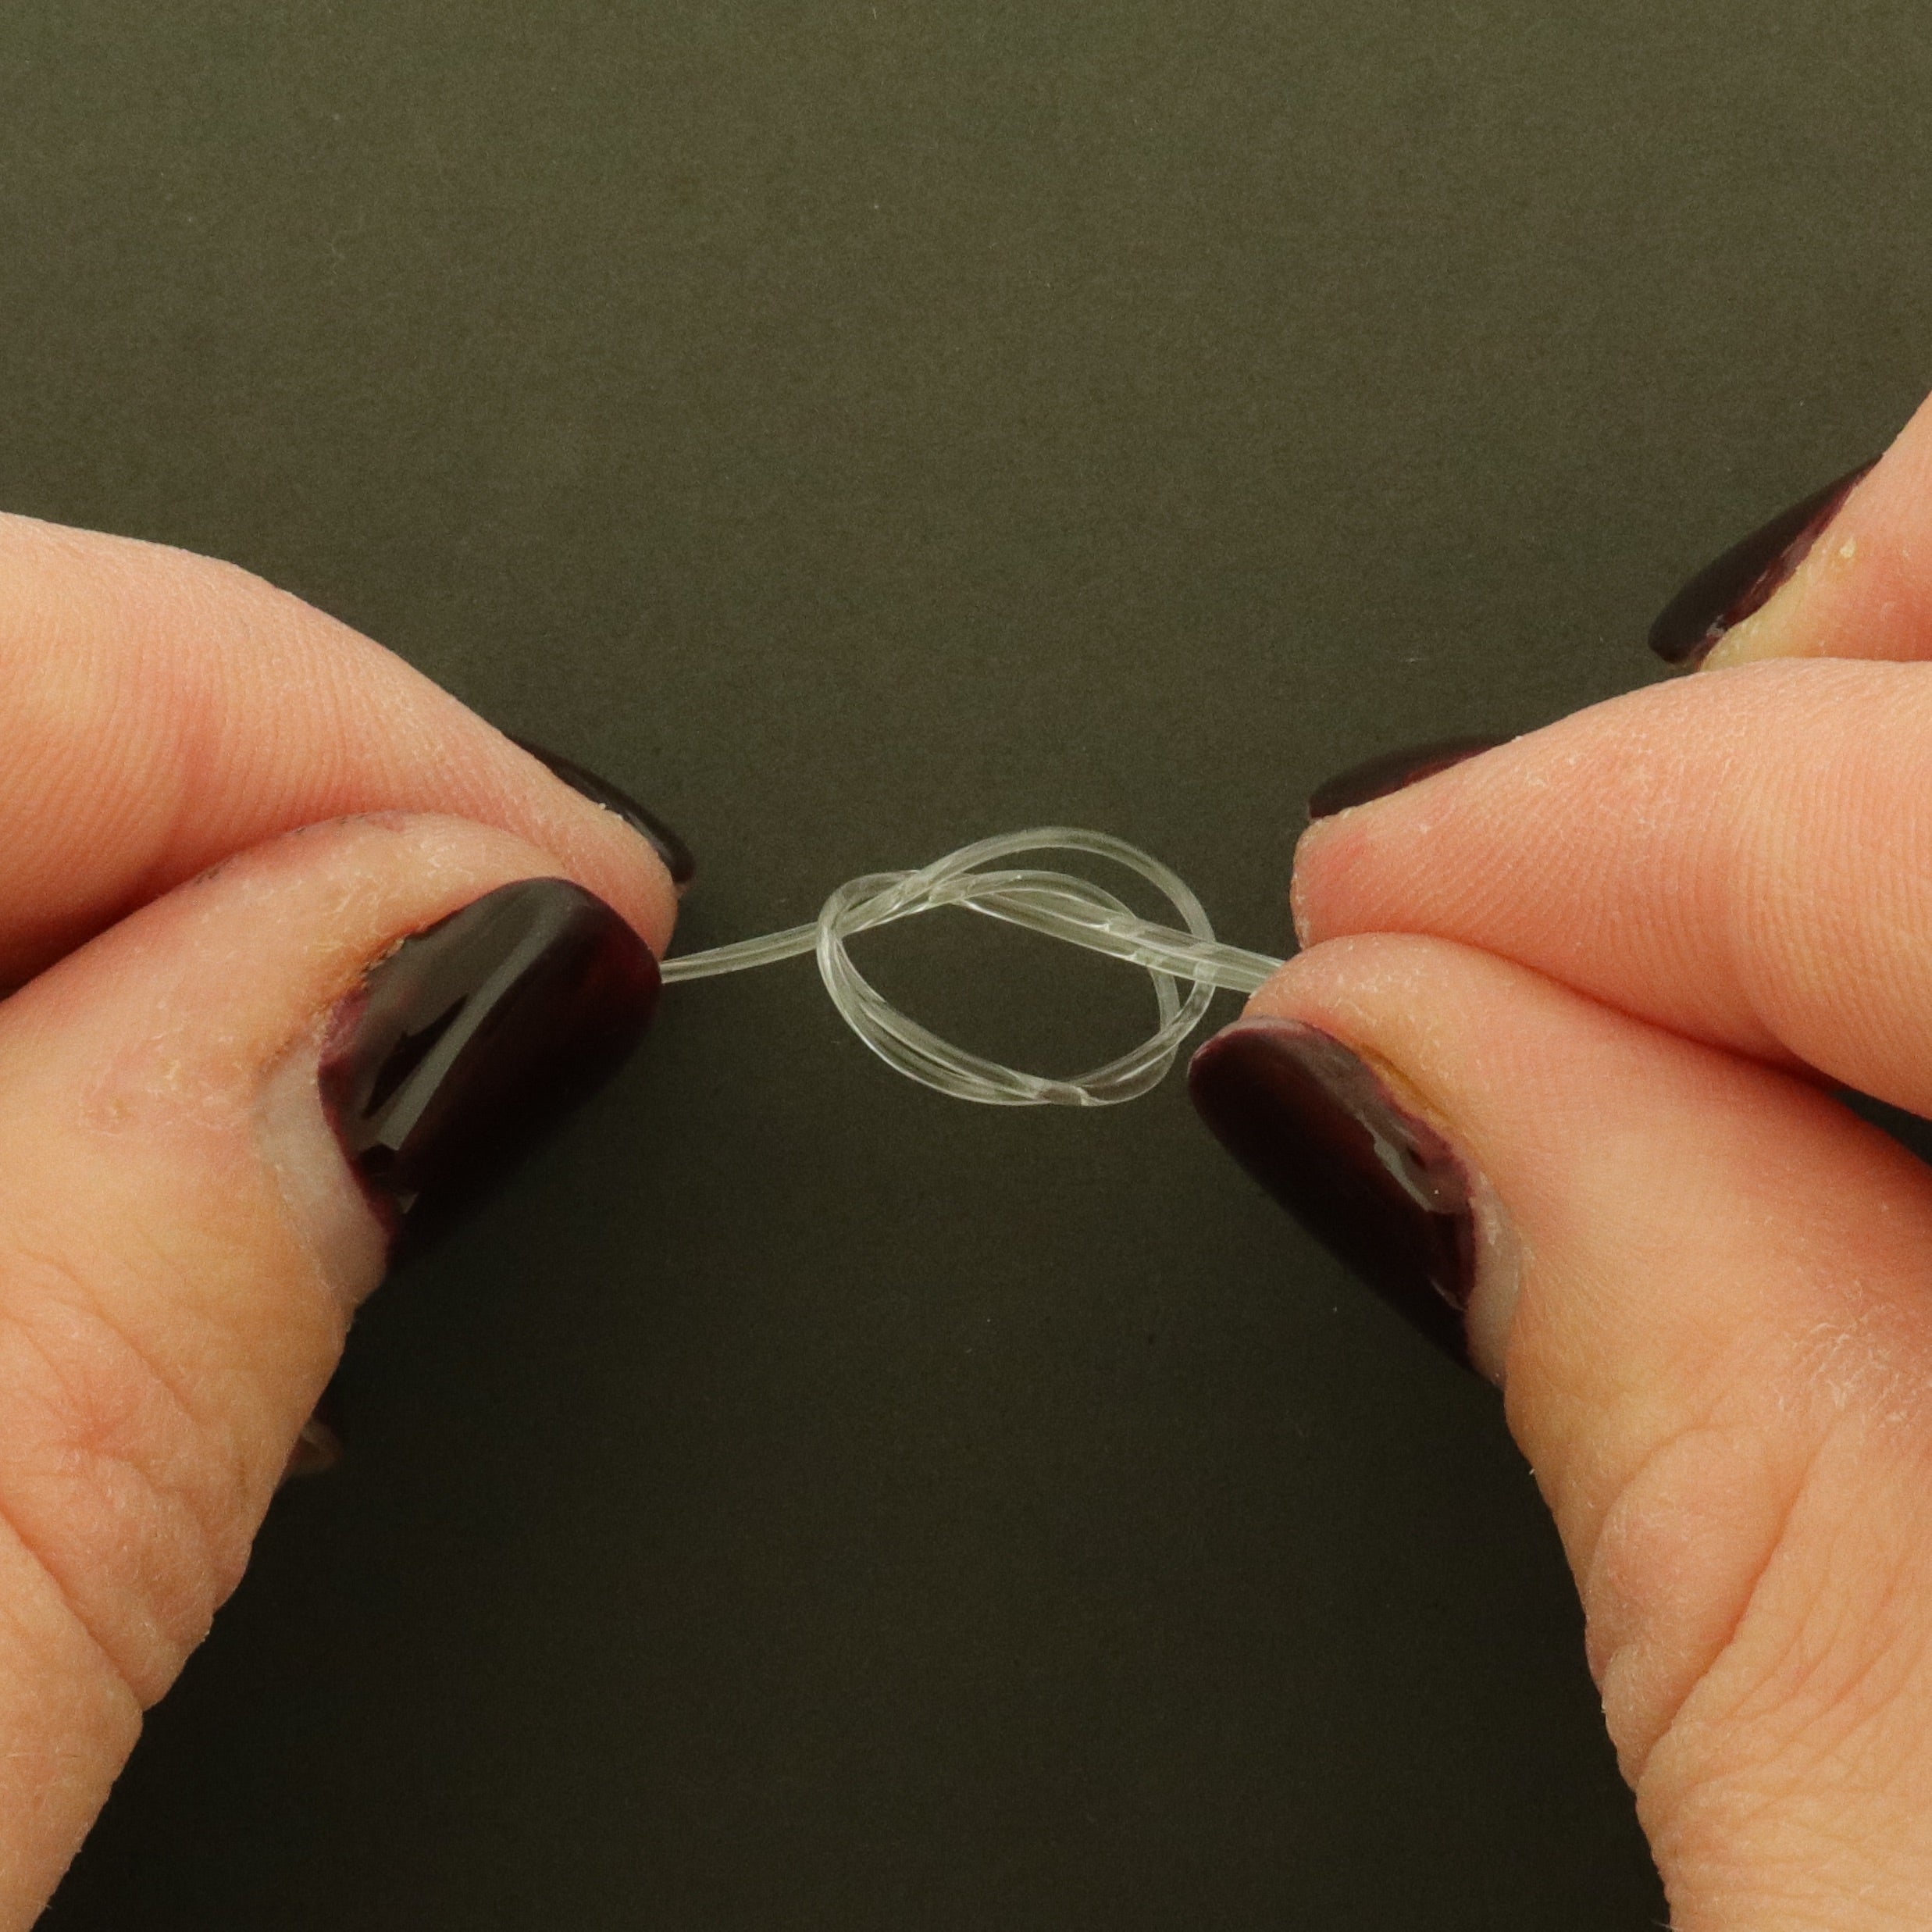
STEP 5: Tie a Knot (or use a Bead Stopper)
Use both loose ends of the cut wire and tie a knot close to the end of the wire. Make sure it's tight!
This will be removed afterwards, it's just to make sure the beads don't fall off for the next couple of steps.
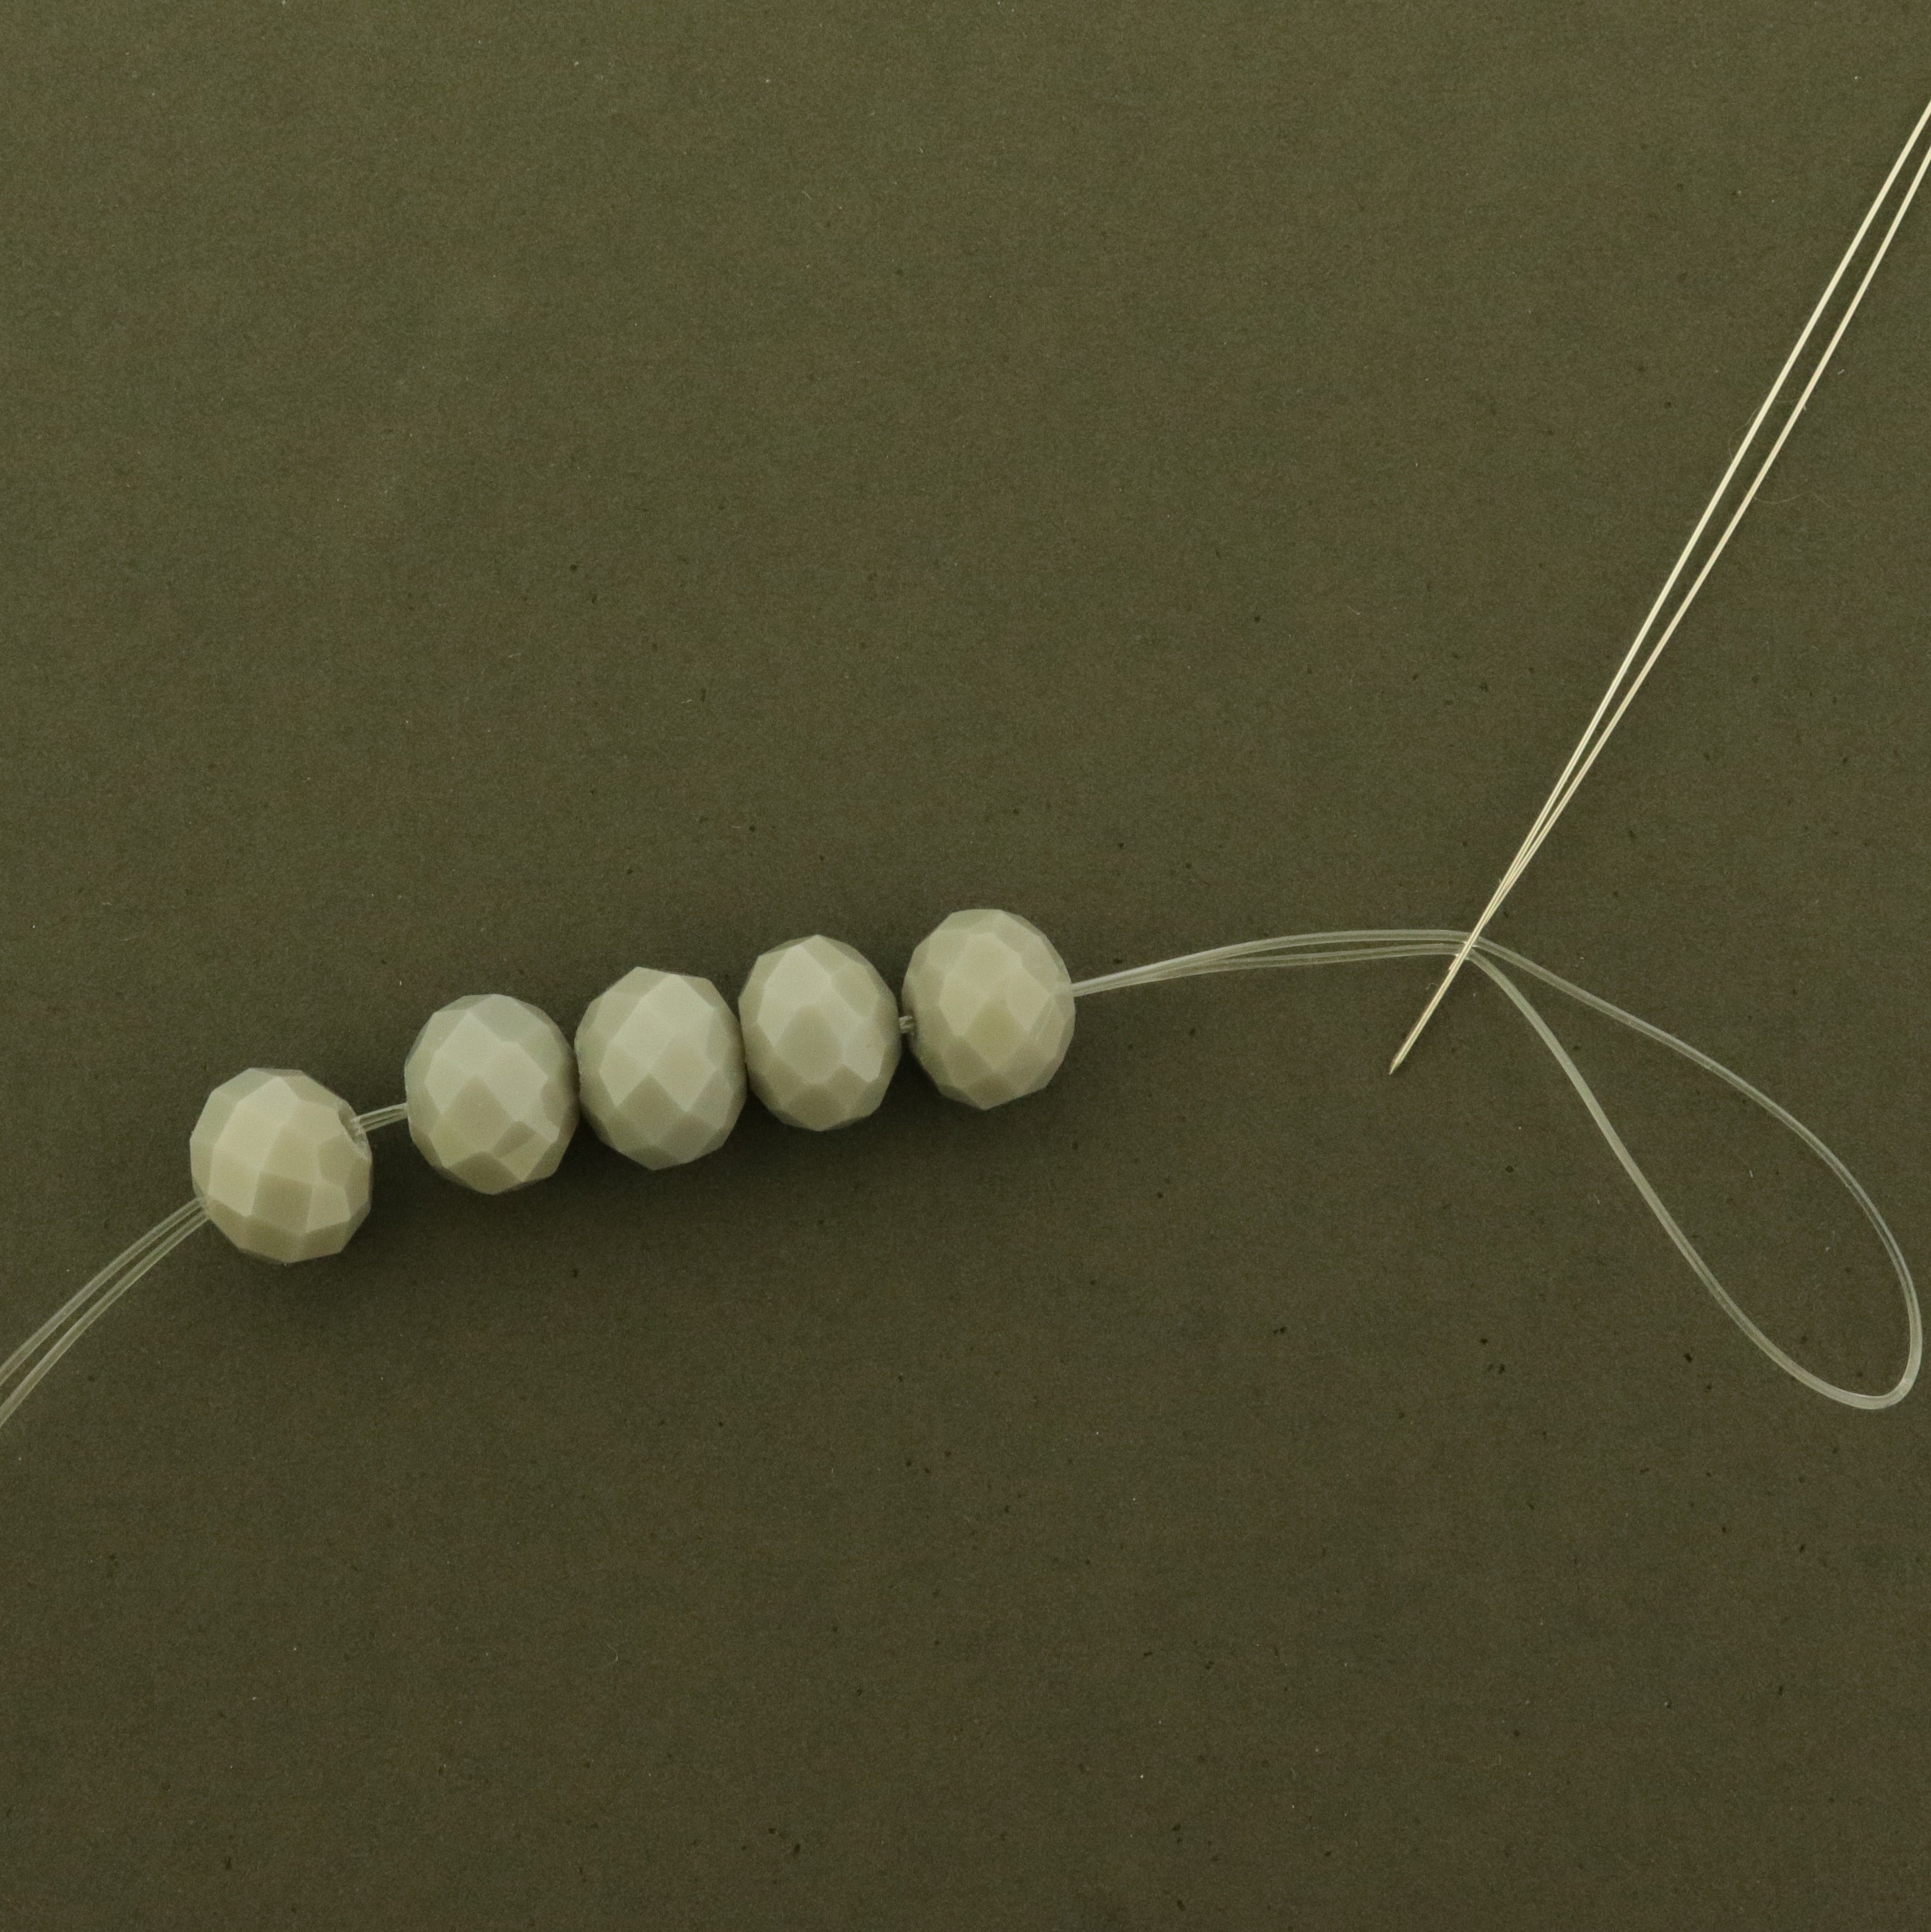
STEP 6: Thread the Beads
Thread half your beads on the wire at the loop end. In this example, that's 13 beads.
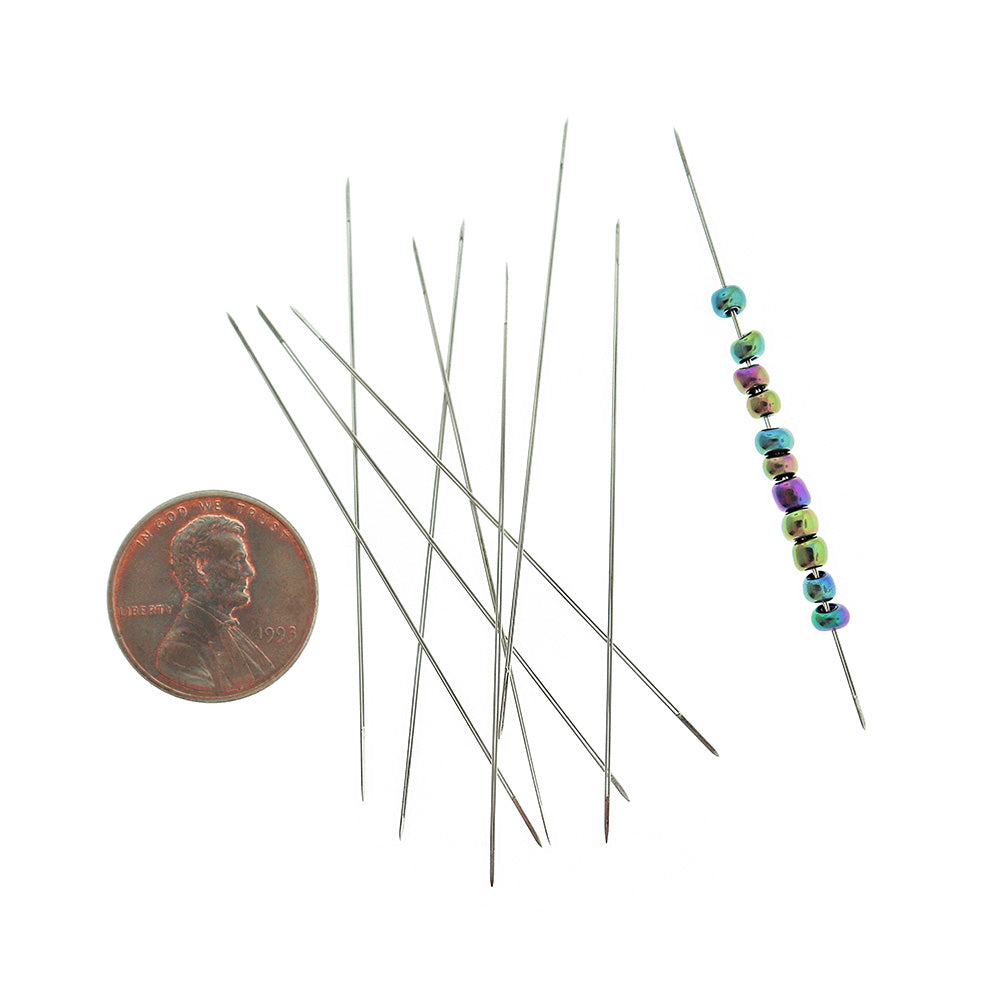
We're using a Collapsible Bead Needle to make this step easier - check them out here!
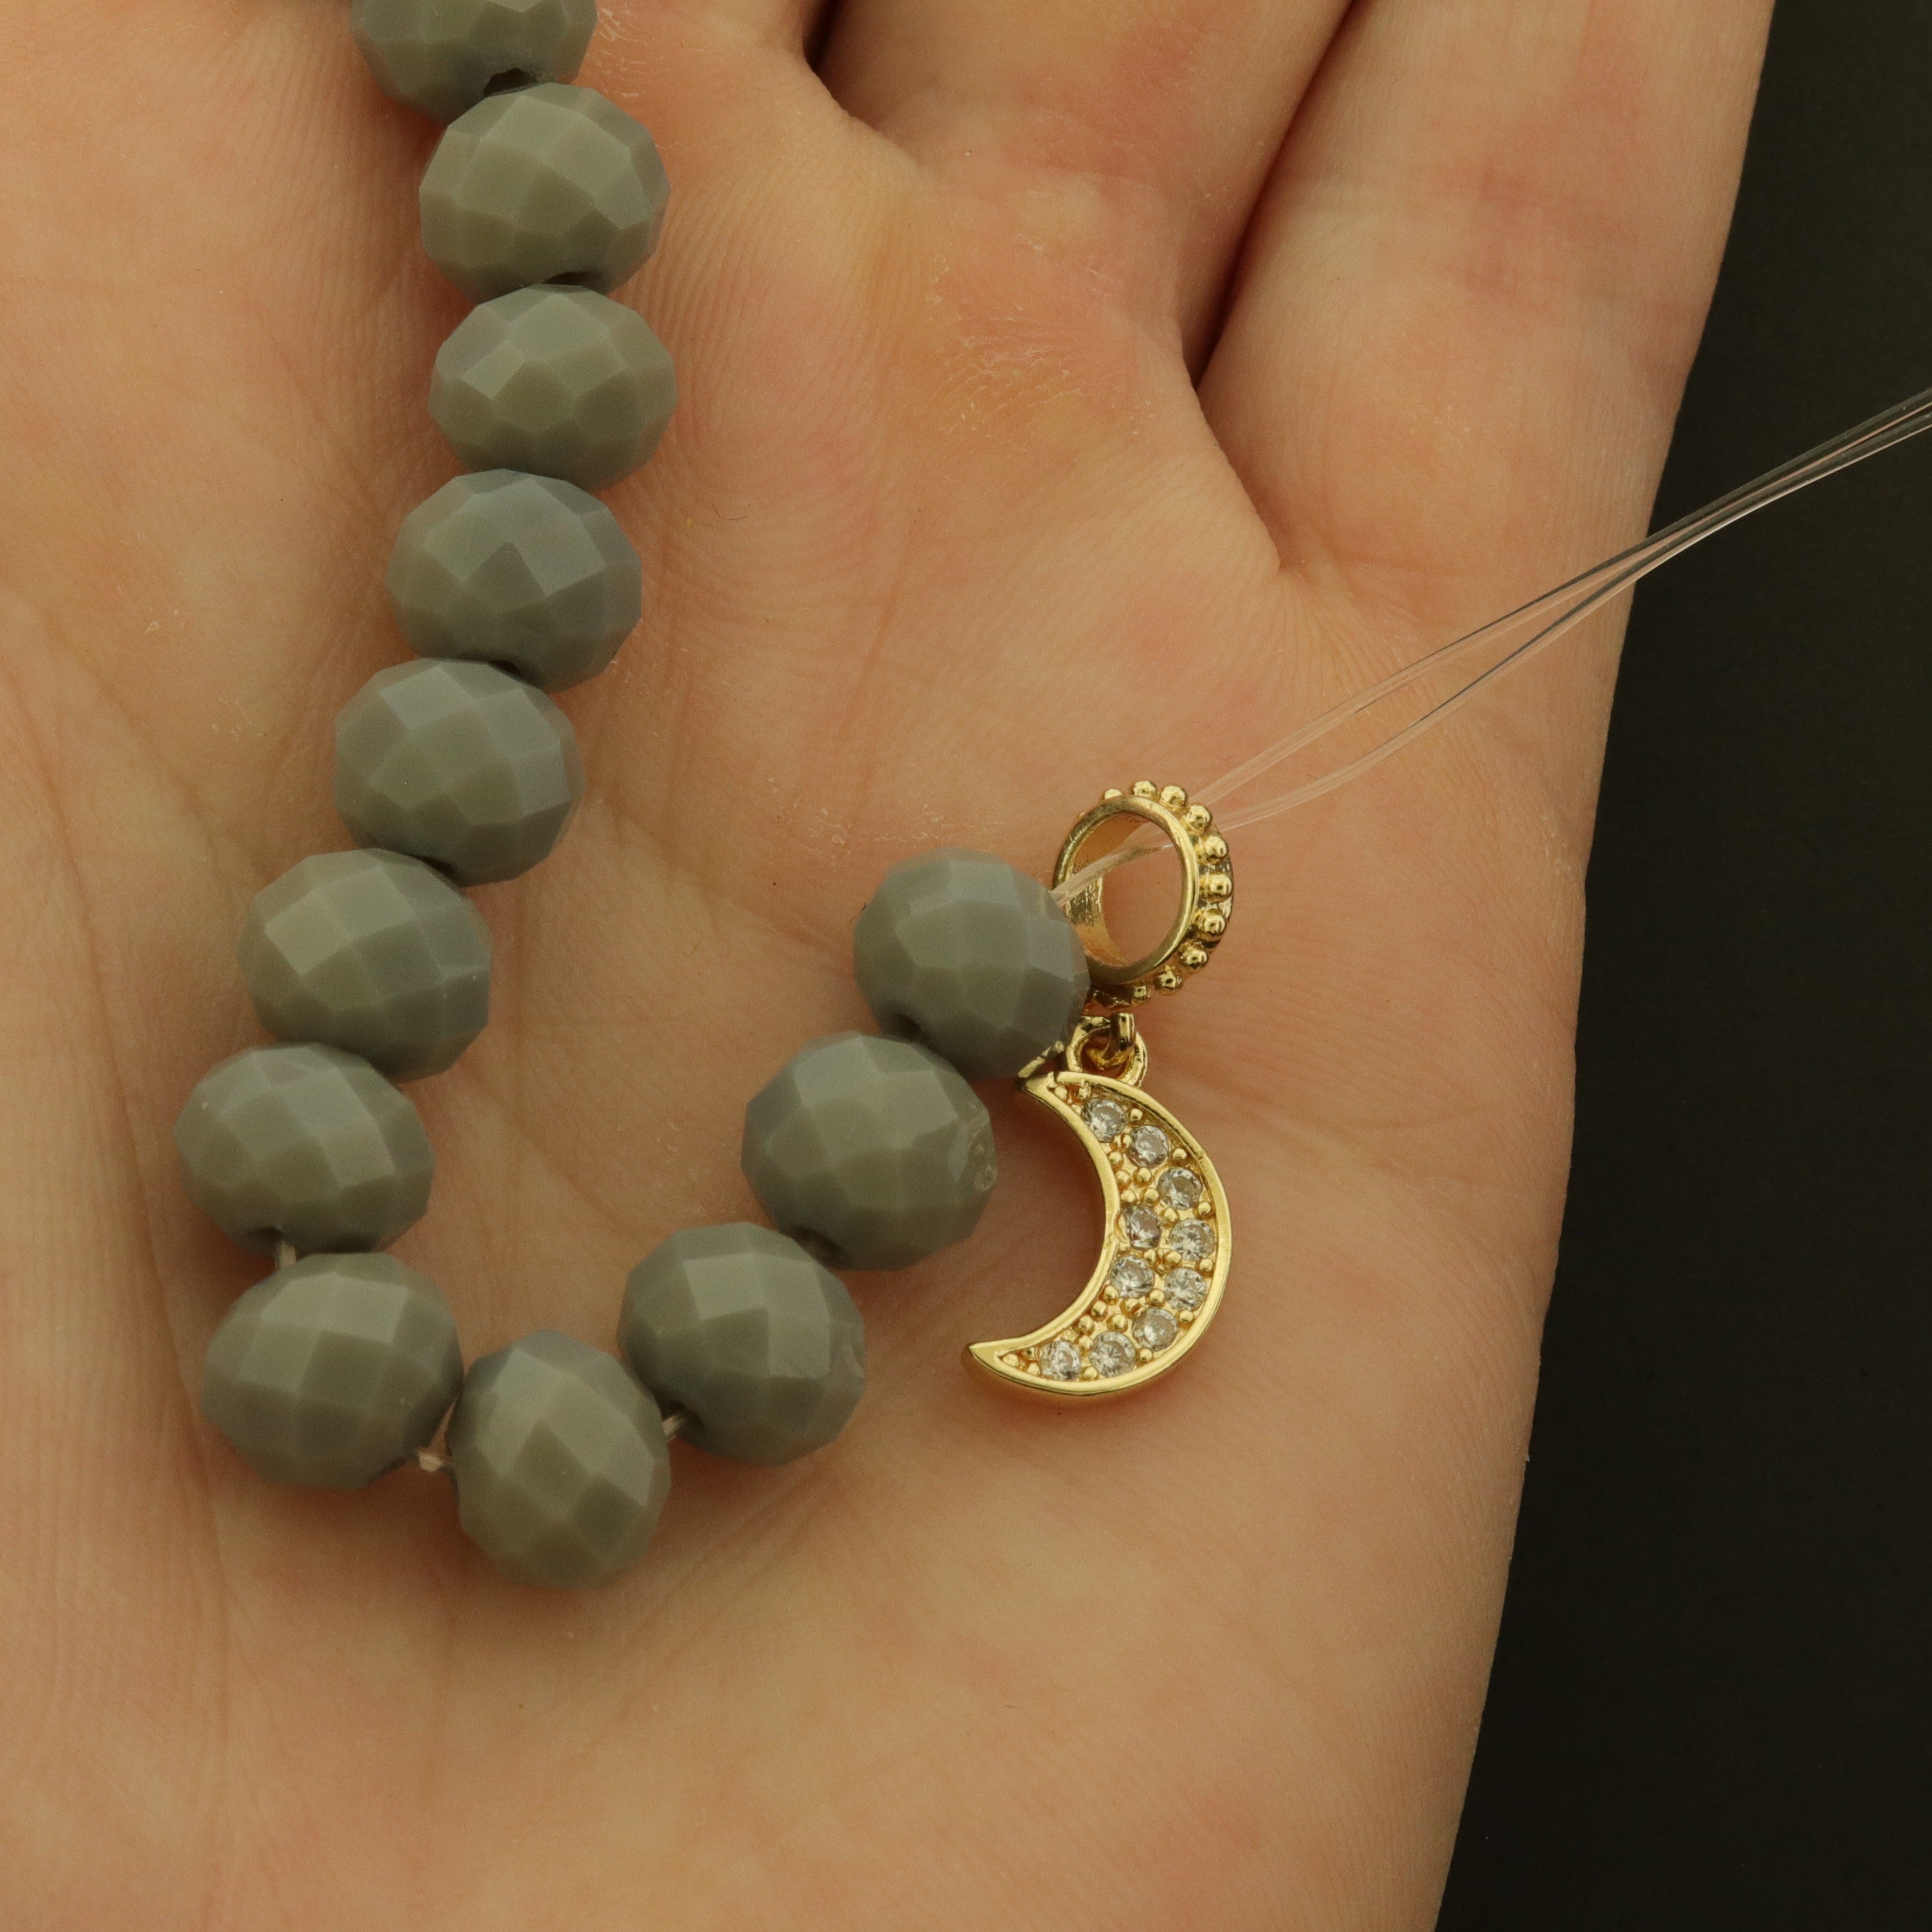
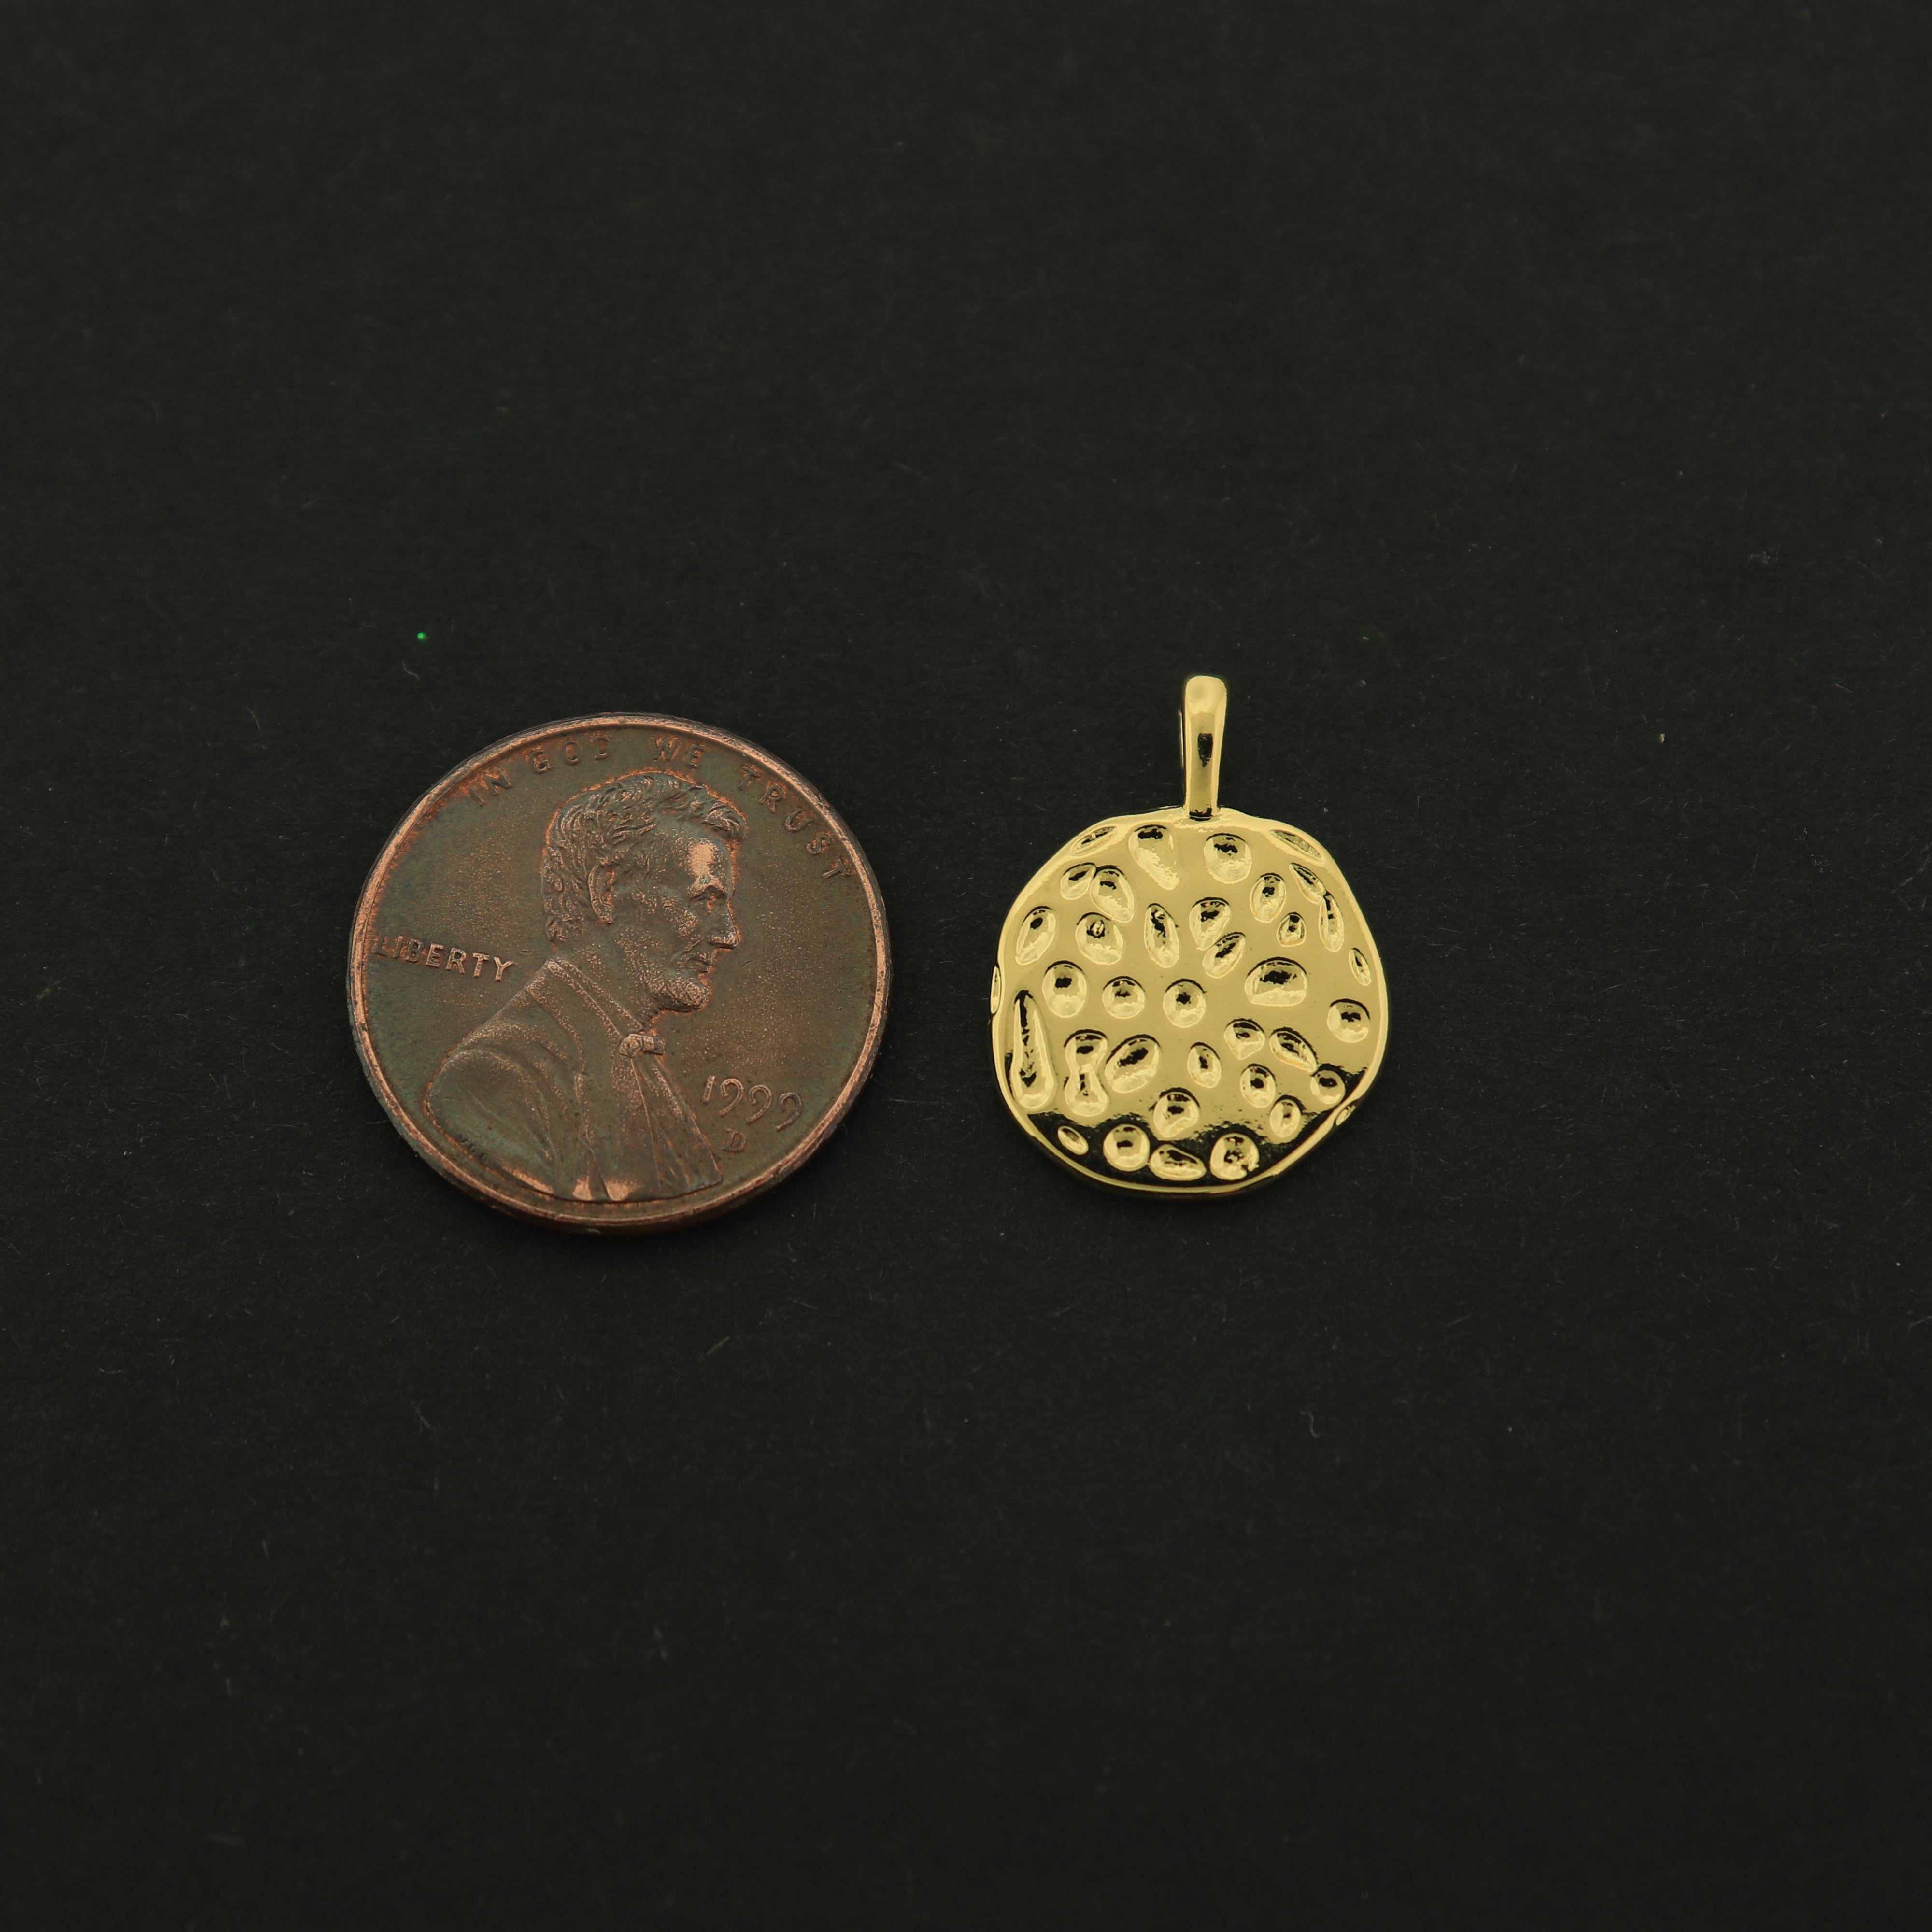
STEP 7: Add your Charm and Remaining Beads
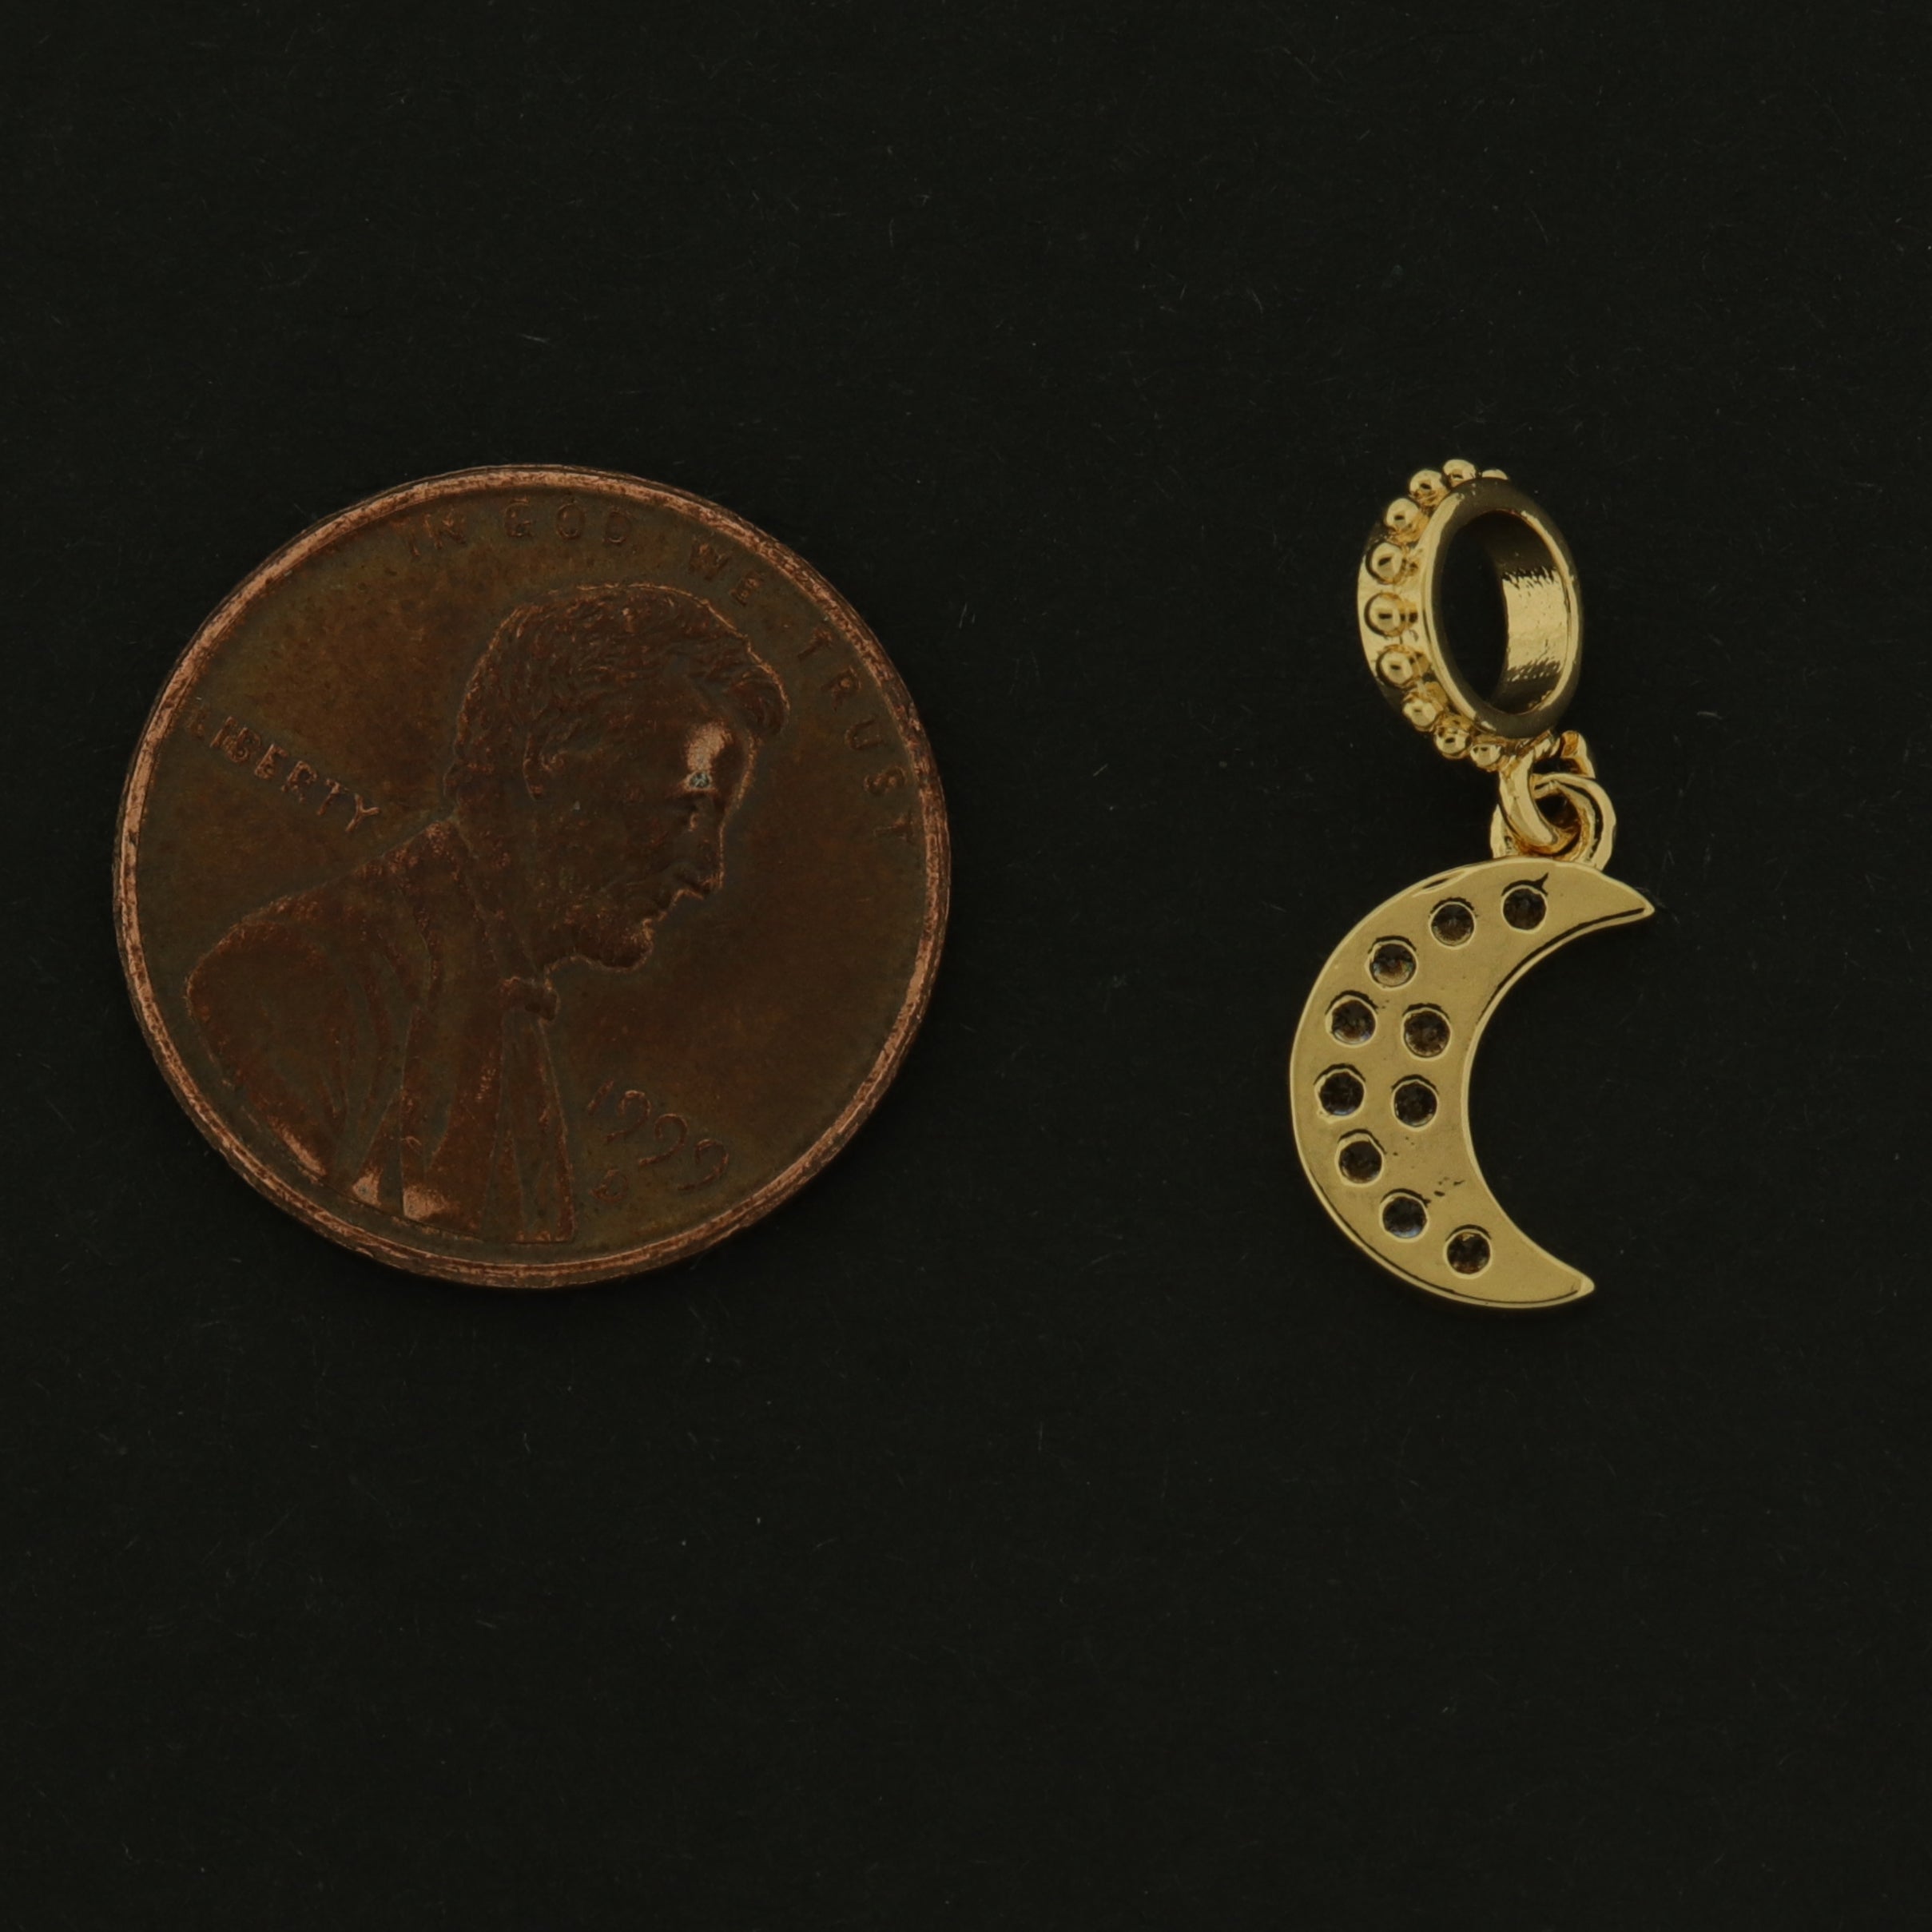
With half your beads added to the bracelet, you can now add your charm! We're using a gold plated crescent moon charm that comes with an attached bail. You can browse all of our gold filled and gold plated charms here!
Once you've added your charm, thread on the remainder of your beads.
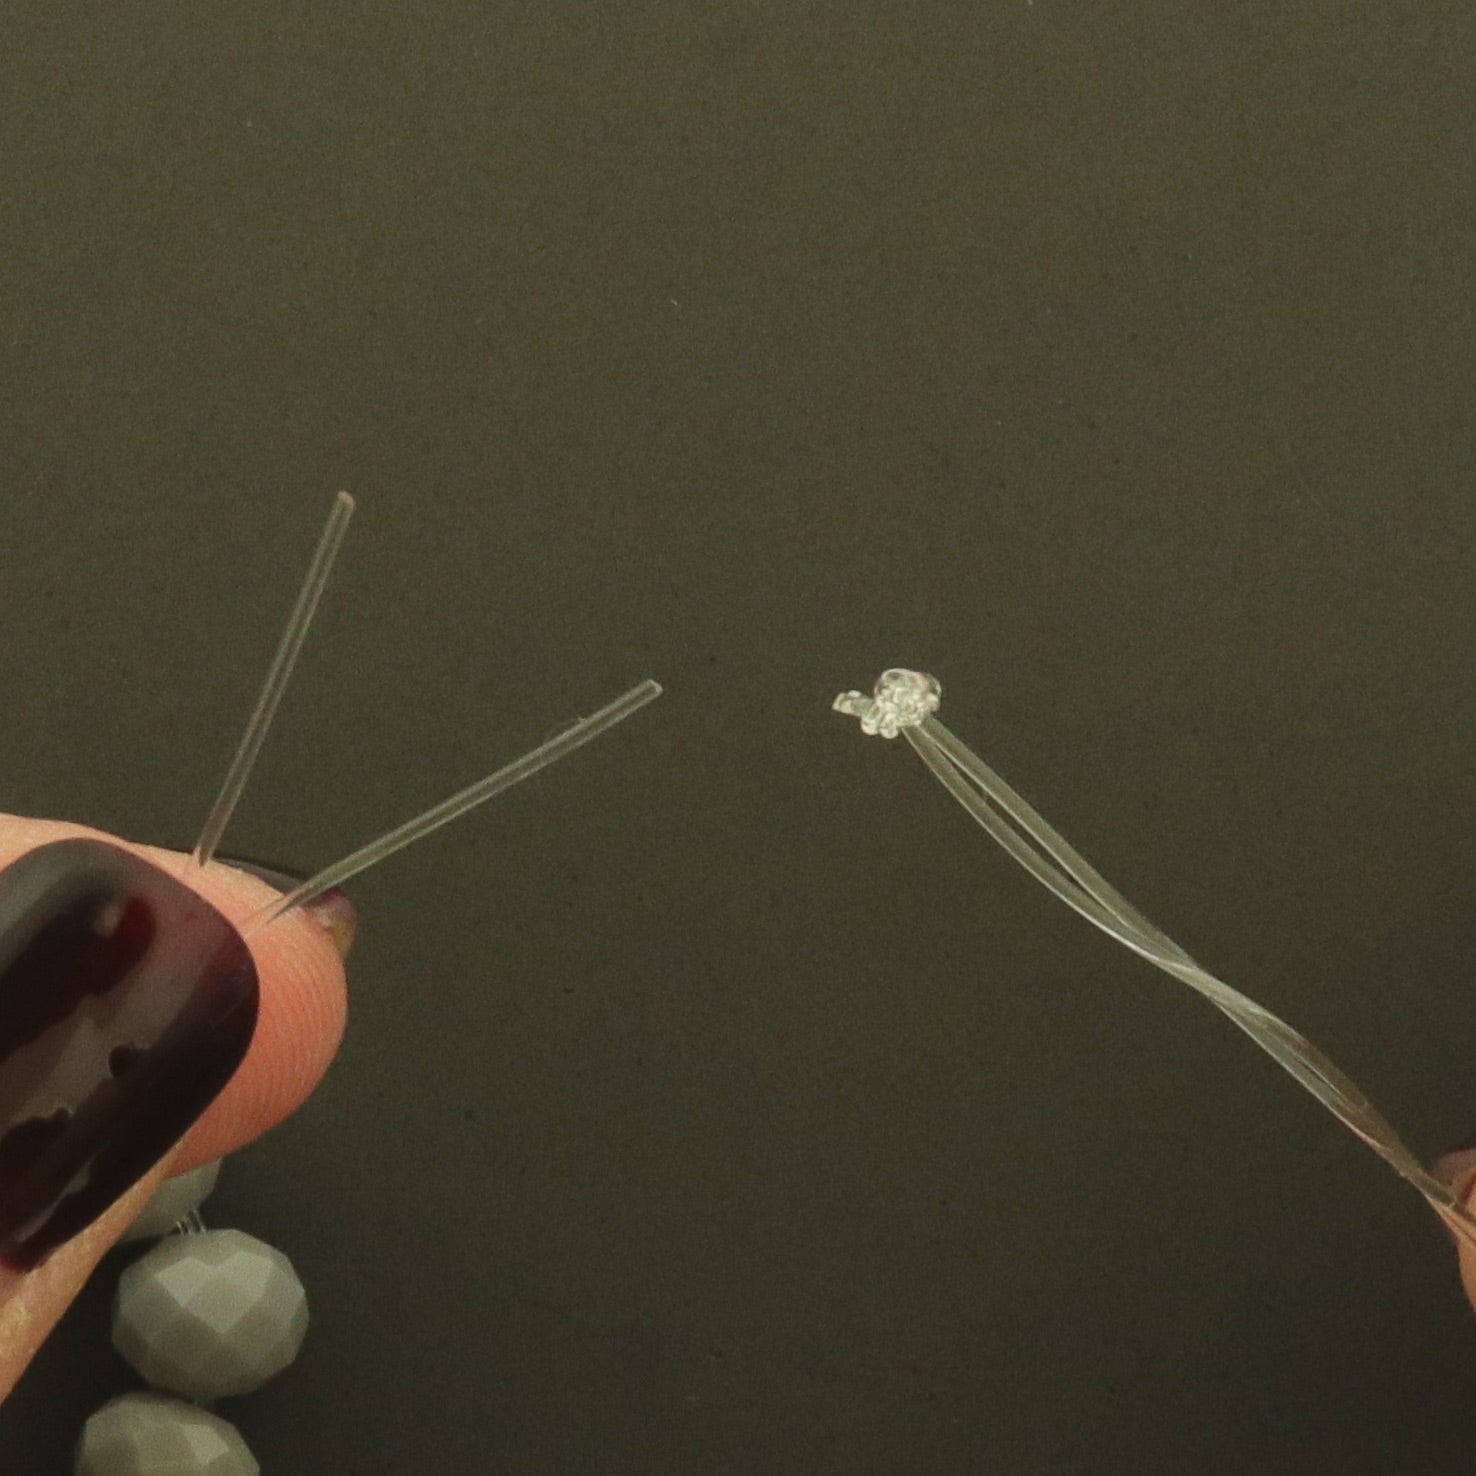
STEP 8: Cut the Knot
Use scissors to cut the knot. This leaves you with a loop on one end, and two loose cut ends on the other side.
STEP 9: Put the Ends through the Loop
Now that you've got it all laid out, put the two loose cut ends through the loop at the end of the bracelet.
STEP 10: Pull the String Tight
Make sure the loop remains tight at the end of the beads, where the two ends of the bracelet meets.
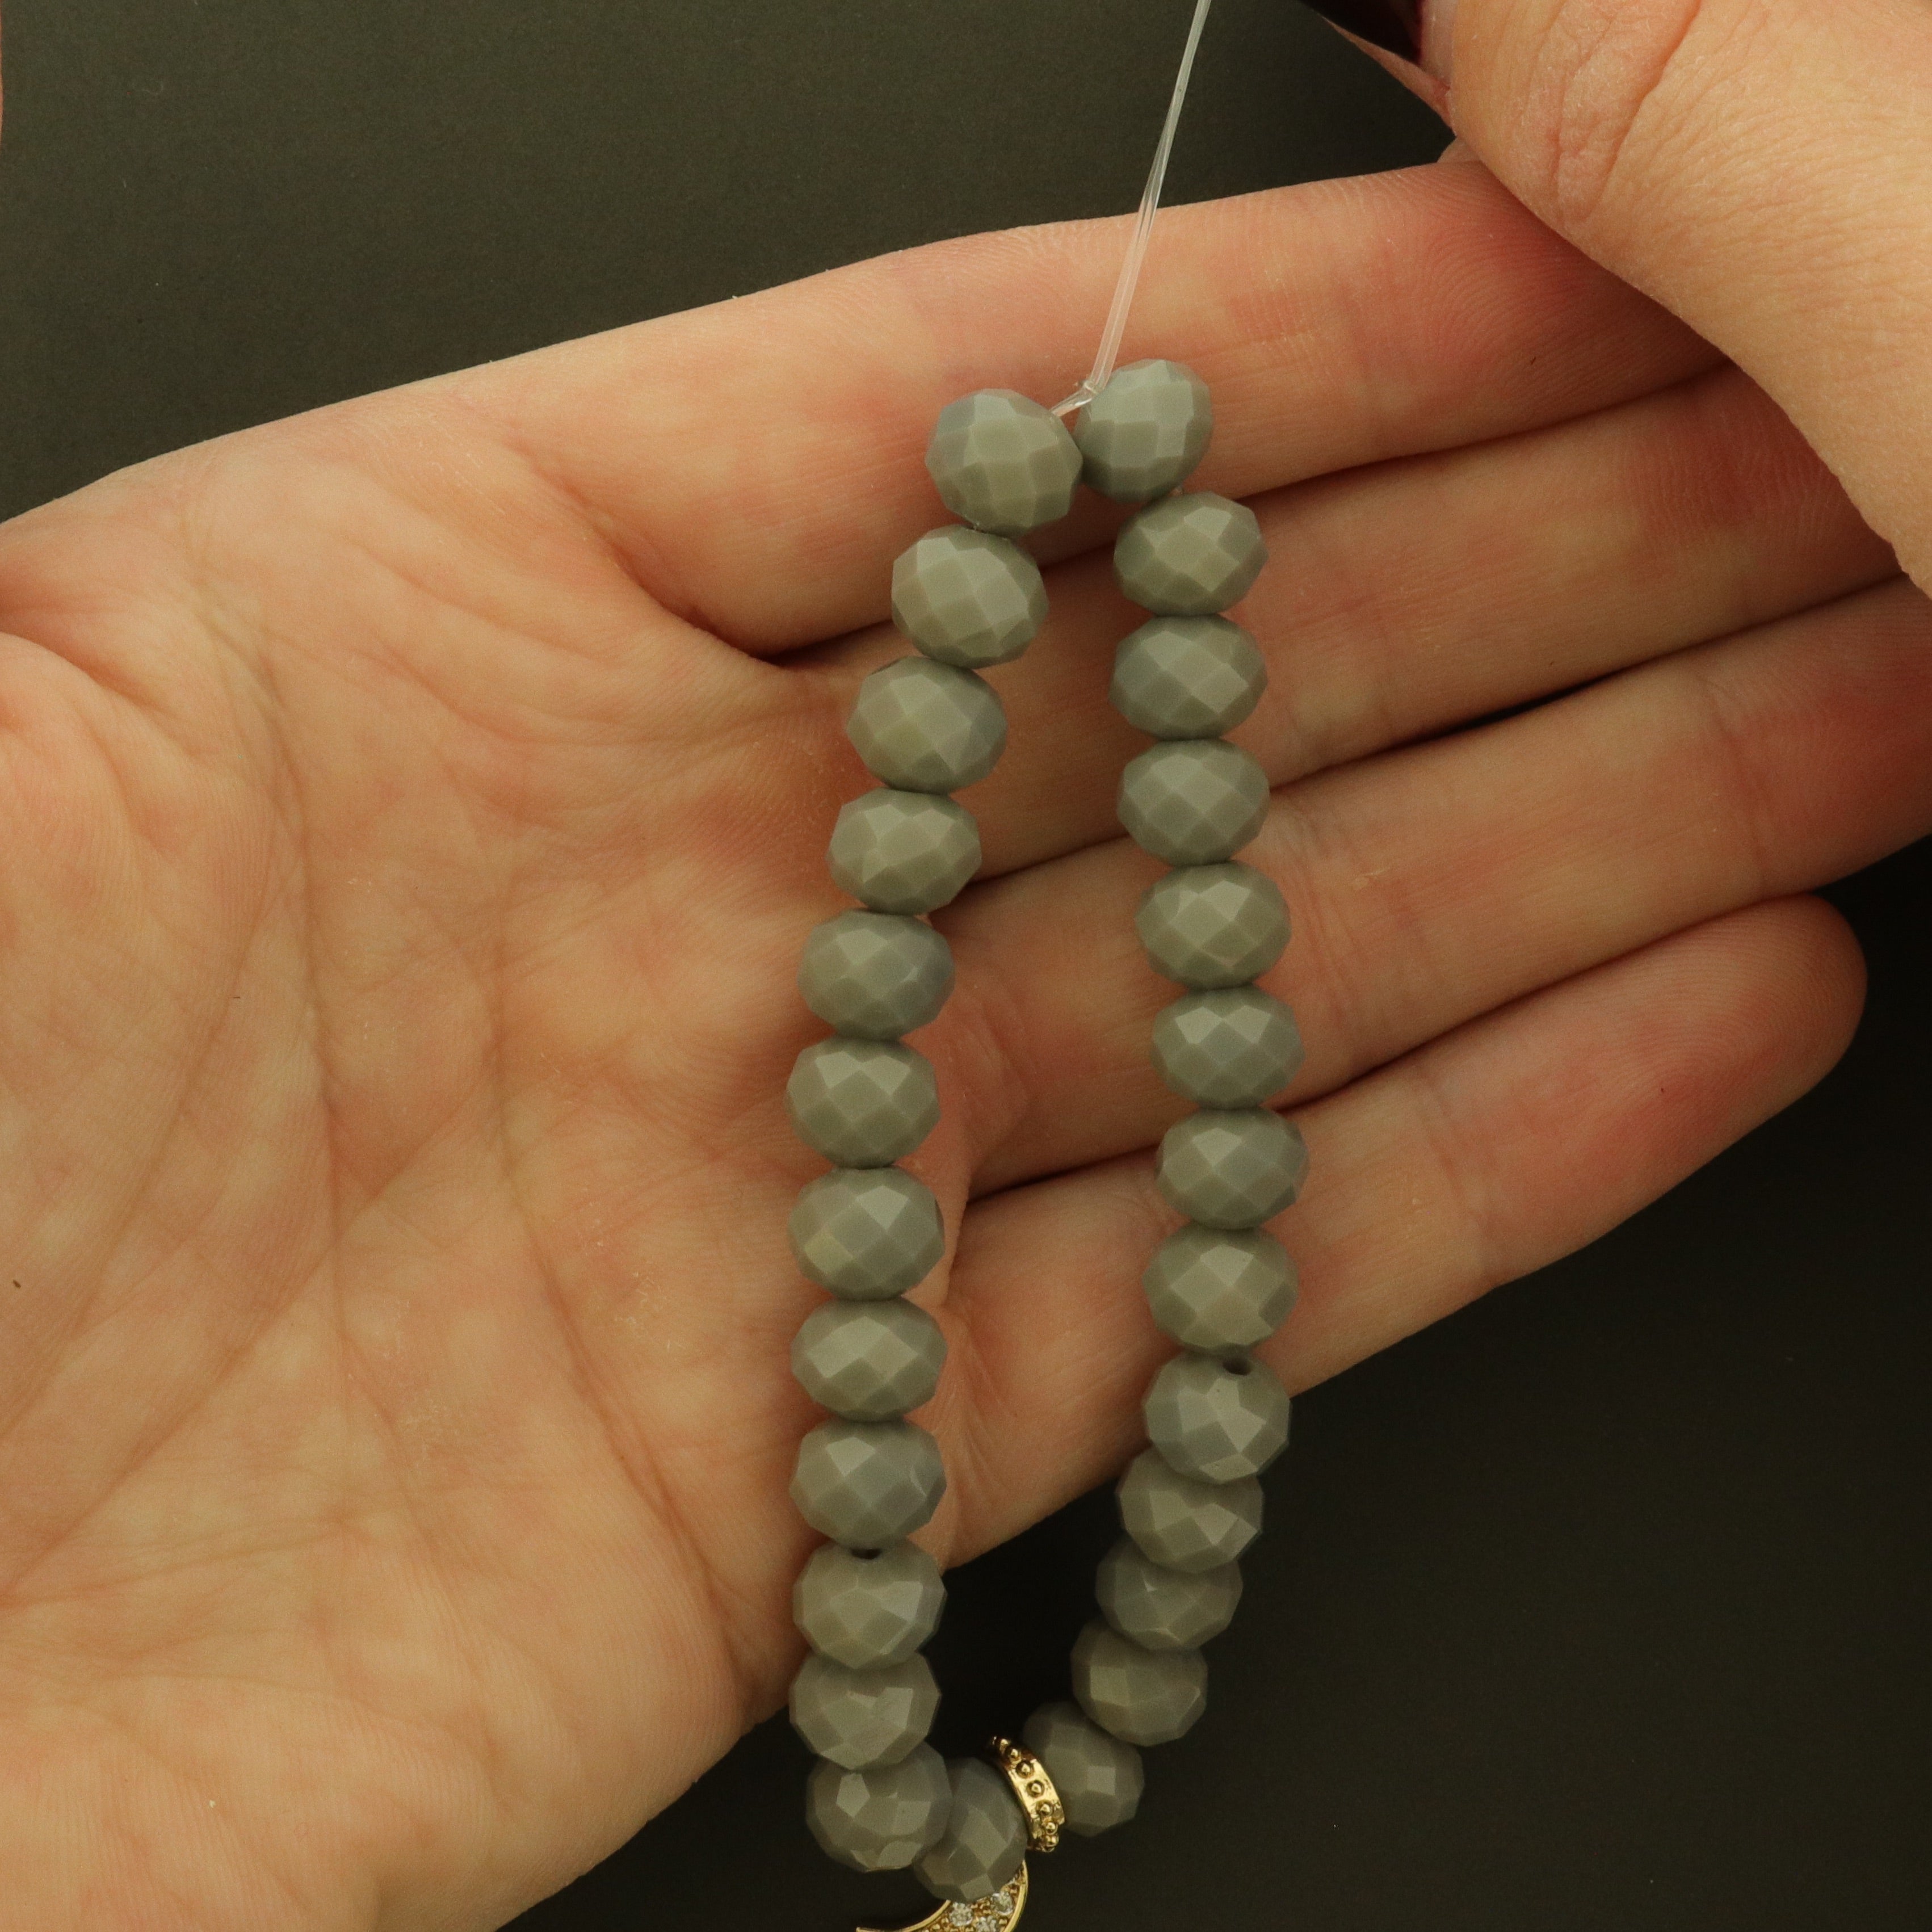
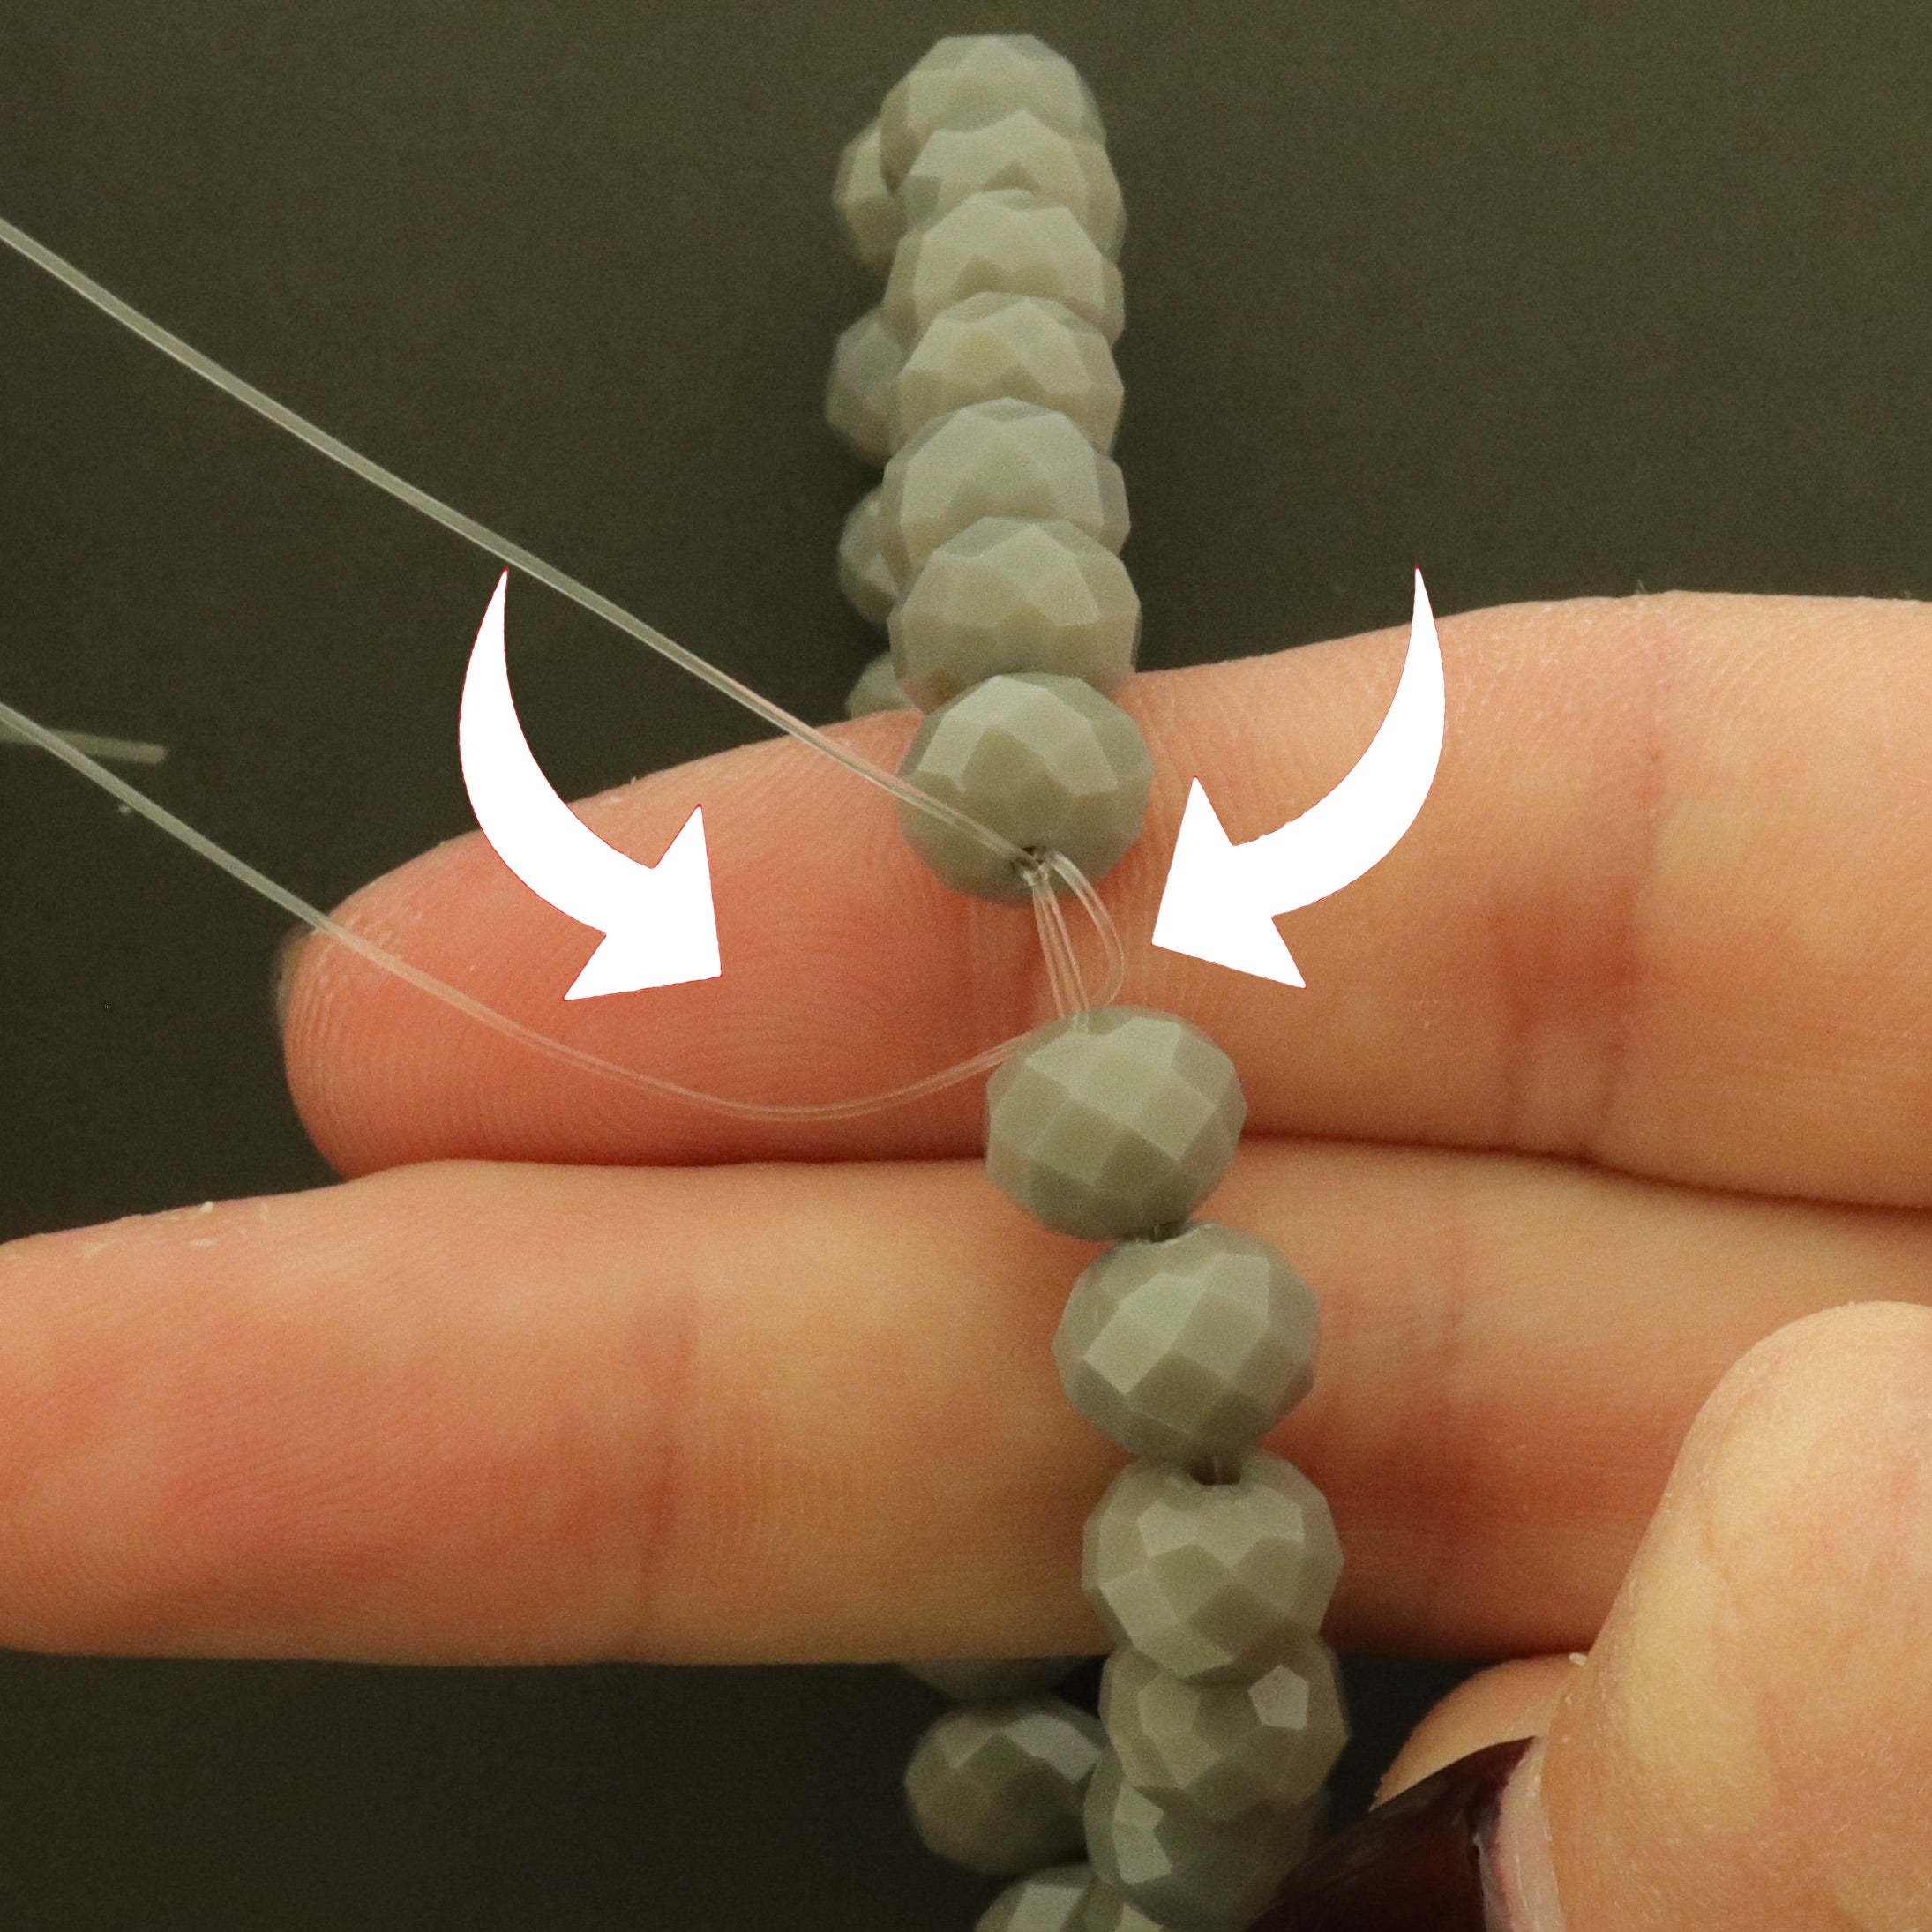
STEP 11: Thread the Ends through the Bracelet
Grab the cut ends of the wire as shown in the photo. Thread each side through the center of the bracelet so it ends up on the opposite side.
Check out the next step if you're having trouble visualizing this part.
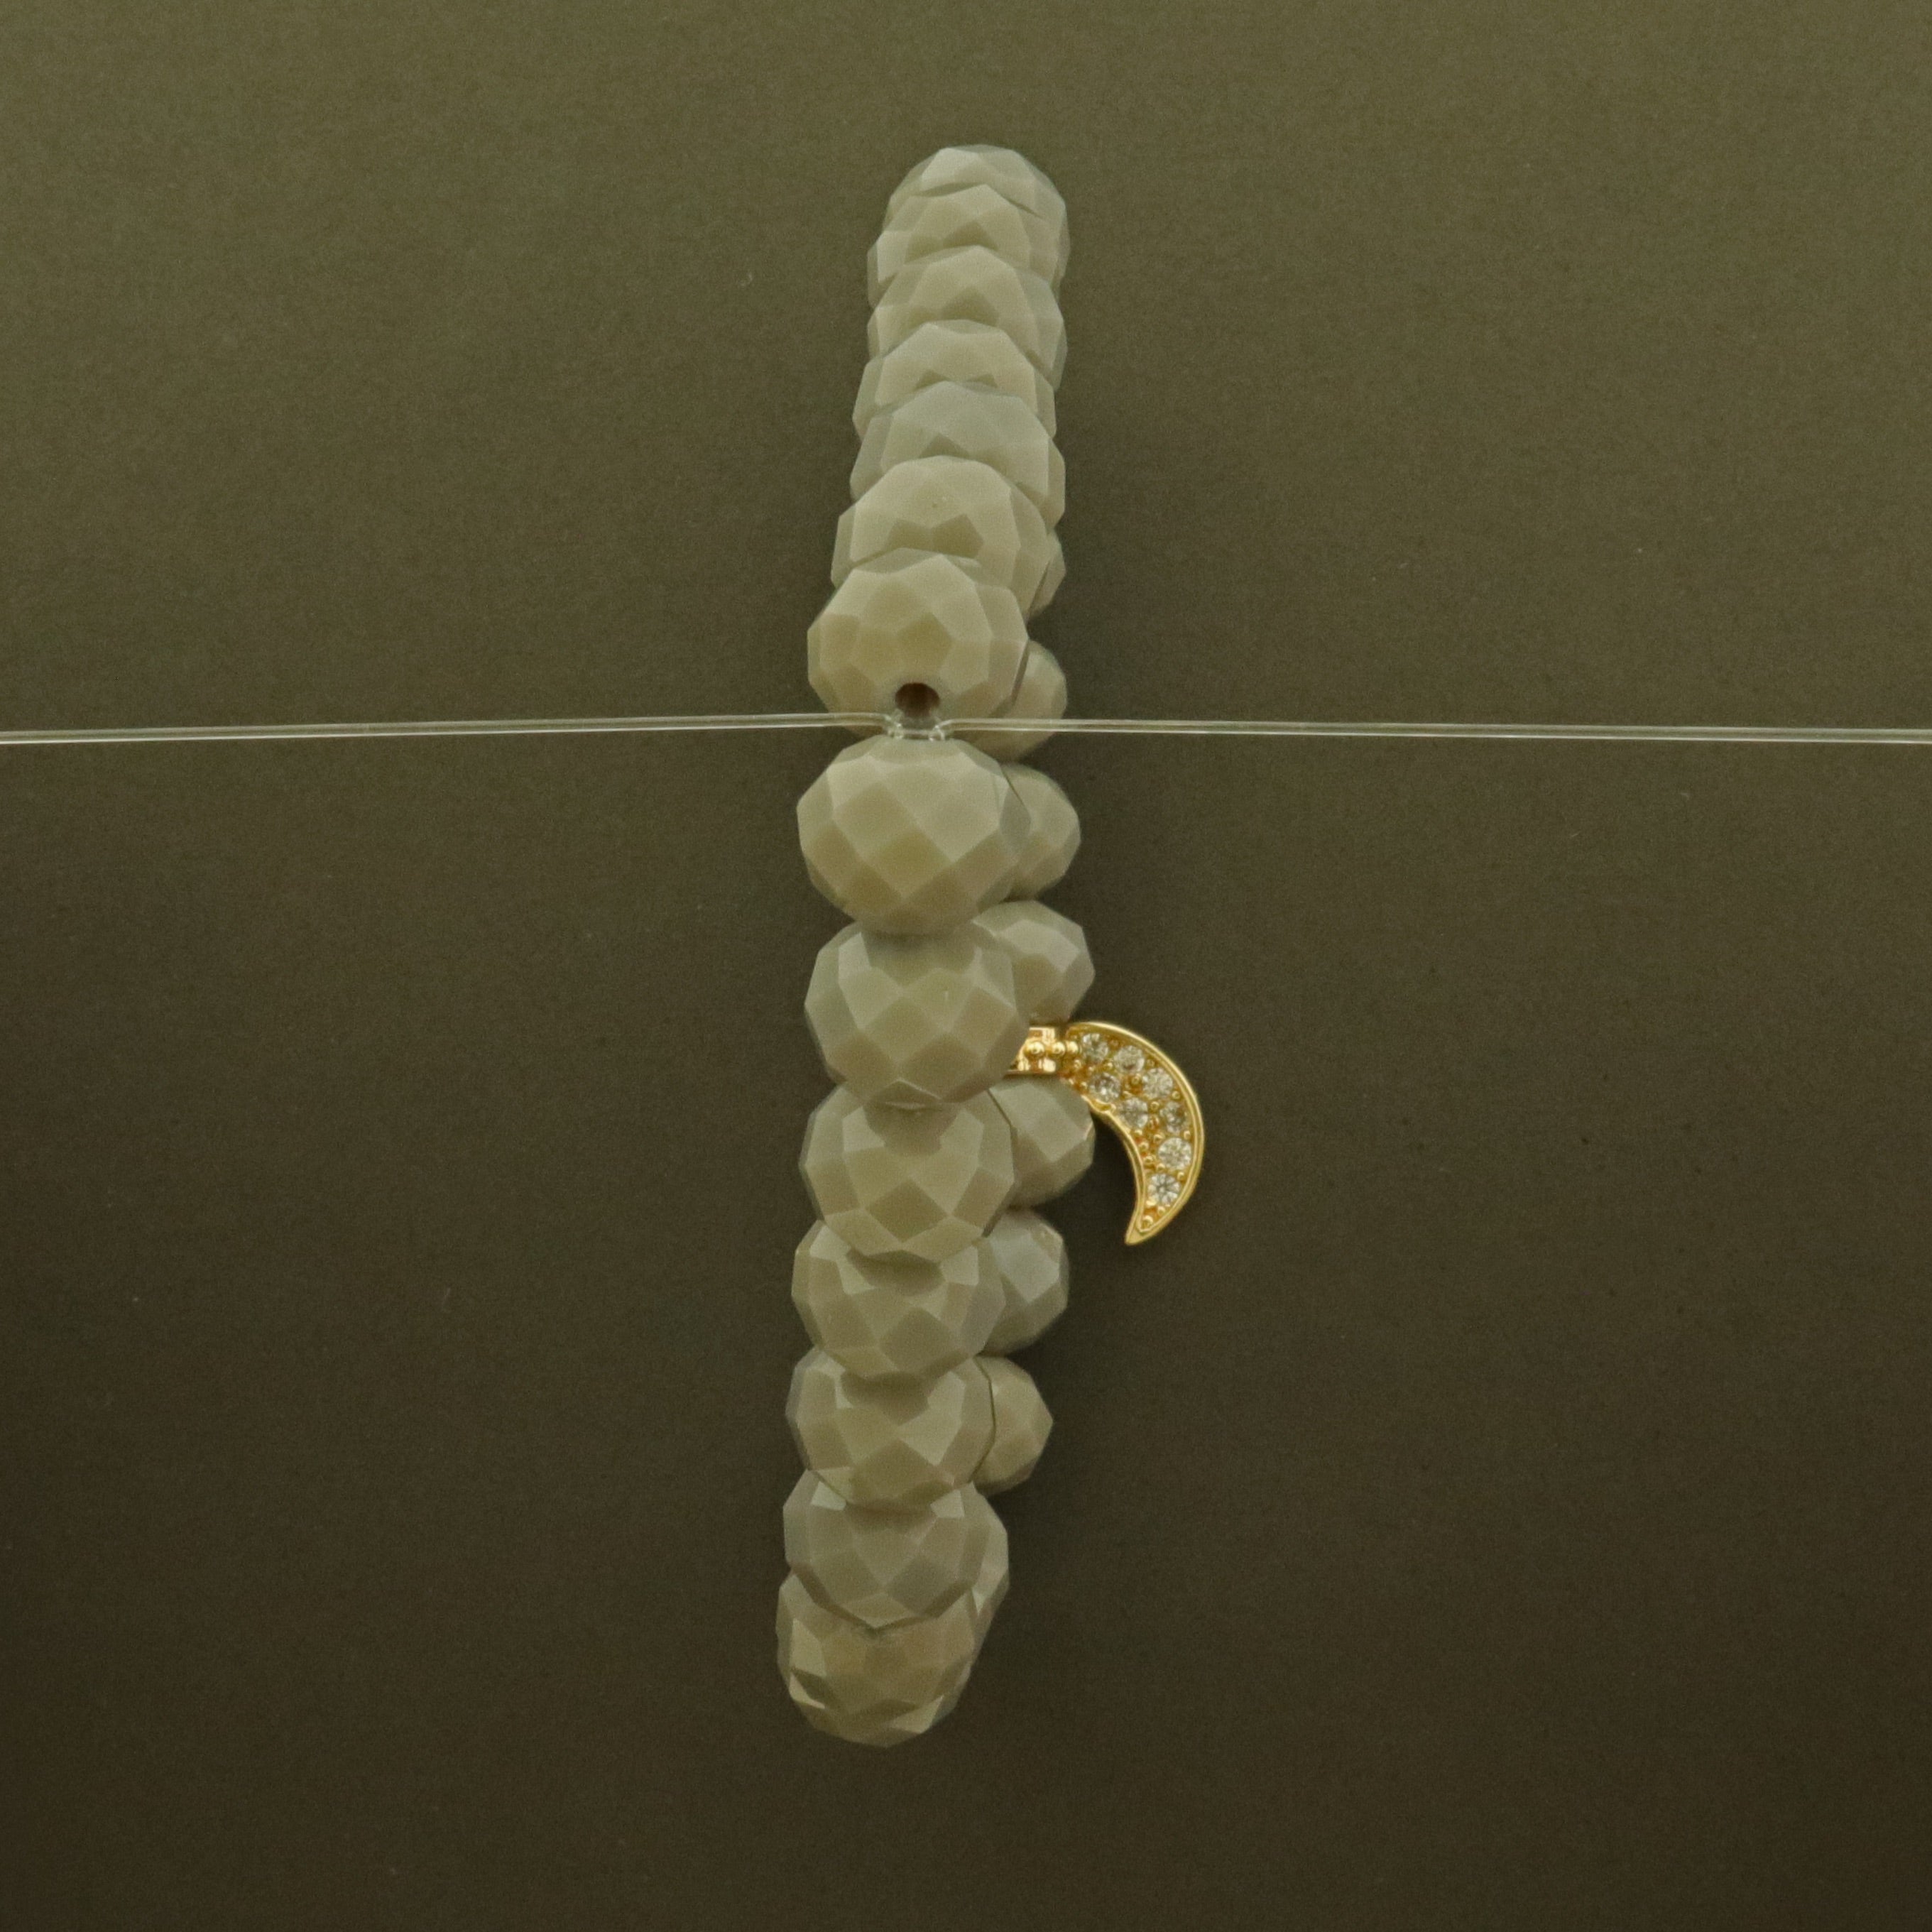
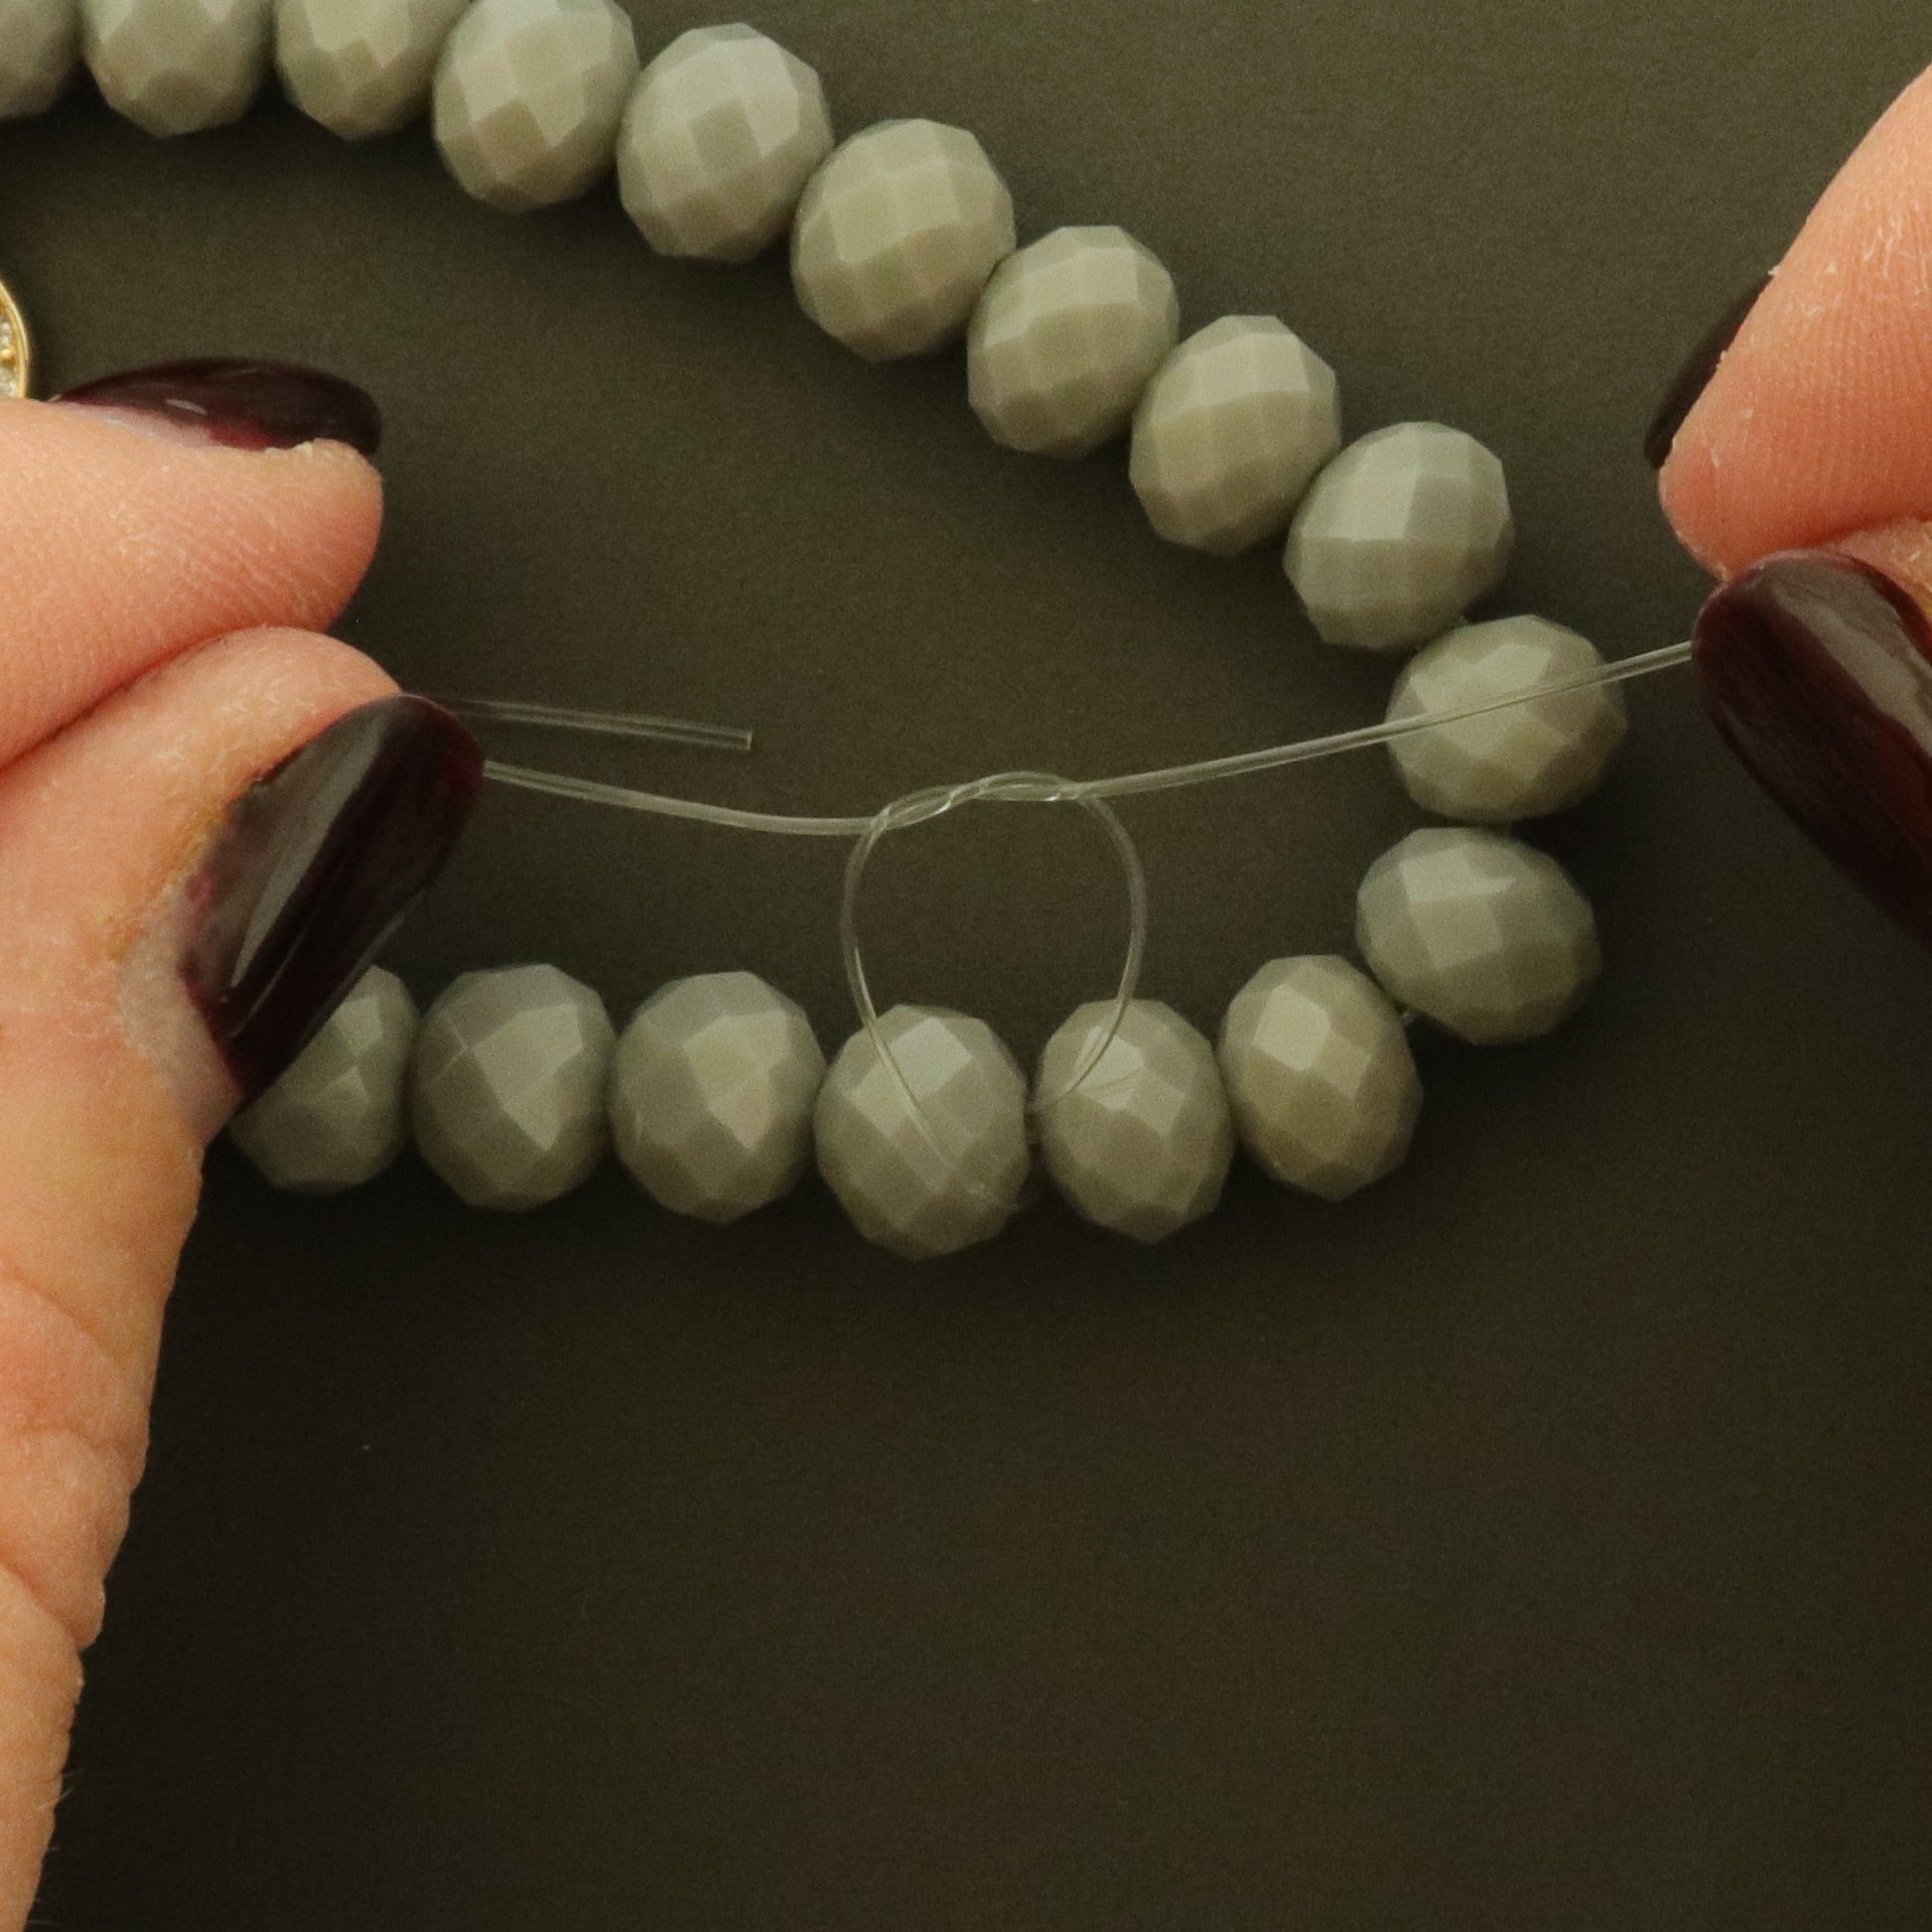
STEP 11(b): Thread the Ends through the Bracelet
Check out the photo for a visual explanation of how to thread the ends through the center of the bracelet. The thread on the right side has been put through the center of the bracelet, ending up on the other side (the left). The same needs to happen with the left side.
STEP 12: Make a Knot
After threading both ends through the bracelet, pull up on both ends to make the bracelet tight. Proceed to tie a regular knot.
STEP 13: Repeat Step 11 & 12 Two More Times
Follow the same steps again - use the two ends and thread them through the center of the bracelet, ending up on opposite sides. Tie another knot.. and then do the same thing again (it should happen three times total).
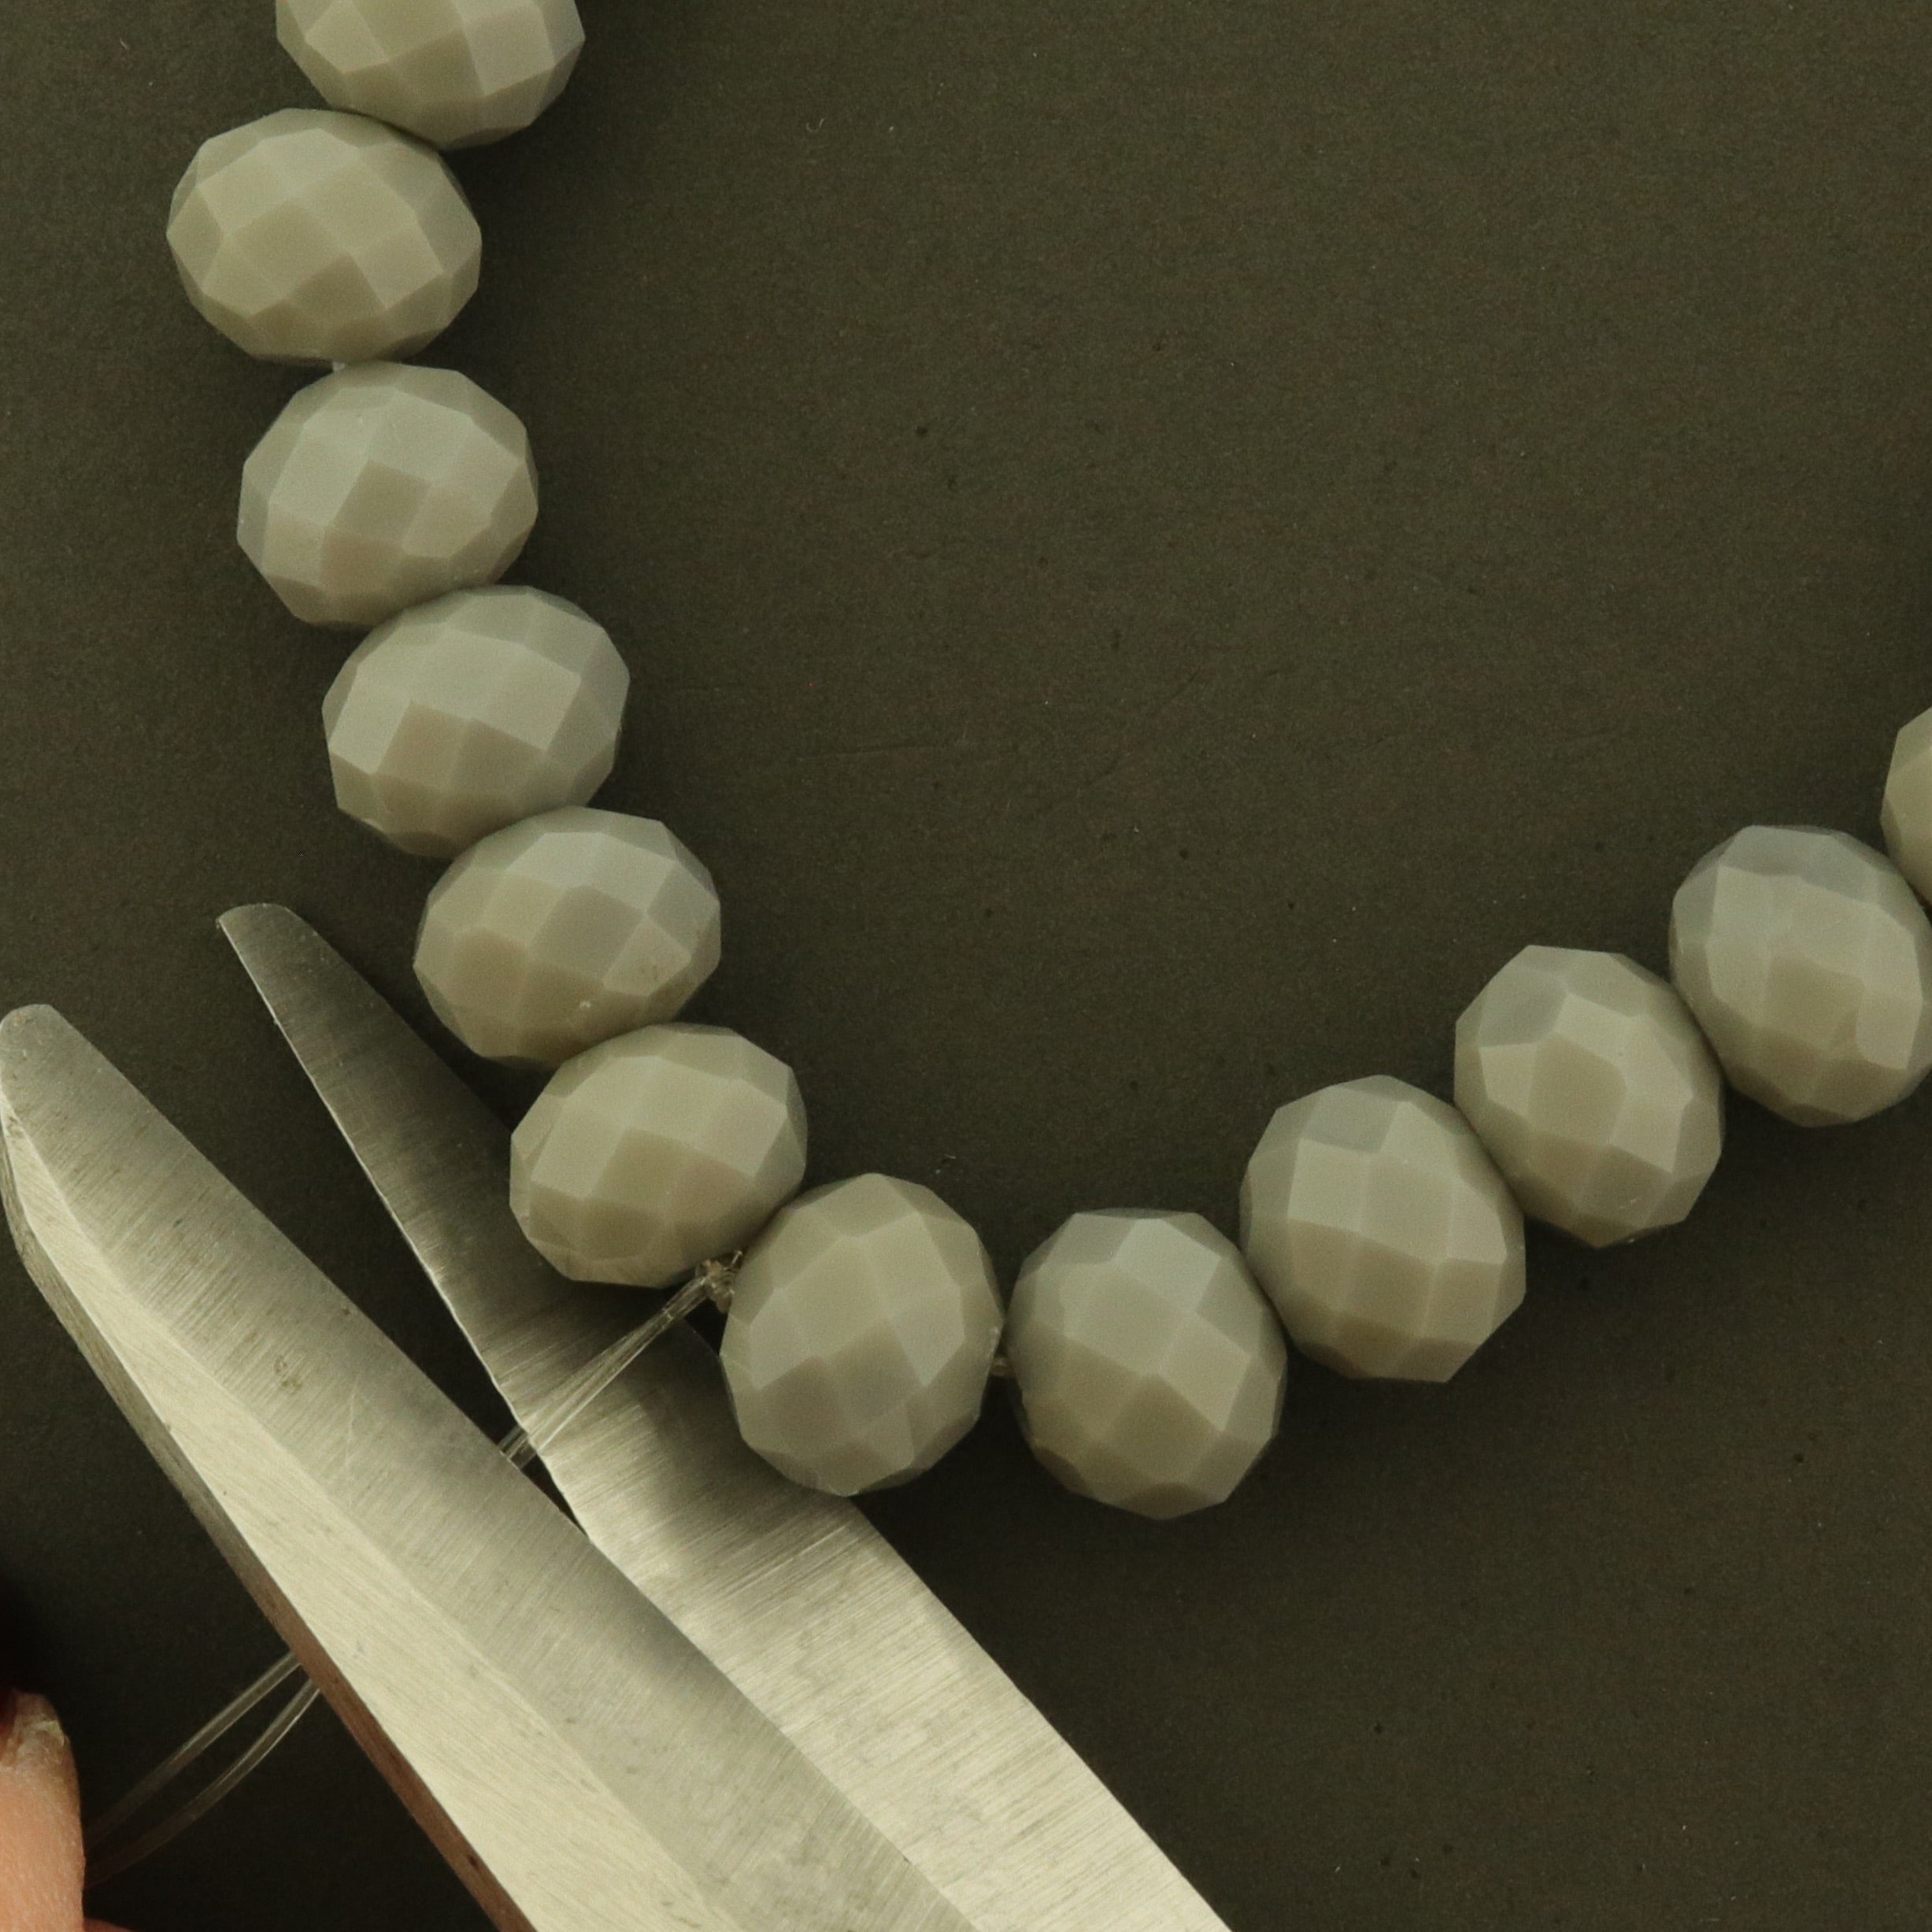
STEP 14: Cut the Excess Wire
Use scissors or wire snippers to cut the excess wire off close to the knot. The closer you cut it the easier the next step will be!

STEP 15: Hide the Knot
Place a bead directly over the knot itself, to hide it completely.
OPTIONAL: Use a dab of glue to secure the knot and the bead together, ensuring it can't move off the knot.
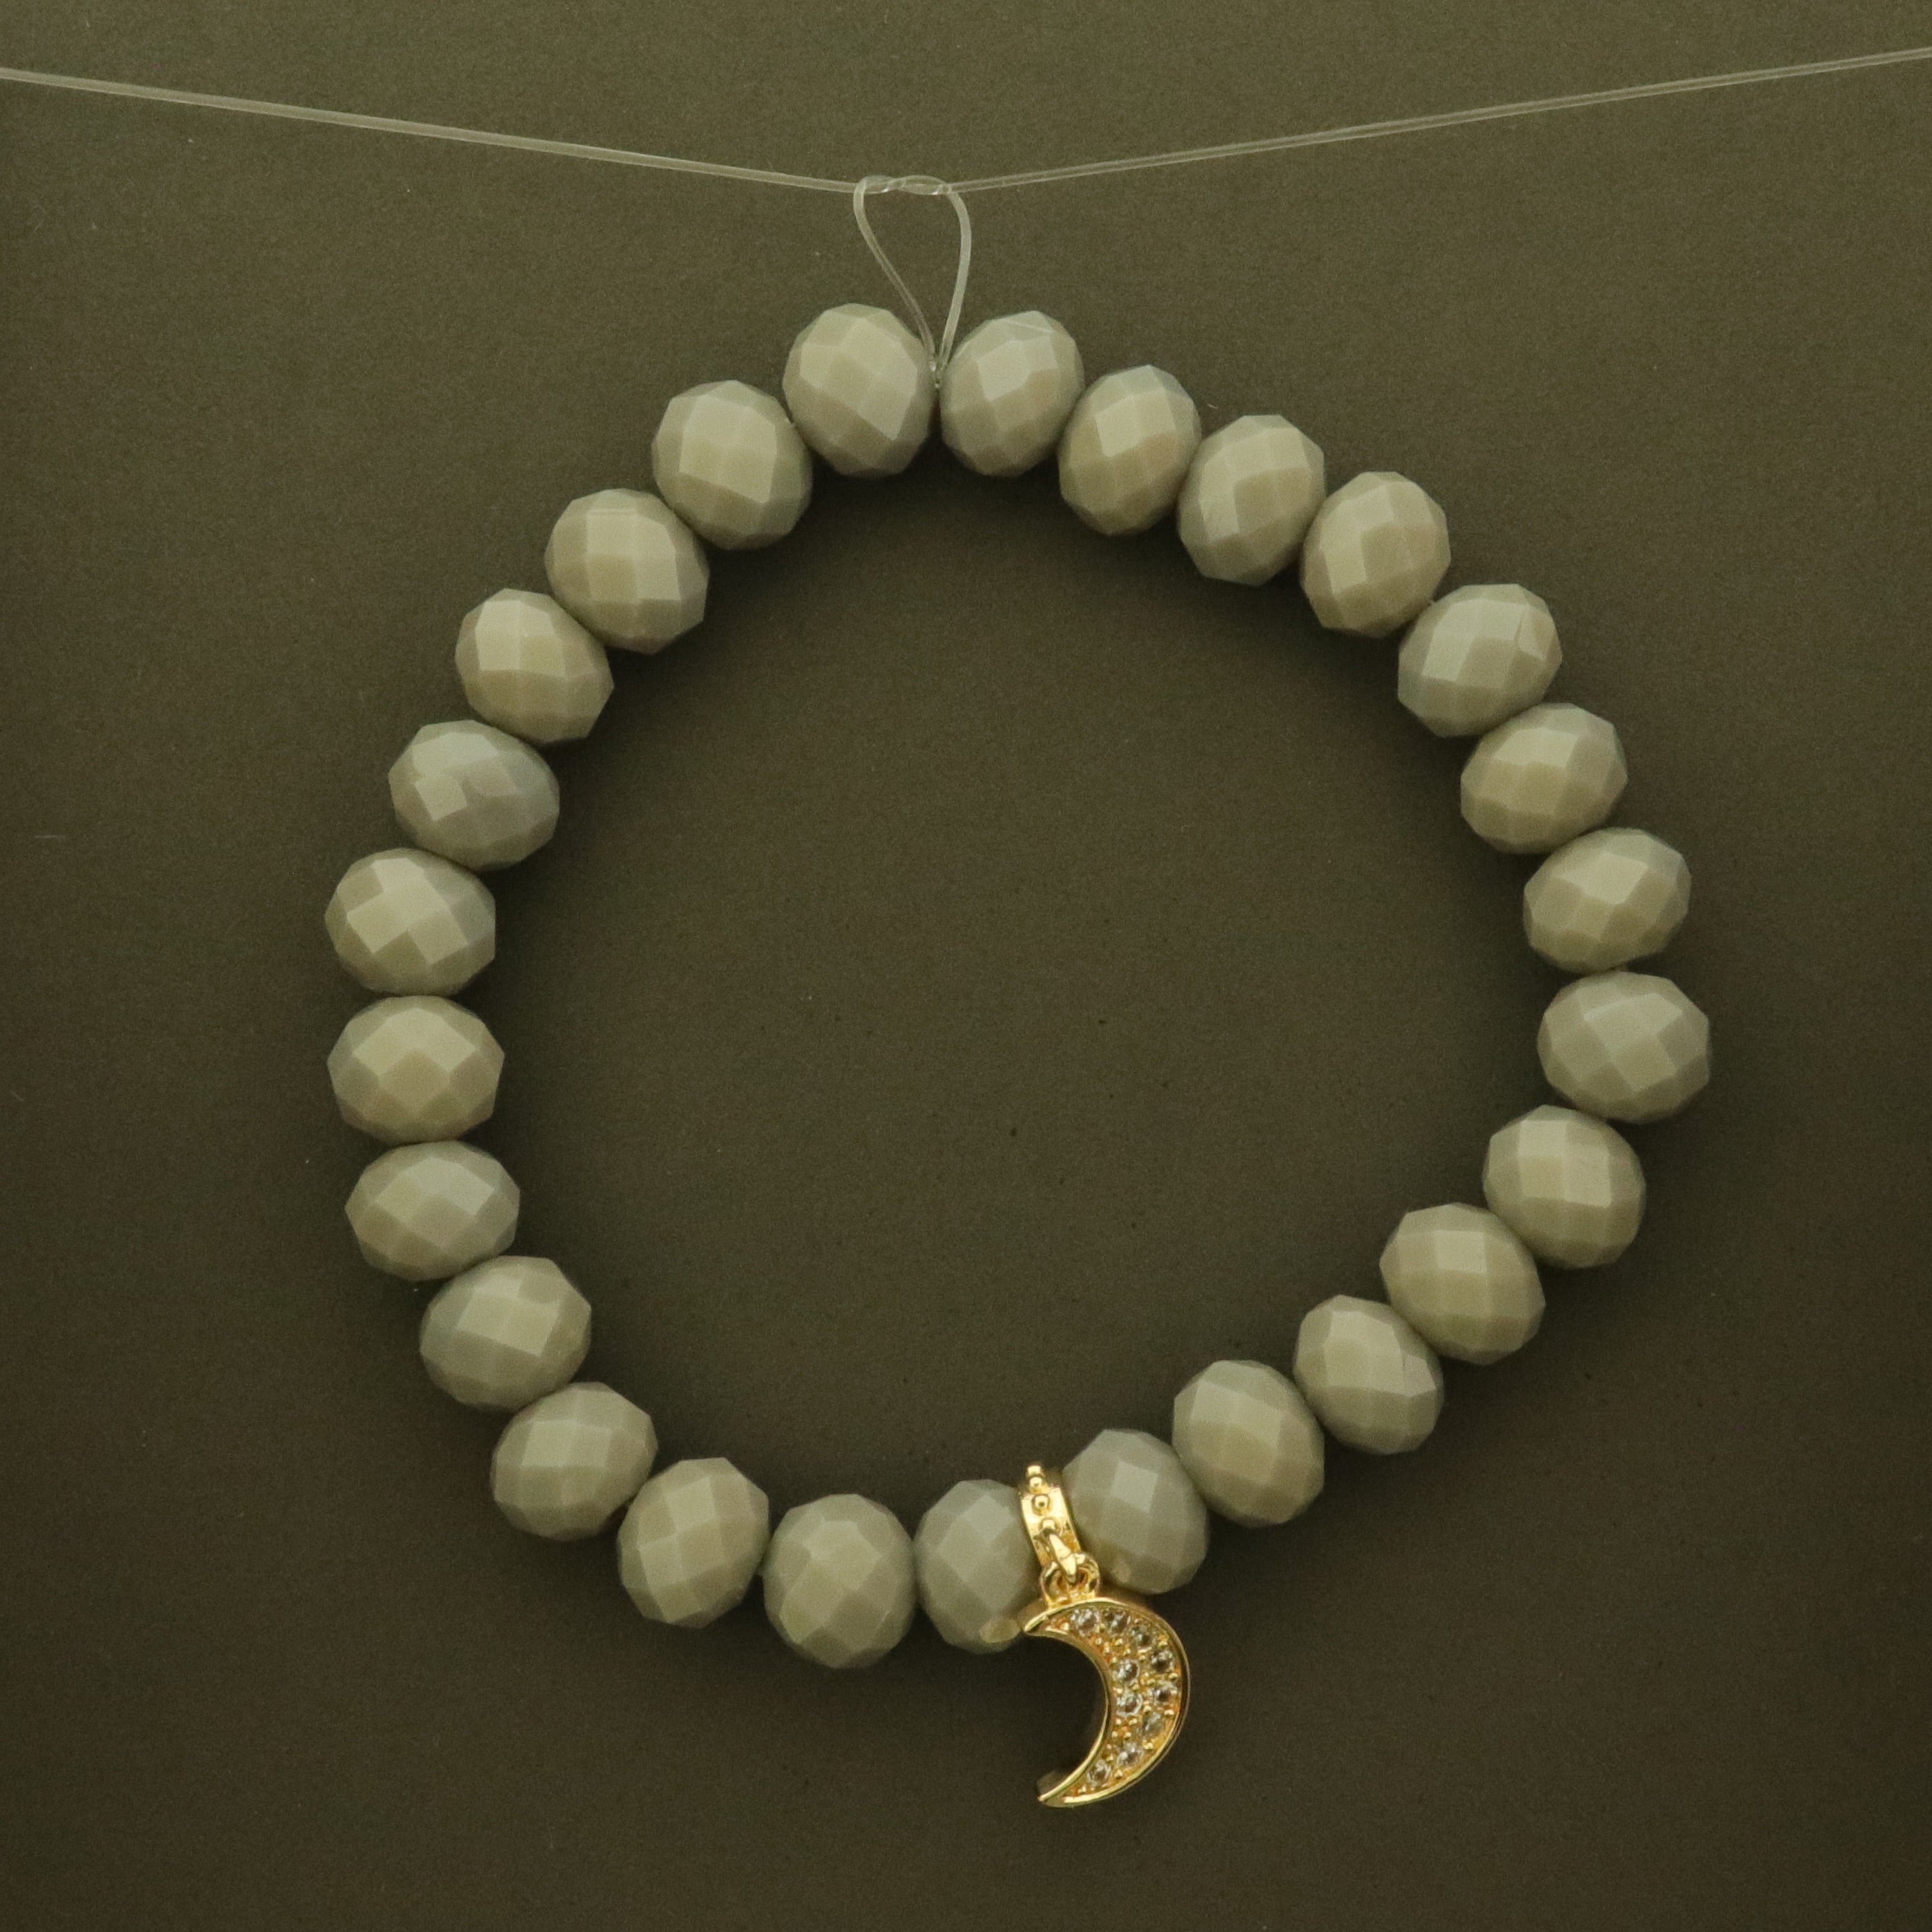
CONGRATS! You're Done
You have now created a beautiful beaded bracelet.
Looking for more projects? Check out our Do It Yourself blog!